Pistachio Danish Recipe
Ingredients
Equipment
Directions
FAQs
Find answers to your most pressing questions about this delicious recipe right here.
This recipe requires bread flour, salt, sugar, yeast, eggs, milk, water, vanilla extract, butter for lamination, pistachios, almond extract, and powdered sugar for the glaze. The pistachio filling combines ground pistachios, sugar, butter, egg, milk, and almond extract.
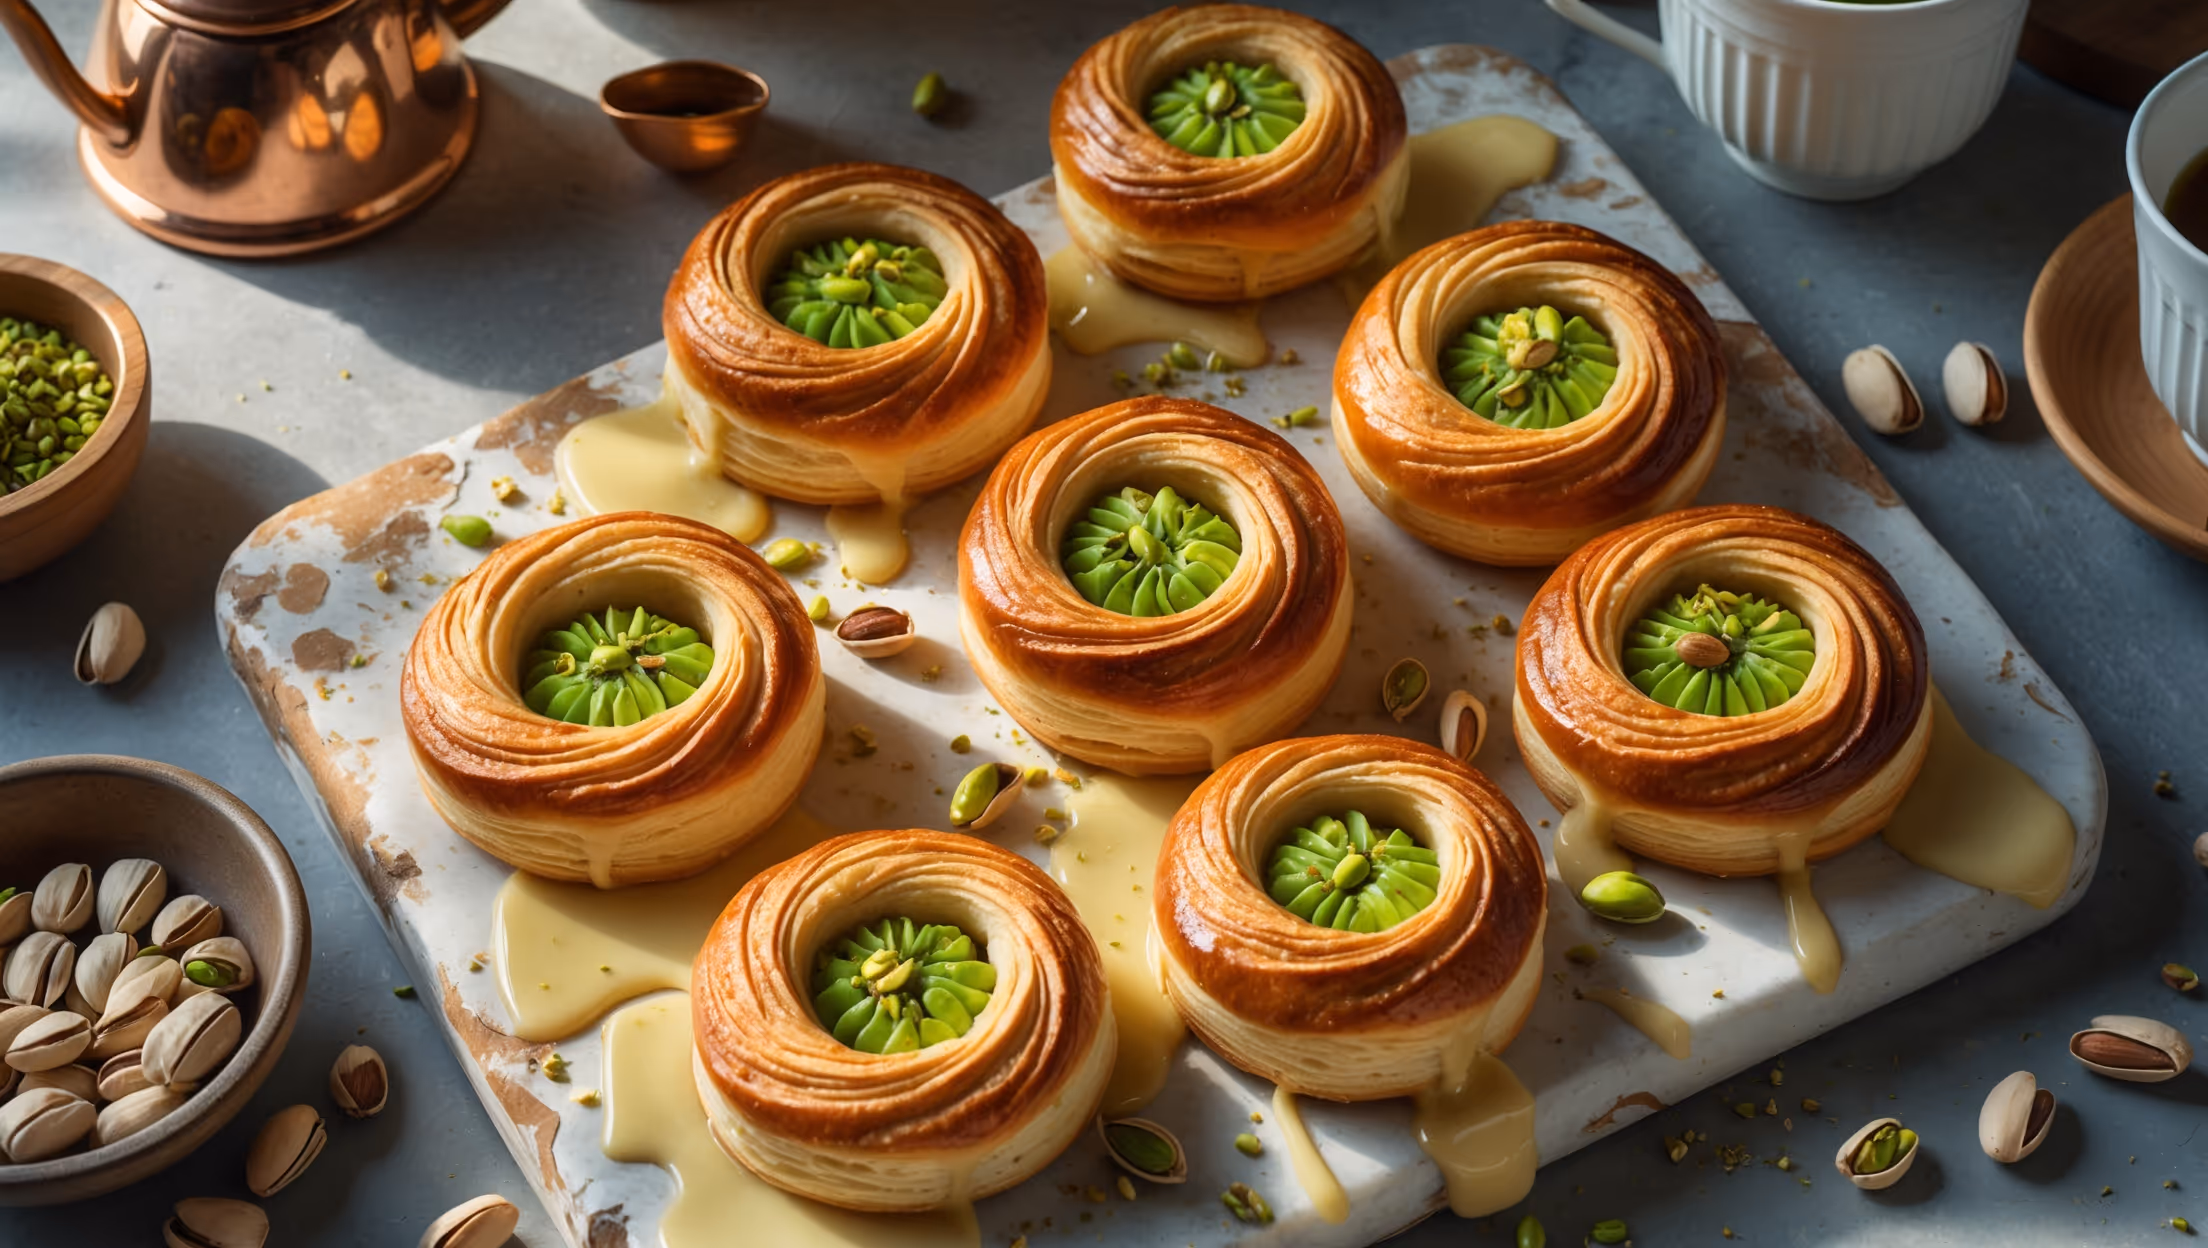
Learn how to cook Pistachio Danish Recipe by first creating a laminated dough with multiple butter folds, then preparing a rich pistachio filling, shaping the pastries, and finally baking at 190°C until golden brown. The process includes several resting periods to develop flavour and structure, finished with an almond glaze and pistachio garnish.
The key is keeping everything cold during lamination! Ensure your butter remains firm but pliable, rest the dough between folds, and work quickly. The distinct layers form when cold butter creates steam during baking, pushing the dough apart. Don't rush the process—proper chilling is essential.
Absolutely! Danish dough freezes beautifully for up to 3 months. Complete all lamination folds, wrap tightly in cling film and foil, then freeze. Thaw overnight in the refrigerator before rolling, shaping and proofing. This makes weekend pastries much more accessible for busy bakers.
Properly proofed Danish pastries should look slightly puffy but won't double in size like bread. When gently pressed with a finger, the dough should spring back slowly but retain a slight indentation. Underproofed pastries will be dense, while overproofed ones collapse during baking.
Danish Pastry
Try following recommended recipes


