Pineapple Danish Recipe
Ingredients
Equipment
Directions
FAQs
Find answers to your most pressing questions about this delicious recipe right here.
The key ingredients for Pineapple Danish are strong bread flour, yeast, sugar, salt, eggs, milk, cold butter for lamination, fresh or canned pineapple, lemon juice, vanilla, cornstarch for the filling, and powdered sugar, milk and vanilla extract for the glaze.
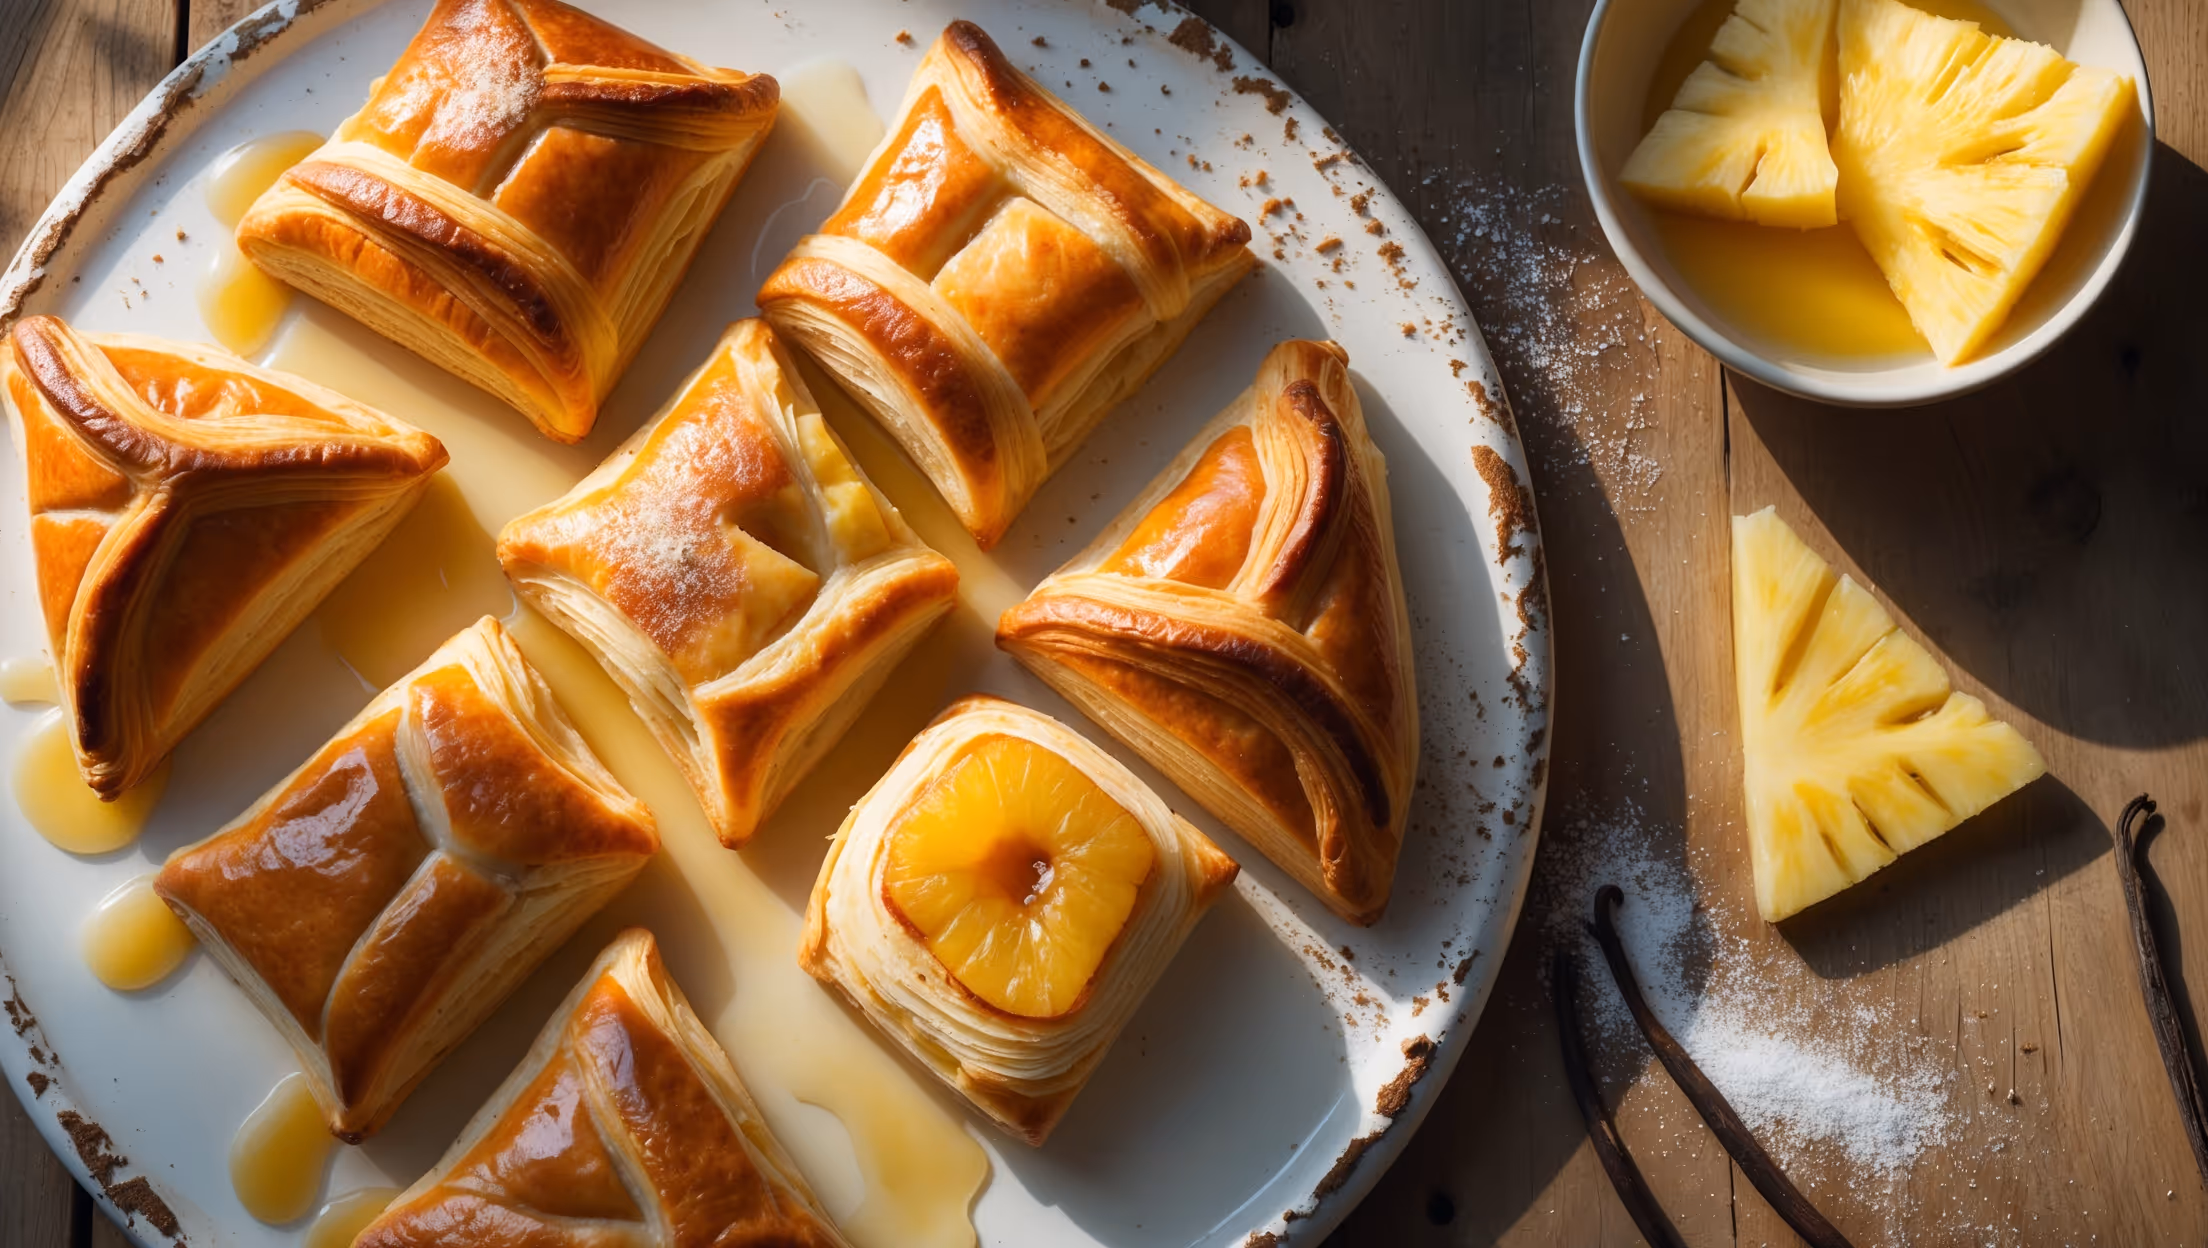
Learn how to cook Pineapple Danish Recipe by mastering laminated dough - create a butter block, perform three book folds with chilling between each, then shape squares of dough with pineapple filling. After proofing, bake at 190°C until golden brown and finish with a vanilla glaze for professional-quality Danish pastries with perfect flaky layers.
Yes, canned pineapple works perfectly for Danish pastries, but ensure it's very well drained to prevent soggy pastry. The caramelisation process actually works wonderfully with canned pineapple, as the syrup it's packed in contributes additional sweetness and depth of flavour to the filling.
Danish pastry dough is a laminated dough, meaning it contains alternating layers of butter and dough created through multiple folding processes. This technique creates the signature flaky, airy texture that separates Danish pastries from regular bread, resulting in delicate layers rather than a uniform crumb.
Freshly baked Danish pastries are best consumed within 1-2 days when stored in an airtight container at room temperature. For longer storage, freeze unfrosted pastries for up to a month and reheat in a 150°C oven for 5-7 minutes until warmed through before glazing.
Danish Pastry
Try following recommended recipes


