Peach Danish Recipe

Buttery puff pastry cradles juicy, caramelized peaches and vanilla-scented custard, creating a delicate Danish that balances flaky crispness with sweet, fruity indulgence.
Difficulty:
Intermediate
Prep Time:
45 mins
Cook Time:
20 mins
Serves:
8 pastries
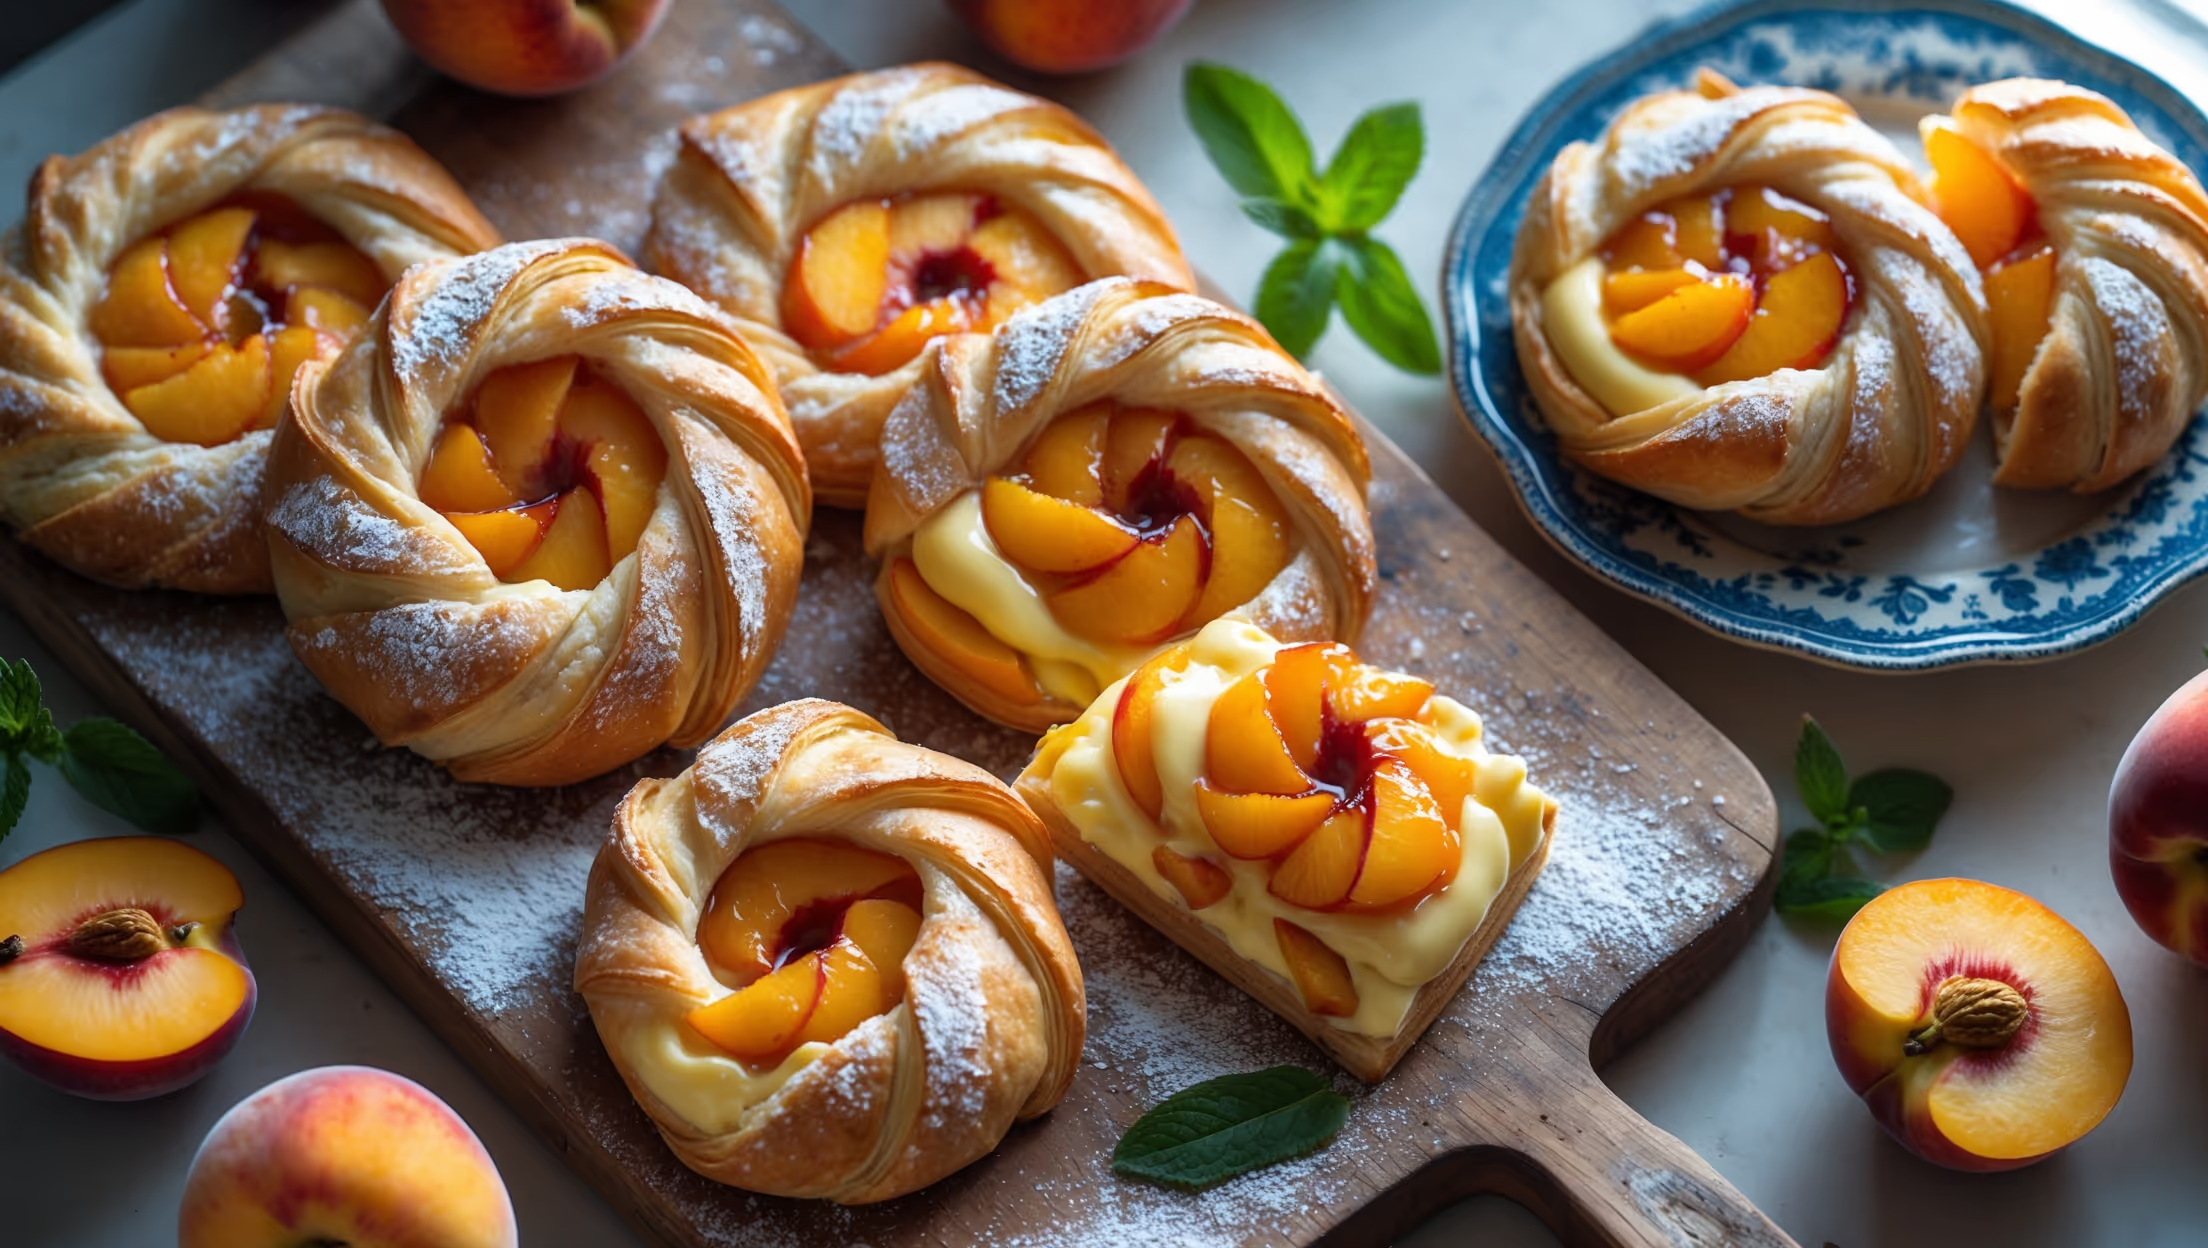
An overhead shot of golden-brown Peach Danishes arranged on a weathered wooden board, their flaky layers catching the soft morning light streaming through a kitchen window. Each Danish showcases a beautiful pattern of caramelized peach slices fanning out atop creamy custard, with a glistening apricot glaze adding a luxurious sheen. The pastries' edges are visibly layered and crisp, contrasting with the tender center. A dusting of powdered sugar creates delicate highlights while fresh peach slices and mint leaves are scattered artfully around the board. A vintage blue ceramic plate holds a single Danish cut in half, revealing the perfect layers of pastry, custard, and fruit.

Ingredients

<ul class="ingredients-main-list"><li class="ingredients-single-item">500g all-butter puff pastry (store-bought or homemade)</li><li class="ingredients-single-item">3-4 ripe peaches (about 450g), thinly sliced</li><li class="ingredients-single-item">2 tbsp lemon juice</li><li class="ingredients-single-item">75g granulated sugar, plus extra for sprinkling</li><li class="ingredients-single-item">1 tsp ground cinnamon</li><li class="ingredients-single-item">1/4 tsp ground cardamom (optional)</li><li class="ingredients-single-item">1 egg, beaten (for egg wash)</li><li class="ingredients-single-item">Icing sugar, for dusting</li><li class="ingredients-single-item">For the vanilla custard:</li><li class="ingredients-single-item">250ml whole milk</li><li class="ingredients-single-item">1 vanilla pod, seeds scraped (or 2 tsp vanilla extract)</li><li class="ingredients-single-item">3 egg yolks</li><li class="ingredients-single-item">60g granulated sugar</li><li class="ingredients-single-item">25g cornstarch</li><li class="ingredients-single-item">Pinch of salt</li><li class="ingredients-single-item">For the glaze:</li><li class="ingredients-single-item">100g apricot jam</li><li class="ingredients-single-item">1 tbsp water</li></ul>

Equipment

<ul class="equipment-main-list"><li class="equipment-single-item">Baking sheets</li><li class="equipment-single-item">Parchment paper</li><li class="equipment-single-item">Pastry brush</li><li class="equipment-single-item">Saucepan</li><li class="equipment-single-item">Whisk</li><li class="equipment-single-item">Sieve</li></ul>
BAKE SMARTER

Kitchen Converter

Quickly switch between common baking units without leaving the recipe.

Convert
Result—

Volume uses US cups, tablespoons, and teaspoons. Converting weight to volume depends on the ingredient.

Directions

<ol class="no-list-style"><li class="MethodStepper"><h4 class="step-title">Step 1</h4>Make the custard first as it needs time to cool. In a medium saucepan, heat the milk with the vanilla seeds and pod (or extract) until just below boiling point. Meanwhile, in a bowl, whisk together the egg yolks, sugar, cornstarch, and salt until pale and thick. This creates a stable base for your custard.</li><li class="MethodStepper"><h4 class="step-title">Step 2</h4>Slowly pour half the hot milk into the egg mixture, whisking constantly to prevent scrambling (this is called tempering). Return this mixture to the pan with the remaining milk and cook over medium-low heat, stirring constantly, until it thickens enough to coat the back of a spoon (82-85°C if using a thermometer). The custard will continue to thicken as it cools.</li><li class="MethodStepper"><h4 class="step-title">Step 3</h4>Remove from heat, discard the vanilla pod if using. Pour through a sieve into a clean bowl to ensure silky smoothness. Press plastic wrap directly onto the surface of the custard to prevent a skin from forming and refrigerate until completely cold (at least 2 hours or overnight).</li><li class="MethodStepper"><h4 class="step-title">Step 4</h4>Prepare the peaches by tossing the slices with lemon juice, 50g sugar, cinnamon, and cardamom if using. Let them macerate for about 15 minutes - this draws out moisture and intensifies the flavor. If your peaches aren't quite ripe, you can gently sauté them in a pan with the sugar mixture for 2-3 minutes to soften slightly.</li><li class="MethodStepper"><h4 class="step-title">Step 5</h4>Preheat your oven to 200°C (180°C fan/400°F) and line two baking sheets with parchment paper. On a lightly floured surface, roll out the puff pastry to a thickness of about 3-4mm. Cut into 8 equal squares (approximately 10-12cm each).</li><li class="MethodStepper"><h4 class="step-title">Step 6</h4>Score a 1cm border around each pastry square without cutting all the way through - this creates the classic Danish raised edge. Prick the center area with a fork multiple times to prevent it from puffing up too much during baking, allowing the custard to stay in place.</li><li class="MethodStepper"><h4 class="step-title">Step 7</h4>Spoon about 1-2 tablespoons of cold custard into the center of each pastry square, spreading it evenly but keeping within the scored border. Arrange peach slices decoratively on top of the custard - a fan or circular pattern works beautifully. Sprinkle with the remaining 25g sugar.</li><li class="MethodStepper"><h4 class="step-title">Step 8</h4>Brush the pastry borders with beaten egg wash, being careful not to let it drip down the sides (this would prevent the pastry from rising properly). The egg wash gives the pastry a beautiful golden color and helps seal the layers.</li><li class="MethodStepper"><h4 class="step-title">Step 9</h4>Bake in the preheated oven for 18-20 minutes, or until the pastry is puffed and deeply golden. The custard should be set and the peaches caramelized at the edges. If the pastries are browning too quickly, cover loosely with foil.</li><li class="MethodStepper"><h4 class="step-title">Step 10</h4>While the Danishes are baking, prepare the glaze by warming the apricot jam with water in a small saucepan until melted and smooth. Pass through a sieve to remove any fruit chunks for a perfectly smooth finish.</li><li class="MethodStepper"><h4 class="step-title">Step 11</h4>As soon as the Danishes come out of the oven, gently brush them with the warm apricot glaze for a professional, shiny finish. This not only makes them look gorgeous but also preserves moisture and adds another layer of flavor.</li><li class="MethodStepper"><h4 class="step-title">Step 12</h4>Allow to cool on the baking sheets for 5 minutes, then transfer to a wire rack. Dust lightly with icing sugar just before serving. These Danishes are best enjoyed still slightly warm when the contrast between the crisp pastry and luscious filling is at its peak. They can be stored in an airtight container for 1 day, though the pastry will soften over time.</li></ol>
Nutrition Facts (per serving)

🍽️ Serving Size: 1 pastry
🔥 Calories: 320 calories
🥑 Fat: 18 g
🧈 Saturated Fat: 9 g
🍞 Carbohydrates: 36 g
🍭 Sugar: 16 g
🍗 Protein: 5 g
🫀 Cholesterol: 95 mg
🧂 Sodium: 210 mg

Chef’s Notes

A few helpful details for making this recipe.

Can I use frozen or canned peaches instead of fresh ones for Danish pastries?

Yes, you can substitute with frozen peaches (thawed and well-drained) or canned peaches (drained thoroughly). Fresh peaches provide the best flavour and texture, but alternatives work when fresh aren't available. If using canned, reduce added sugar as they're already sweetened.

What's the secret to achieving perfectly flaky Danish pastry layers?

The secret lies in keeping the puff pastry cold until baking, scoring the borders properly without cutting through, thoroughly pricking the centre, and brushing egg wash only on the borders (not the edges). Also, ensure your oven is fully preheated to 200°C to create that initial burst of heat.

How far in advance can I prepare these fruit Danishes?

You can prepare the custard up to 3 days ahead and store it refrigerated. The assembled Danishes are best baked just before serving, but you can prepare them up to 4 hours ahead and refrigerate before baking. Once baked, they're best enjoyed within 24 hours as the pastry will gradually soften.

Want to try something else in ...

More recipes you might like

Keep exploring with more recipes from What's Baking.