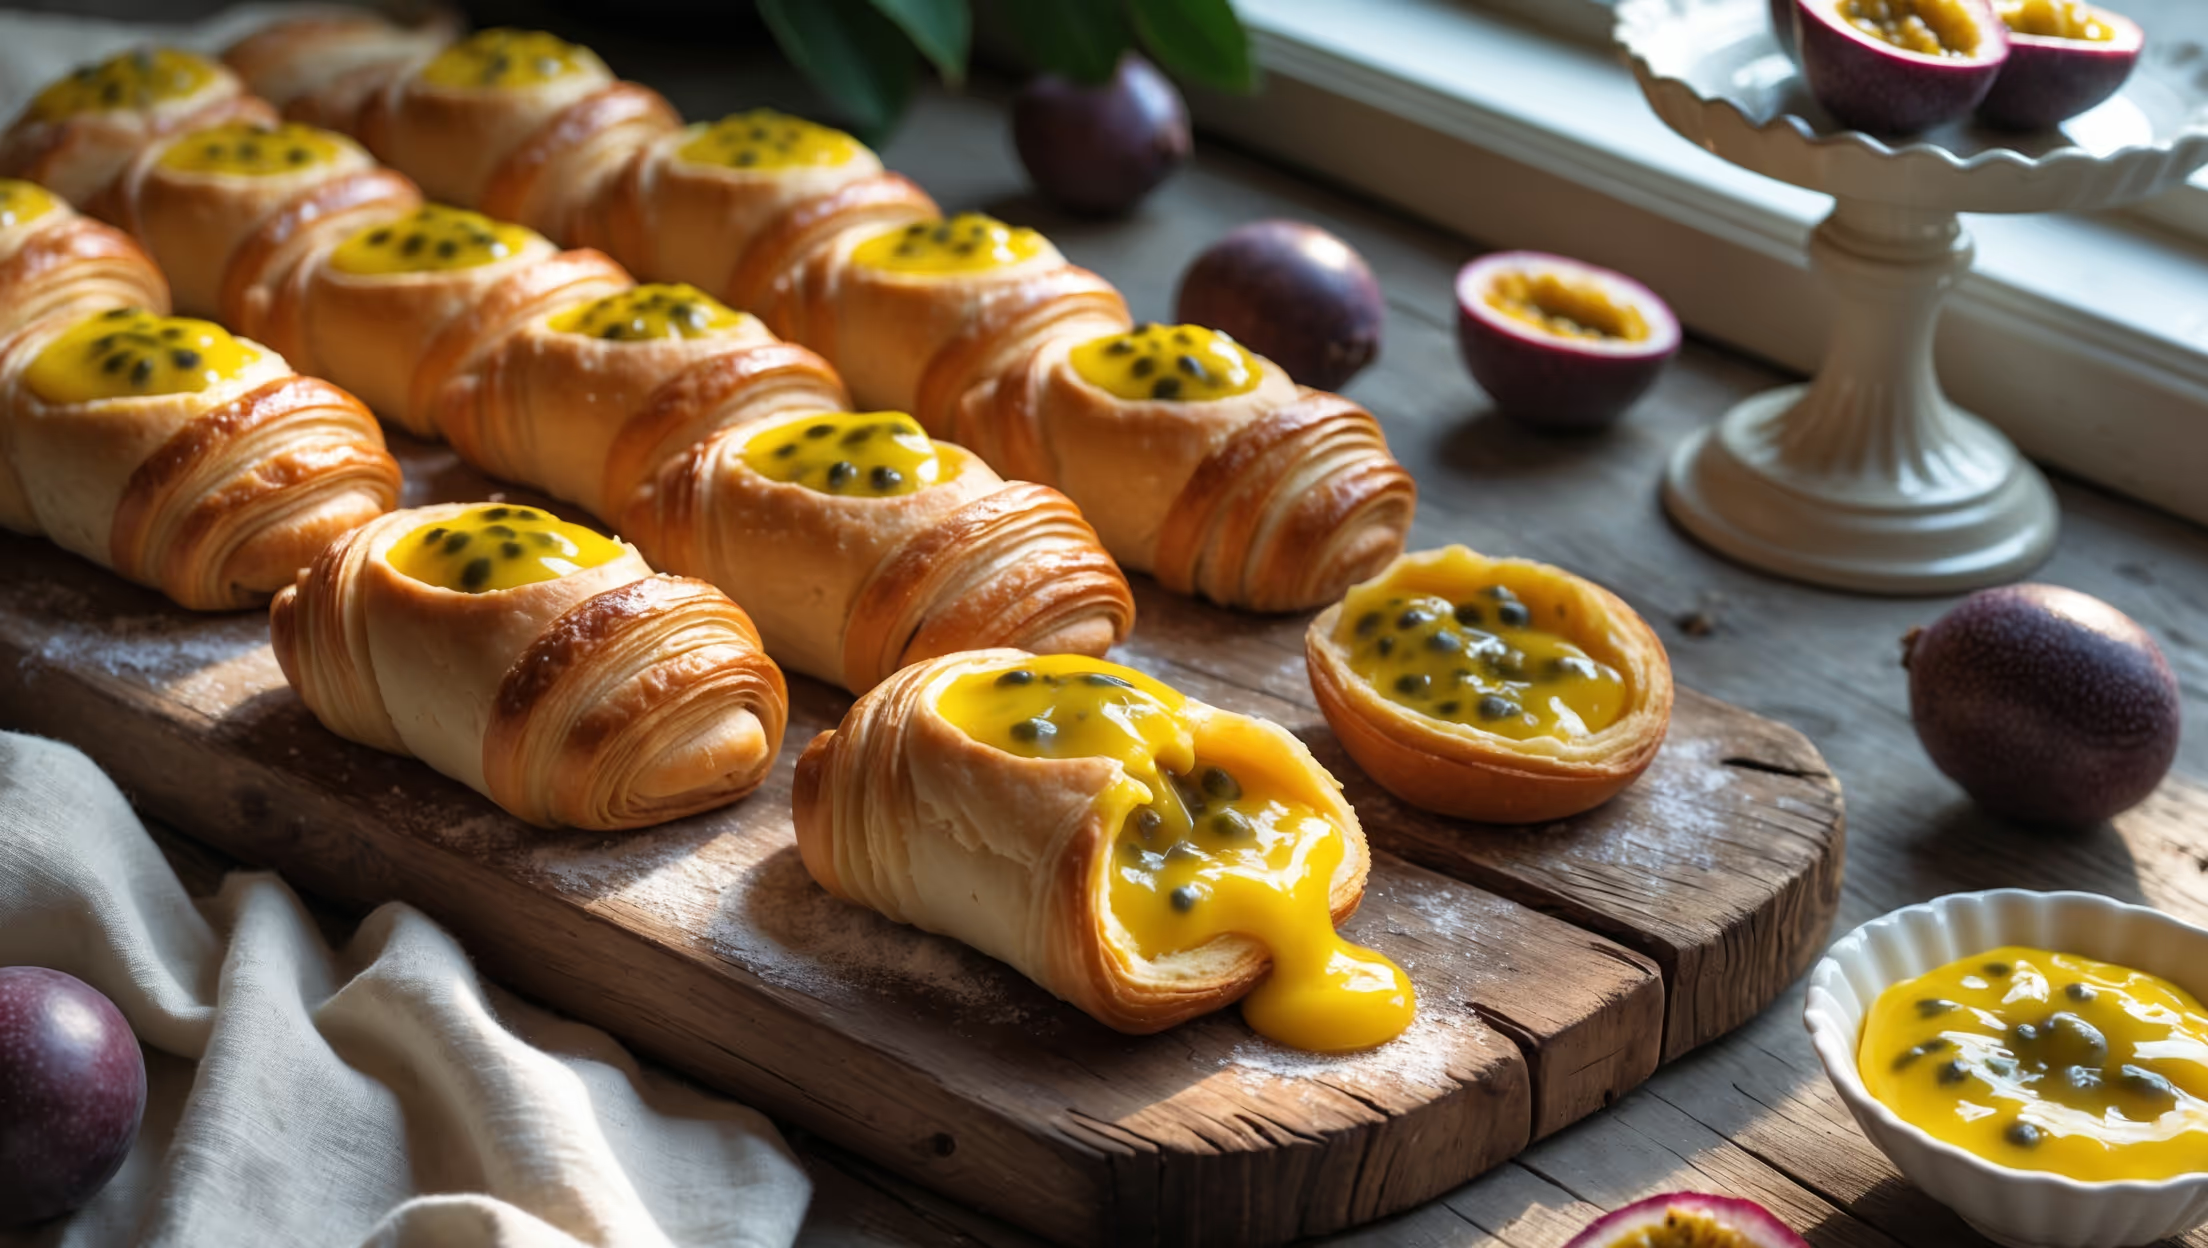
Directions
<ol class="no-list-style"><li class="MethodStepper"><h4 class="step-title">Step 1</h4>Begin by making the passion fruit filling. Strain the pulp from fresh passion fruits through a fine mesh sieve into a bowl to collect the juice, pressing with the back of a spoon to extract as much liquid as possible. You need about 200ml of juice. Set aside any extra for the glaze.</li><li class="MethodStepper"><h4 class="step-title">Step 2</h4>In a medium saucepan, combine the passion fruit juice, sugar, and butter. Heat over medium heat until the butter melts and the sugar dissolves, but do not allow to boil.</li><li class="MethodStepper"><h4 class="step-title">Step 3</h4>In a separate bowl, whisk together the eggs, egg yolks, cornstarch, and salt until smooth. Gradually pour about a third of the hot passion fruit mixture into the egg mixture while whisking constantly (this tempers the eggs to prevent curdling).</li><li class="MethodStepper"><h4 class="step-title">Step 4</h4>Pour the tempered egg mixture back into the saucepan with the remaining passion fruit mixture. Cook over medium-low heat, stirring constantly with a wooden spoon, until the mixture thickens enough to coat the back of the spoon (about 5-8 minutes). The curd should reach 75°C to ensure it's properly set.</li><li class="MethodStepper"><h4 class="step-title">Step 5</h4>Once thickened, immediately strain through a fine mesh sieve into a bowl to remove any lumps. Cover with plastic wrap pressed directly onto the surface to prevent a skin from forming. Refrigerate until completely cold, at least 2 hours or overnight.</li><li class="MethodStepper"><h4 class="step-title">Step 6</h4>For the Danish dough, combine the flour, salt, sugar, and yeast in the bowl of a stand mixer fitted with the dough hook. Mix briefly to combine.</li><li class="MethodStepper"><h4 class="step-title">Step 7</h4>Add the warm milk, eggs, and water to the dry ingredients. Mix on low speed for 2 minutes, then increase to medium and knead for 5-7 minutes until you have a smooth, elastic dough. The dough should clear the sides of the bowl but still stick slightly to the bottom.</li><li class="MethodStepper"><h4 class="step-title">Step 8</h4>Turn the dough onto a lightly floured surface and shape into a rectangle. Wrap in plastic wrap and refrigerate for 30 minutes. This initial rest allows the gluten to relax, making the lamination process easier.</li><li class="MethodStepper"><h4 class="step-title">Step 9</h4>On a lightly floured surface, roll the chilled dough into a rectangle about 50×30cm. Arrange the thin slices of cold butter over two-thirds of the dough, leaving a 1cm border around the edges. The butter should be cold but pliable – if it's too hard it will break through the dough during folding.</li><li class="MethodStepper"><h4 class="step-title">Step 10</h4>Fold the unbuttered third of dough over the middle third, then fold the remaining third over that (like a business letter). Pinch the edges to seal in the butter. Turn the dough 90 degrees so the open end faces right.</li><li class="MethodStepper"><h4 class="step-title">Step 11</h4>Roll the dough again into a rectangle about 50×30cm and repeat the letter fold. Wrap in plastic wrap and refrigerate for 1 hour. This is your first "turn" – the process that creates those signature flaky layers.</li><li class="MethodStepper"><h4 class="step-title">Step 12</h4>Repeat this rolling and folding process once more (another "turn"), then refrigerate the dough for at least 2 hours or overnight. This resting period is crucial for allowing the gluten to relax and the butter to chill properly.</li><li class="MethodStepper"><h4 class="step-title">Step 13</h4>When ready to shape, line two baking sheets with parchment paper. Roll the chilled dough on a lightly floured surface into a rectangle about 60×40cm and about 3-4mm thick.</li><li class="MethodStepper"><h4 class="step-title">Step 14</h4>Trim the edges to create straight sides, then cut the dough into twelve 10×10cm squares. Place them on the prepared baking sheets, leaving space between each for expansion.</li><li class="MethodStepper"><h4 class="step-title">Step 15</h4>Place a tablespoon of the chilled passion fruit filling in the center of each square. For pinwheel shapes, cut from each corner toward the center (without cutting all the way through), then fold every other point to the center. For simple Danish shapes, fold two opposite corners into the center and press gently to seal.</li><li class="MethodStepper"><h4 class="step-title">Step 16</h4>Cover the shaped pastries loosely with plastic wrap and let them proof in a warm place for 30-45 minutes, or until slightly puffy. The Danish won't double in size like bread, but should feel light and airy.</li><li class="MethodStepper"><h4 class="step-title">Step 17</h4>Preheat your oven to 190°C (375°F). Lightly brush the pastries with beaten egg, being careful not to let egg drip onto the parchment (which would prevent the pastries from rising properly).</li><li class="MethodStepper"><h4 class="step-title">Step 18</h4>Bake for 18-22 minutes, rotating the pans halfway through, until the pastries are golden brown. The internal temperature should reach about 88°C. If they're browning too quickly, cover loosely with aluminum foil.</li><li class="MethodStepper"><h4 class="step-title">Step 19</h4>While the pastries are baking, prepare the glaze by whisking together the icing sugar and passion fruit juice until smooth. Add more juice or sugar as needed to achieve a thick but pourable consistency.</li><li class="MethodStepper"><h4 class="step-title">Step 20</h4>Allow the pastries to cool on the baking sheets for 5 minutes, then transfer to a wire rack. While still warm (but not hot), drizzle with the passion fruit glaze. The warm pastries will help the glaze to set with a beautiful sheen.</li><li class="MethodStepper"><h4 class="step-title">Step 21</h4>Serve the Danish pastries warm or at room temperature. They're best enjoyed the same day but can be stored in an airtight container for up to 2 days. You can refresh them in a 160°C oven for 5 minutes before serving.</li></ol>