Orange Danish Recipe
Ingredients
Equipment
Directions
FAQs
Find answers to your most pressing questions about this delicious recipe right here.
Orange Danish requires bread flour, sugar, yeast, salt, eggs, milk, butter (for lamination), orange marmalade, and for the glaze: powdered sugar, orange juice and zest. The butter quality is crucial for achieving those perfect flaky layers.
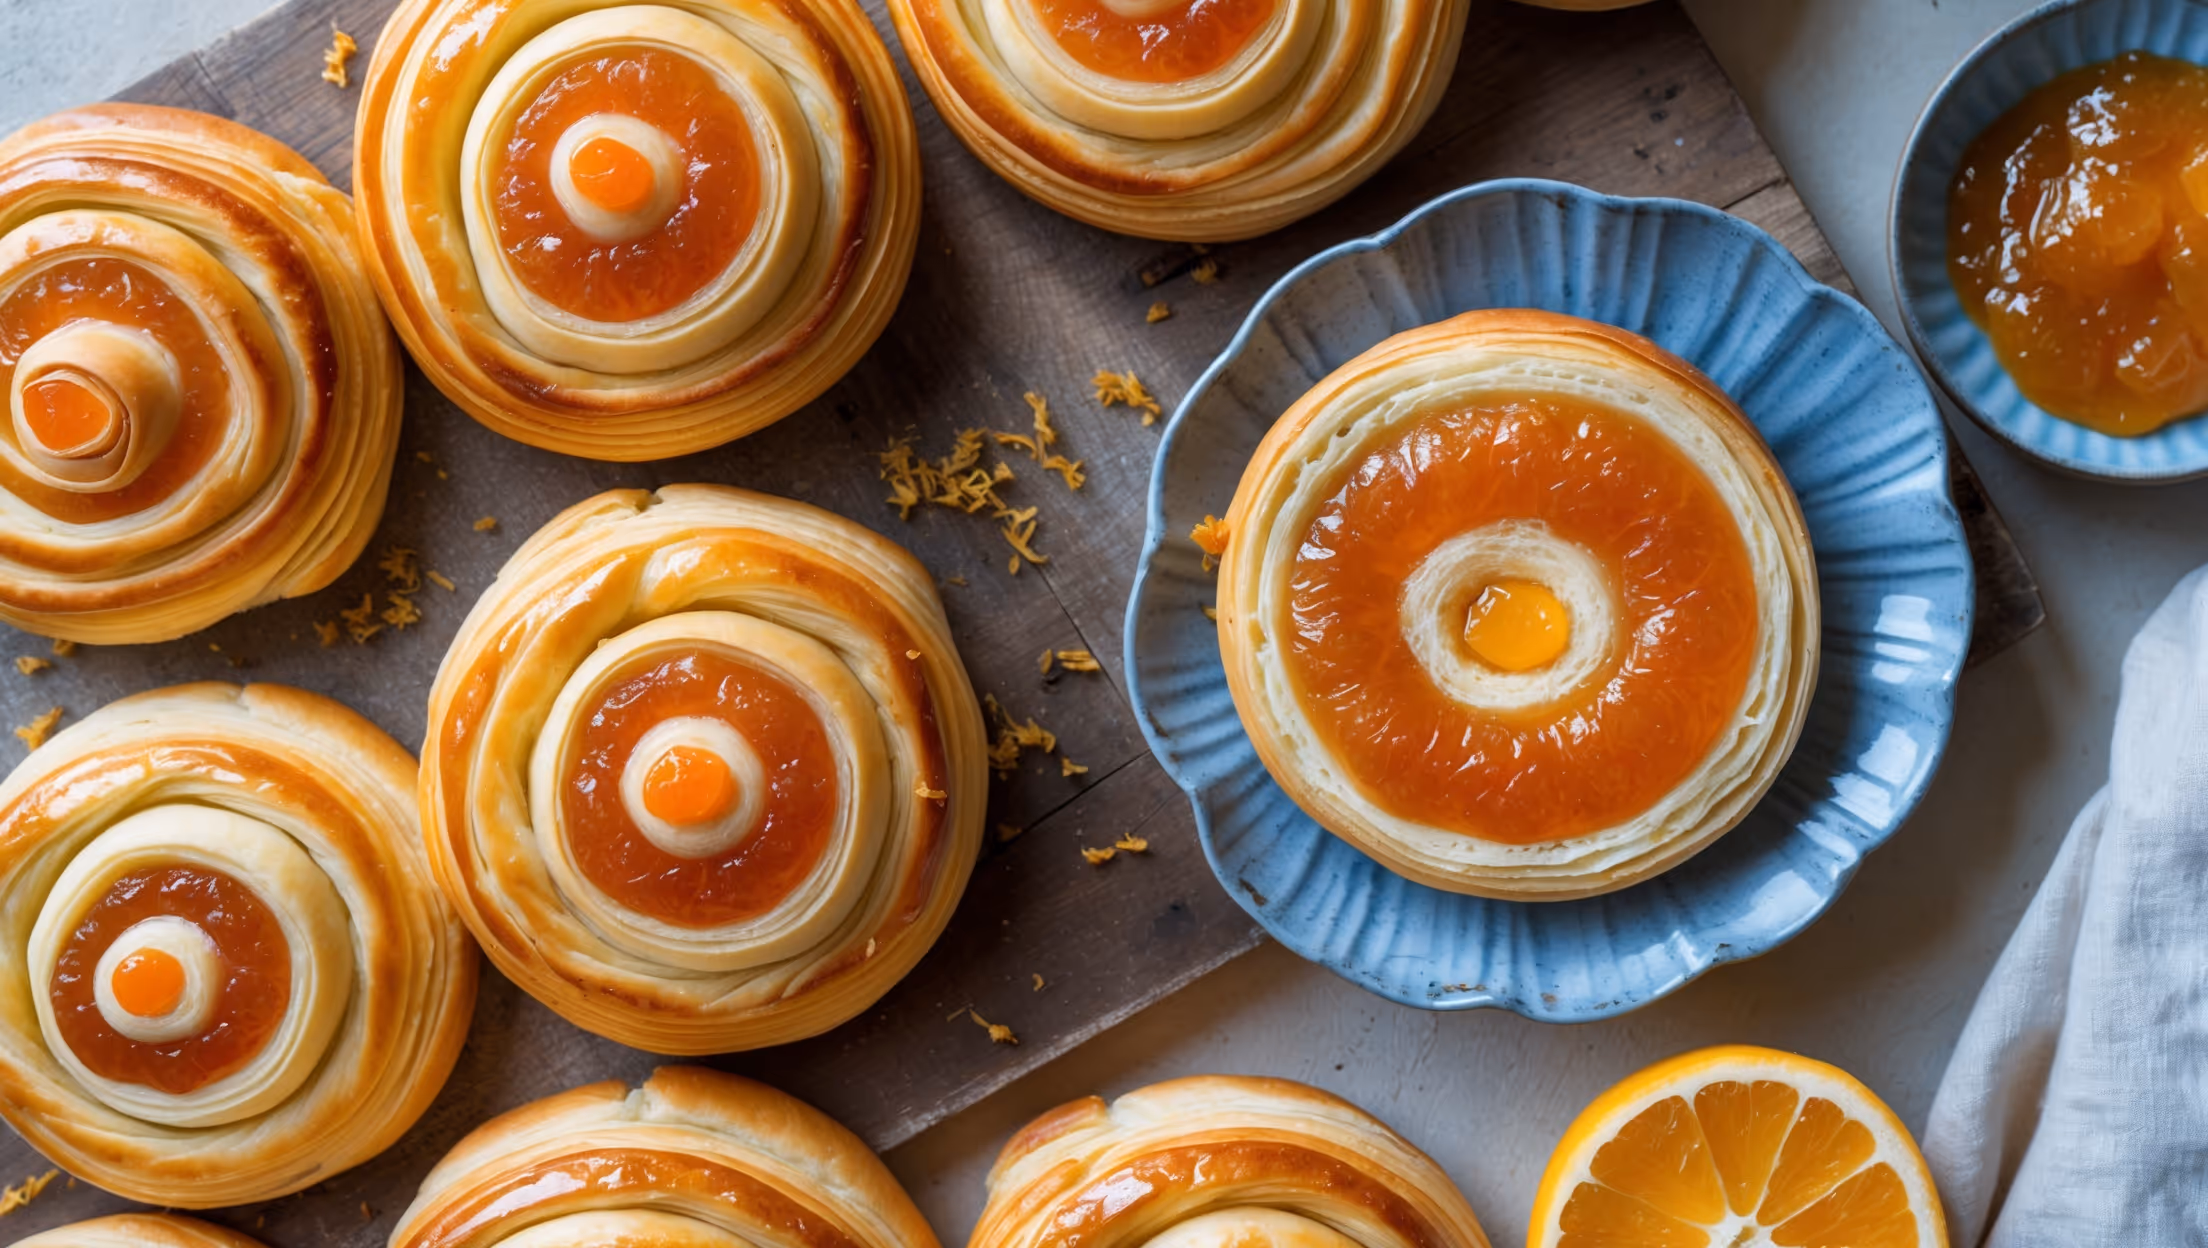
Learn how to cook Orange Danish Recipe by creating a buttery laminated dough through multiple folding techniques, filling it with thick-cut orange marmalade, and baking until golden brown. The key to success lies in keeping the butter cold throughout the folding process and allowing proper proofing time before baking at 190°C.
Your Danish pastry might lack flakiness if the butter melted during lamination. Always work with cold butter, chill the dough between turns, work quickly on a cool surface, and avoid overworking the dough. Proper lamination technique is essential for creating those distinct, flaky layers.
Absolutely! Danish pastry dough benefits from overnight refrigeration, which develops flavour and relaxes the gluten. You can refrigerate it for up to 3 days or freeze for 1 month. Just thaw overnight in the refrigerator before shaping and proofing your pastries.
While both are laminated doughs, Danish pastry contains eggs and more sugar, making it richer and slightly sweeter than croissant dough. Danish dough is also typically softer and more pliable, which allows for a wider variety of shaping options and fillings.
Danish Pastry
Try following recommended recipes


