Matcha Green Tea Danish Recipe
Ingredients
Equipment
Directions
FAQs
Find answers to your most pressing questions about this delicious recipe right here.
The recipe requires bread flour, salt, sugar, yeast, eggs, milk, butter, matcha powder, and vanilla for the custard filling. Additional ingredients include cornstarch for thickening the custard and powdered sugar for the matcha glaze.
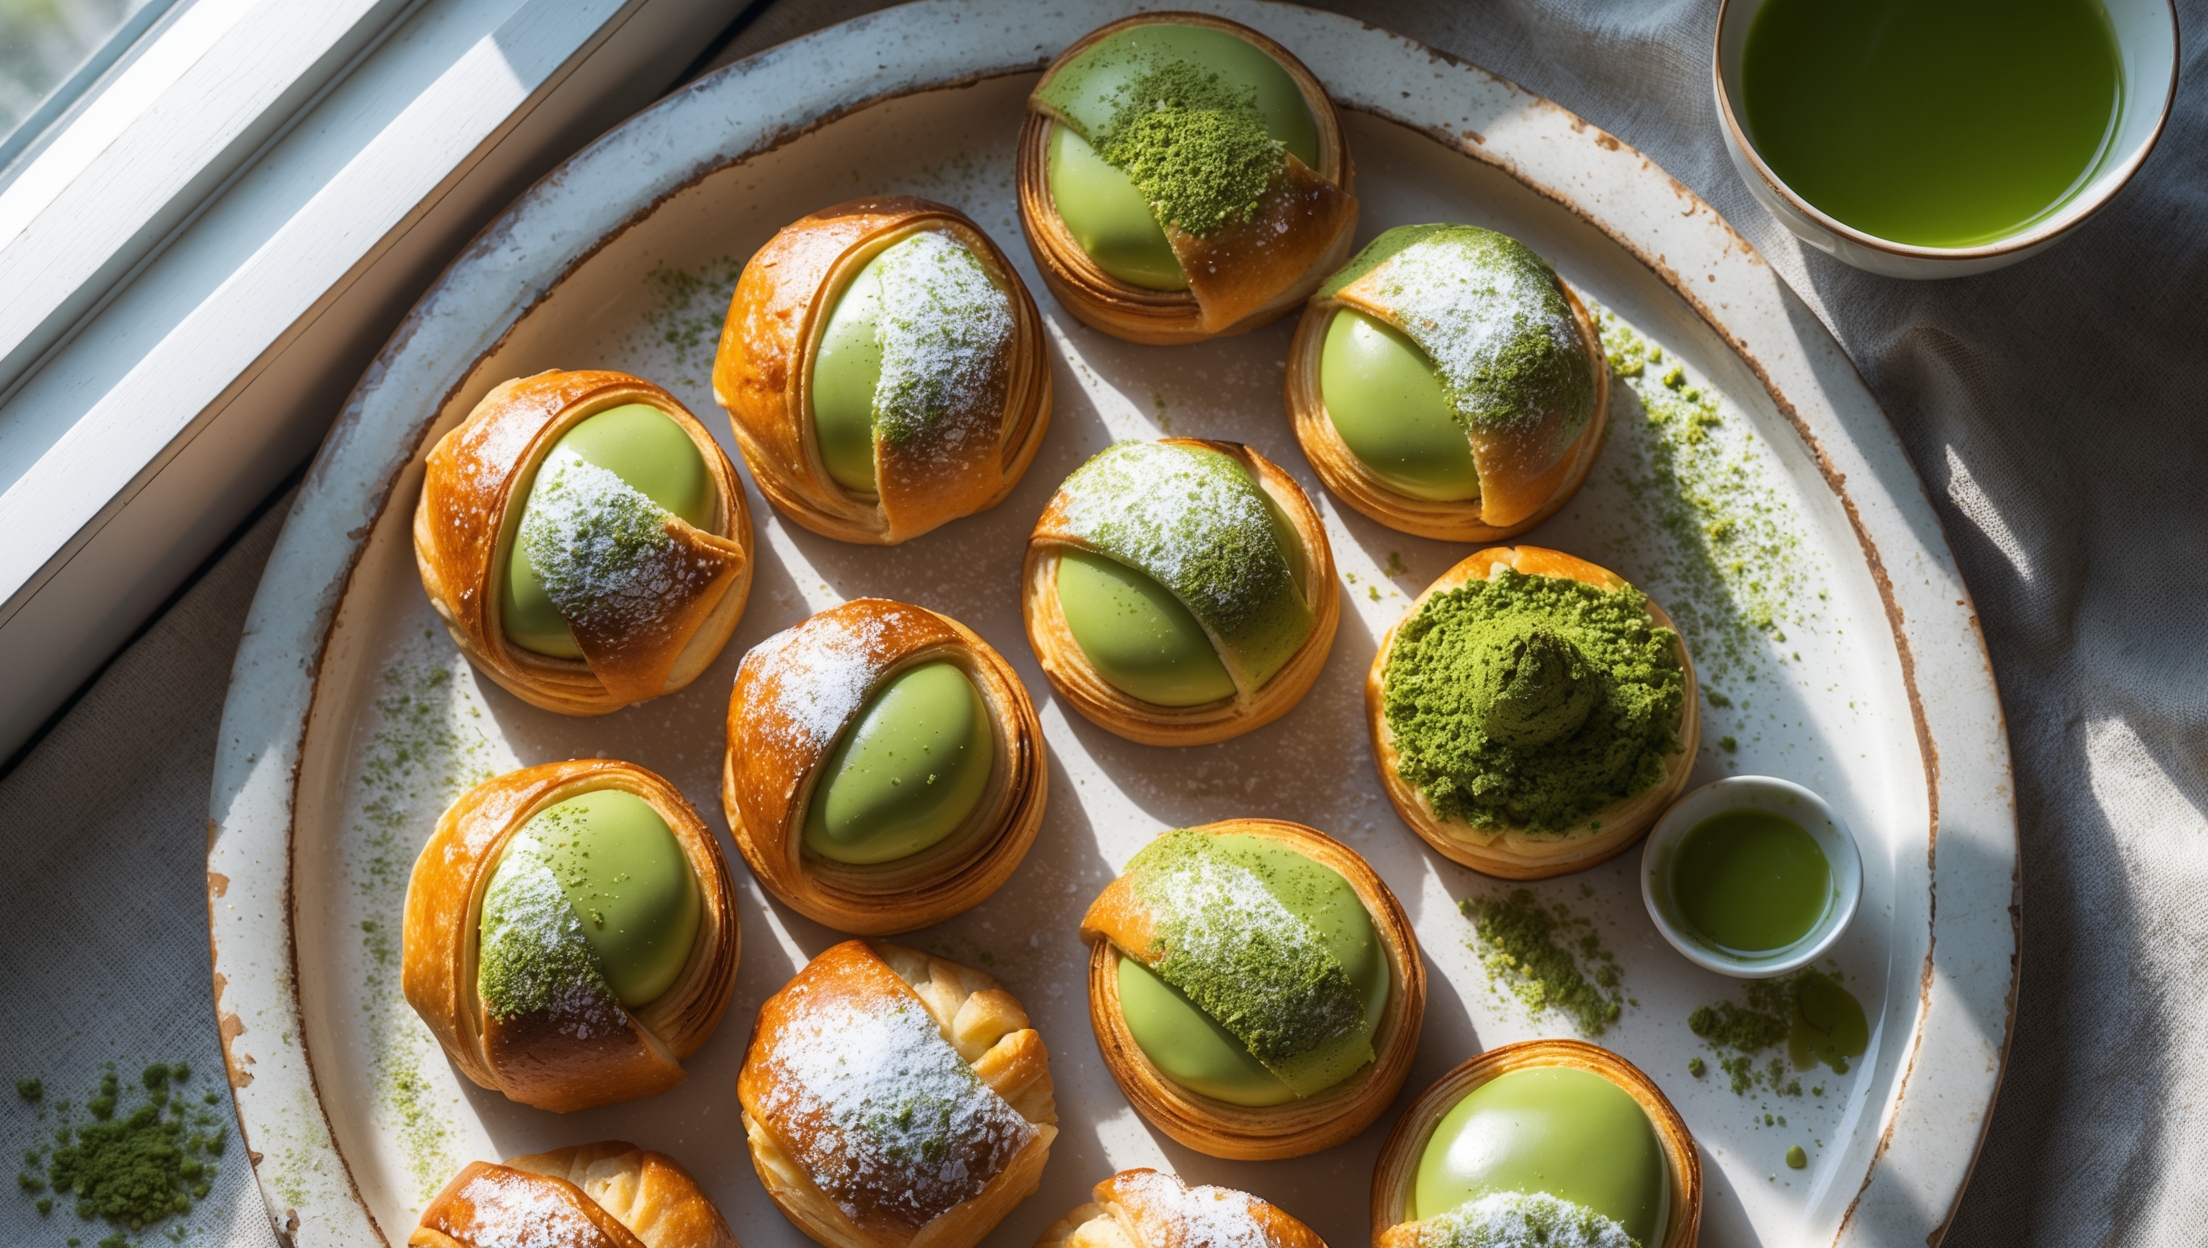
Learn how to cook Matcha Green Tea Danish Recipe by creating a laminated dough with multiple folding techniques, making a silky matcha custard filling, shaping the pastries, and baking until golden brown. The process involves chilling periods between folds and a final proofing stage before baking at 190°C for 20-25 minutes.
The secret lies in temperature control during lamination. Keep the butter cold but pliable, ensure proper resting periods between folds, and maintain even pressure while rolling. The butter should create steam during baking, pushing the dough layers apart for that signature flaky texture.
Yes! Both components can be prepared ahead. The laminated dough can be refrigerated for up to 2 days or frozen for 1 month. The matcha custard filling keeps well in the refrigerator for up to 3 days. Just ensure everything is properly wrapped to prevent drying.
Ceremonial grade matcha produces the best results for pastry fillings, offering a vibrant green colour and complex flavour without bitterness. While more expensive, it provides superior taste and appearance. Culinary grade matcha is acceptable but may result in a less intense colour and flavour.
Danish Pastry
Try following recommended recipes


