Marzipan Danish Recipe
Ingredients
Equipment
Directions
FAQs
Find answers to your most pressing questions about this delicious recipe right here.
The key ingredients include all-purpose flour, yeast, sugar, salt, milk, eggs, and unsalted butter for the laminated dough. The filling consists of marzipan, butter, and almond extract, while the finish requires a simple glaze made with powdered sugar, milk, and vanilla.
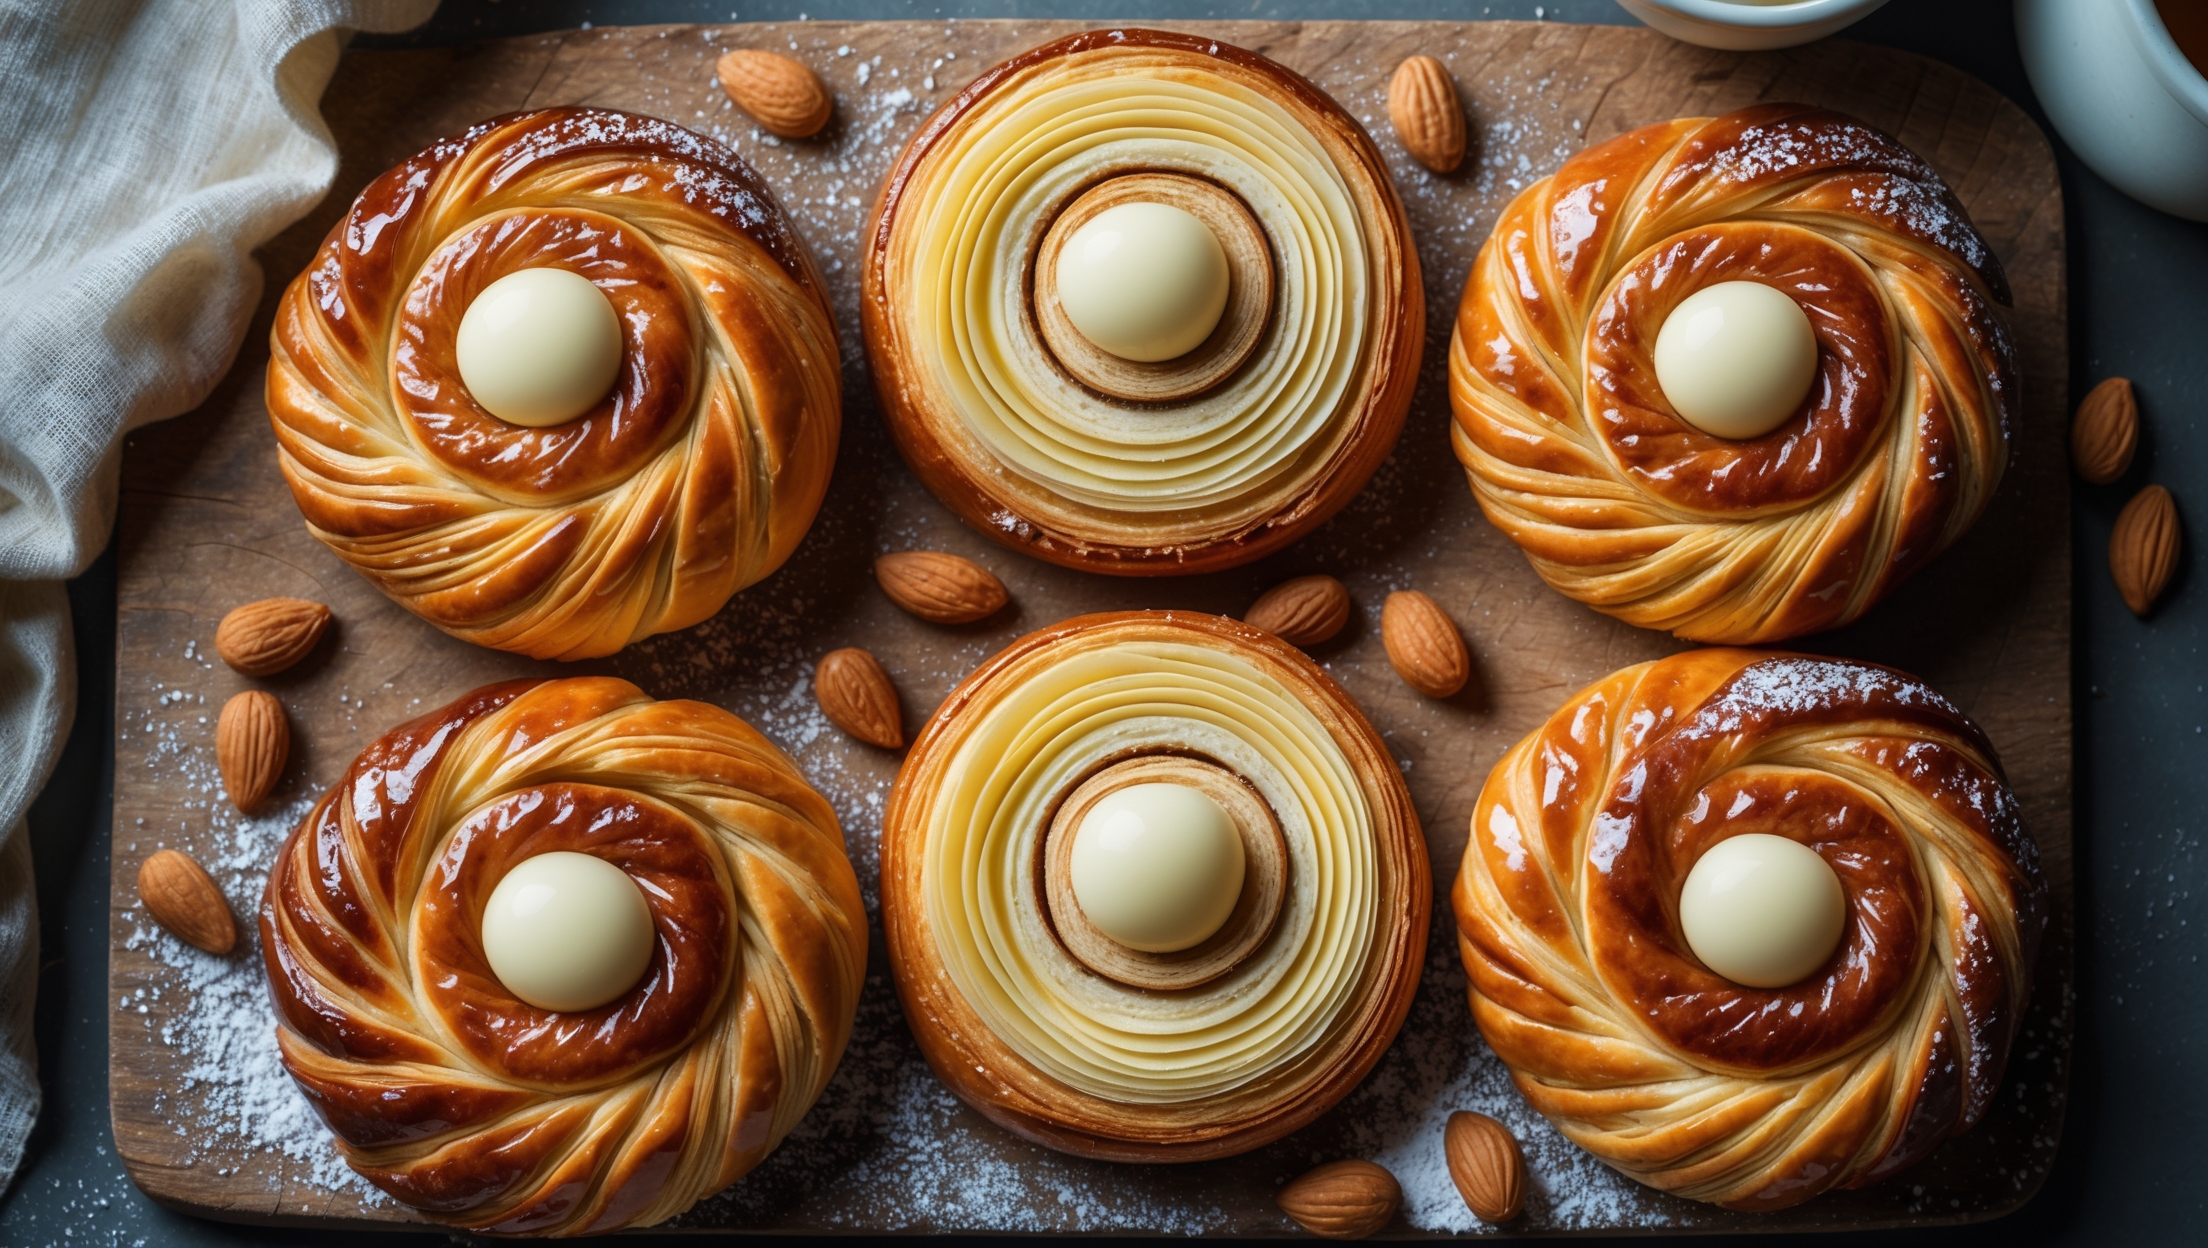
Learn how to cook Marzipan Danish Recipe by first creating a rich, yeasted dough, then laminating it with butter through a series of folds. After filling each pastry with sweetened marzipan, they're shaped, proofed, and baked until golden brown before finishing with a delicate vanilla glaze. The process creates professional-quality Danish pastries with delicious flaky layers.
Chilling between folds is crucial for Danish pastries as it prevents butter from melting into the dough. This maintains distinct butter layers that create the signature flaky texture when baked. It also relaxes the gluten, making the dough easier to roll without shrinking back and ensures cleaner, more defined layers.
Absolutely! Laminated dough can be prepared up to 3 days in advance when stored in the refrigerator, or frozen for up to 1 month. Simply wrap tightly in plastic wrap and thaw overnight in the fridge before using. This makes the time-intensive lamination process more manageable for busy bakers.
Marzipan contains more sugar and is smoother and more pliable than almond paste, making it ideal for Danish fillings. Almond paste is coarser with a stronger almond flavour and less sugar. While both work in pastries, marzipan creates a sweeter, more refined filling that holds its shape better during baking.
Danish Pastry
Try following recommended recipes


