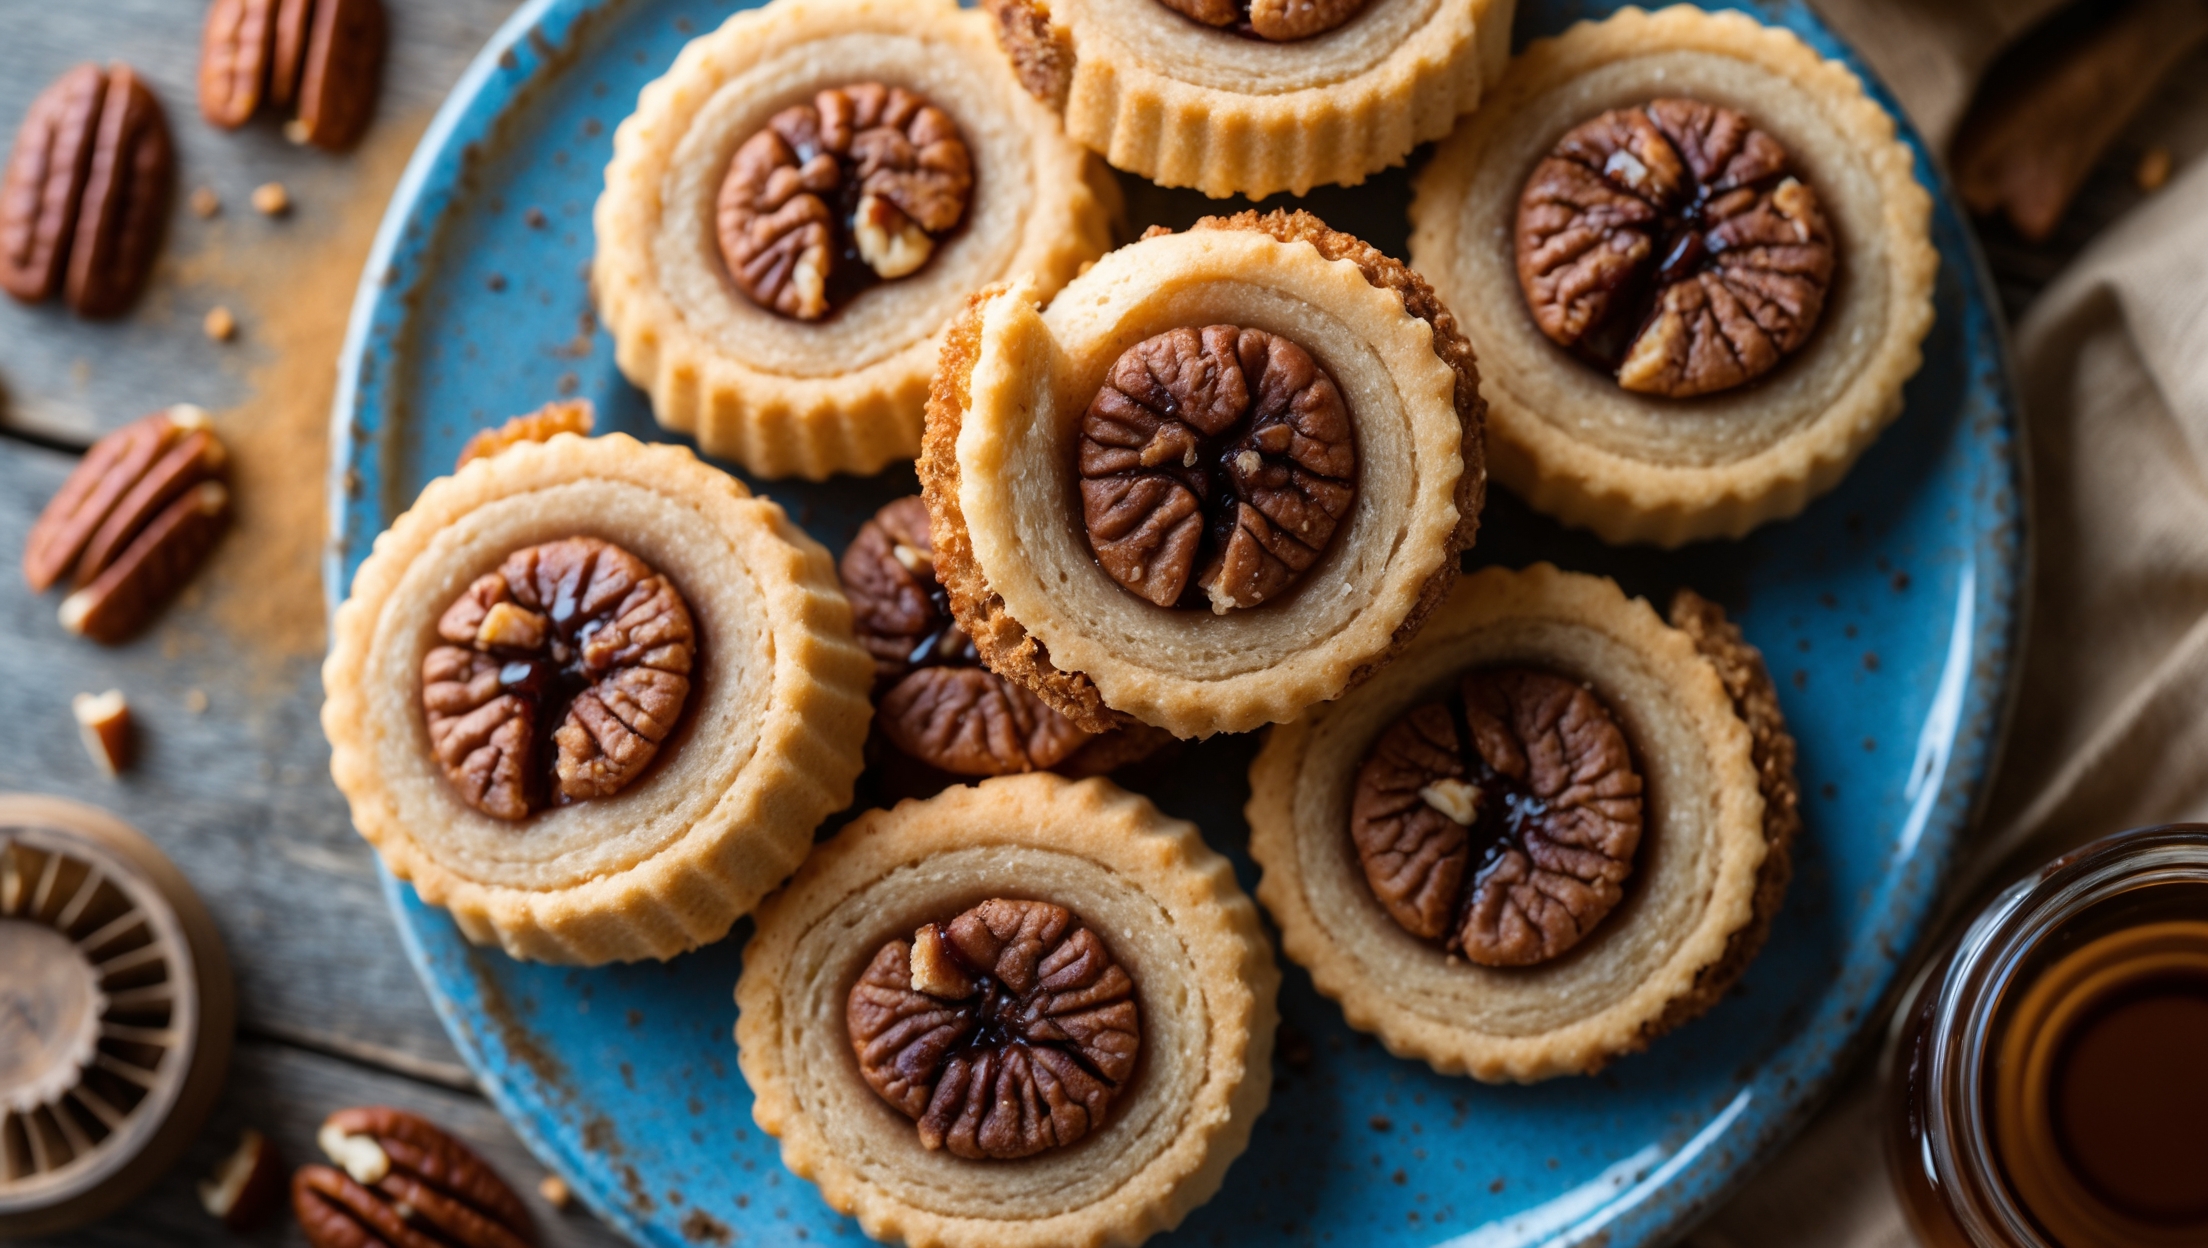
Directions
<ol class="no-list-style"><li class="MethodStepper"><h4 class="step-title">Step 1</h4>In a medium bowl, whisk together the flour and salt, then set aside. Proper distribution of salt ensures even flavor throughout the dough and helps enhance the sweetness of the cookie base.</li><li class="MethodStepper"><h4 class="step-title">Step 2</h4>In your stand mixer fitted with the paddle attachment, cream together the softened butter and granulated sugar on medium-high speed for about 3-4 minutes until light and fluffy. This extended creaming process incorporates air into the mixture, resulting in a tender cookie texture.</li><li class="MethodStepper"><h4 class="step-title">Step 3</h4>Add the egg, vanilla extract, and 1 teaspoon of the maple extract (or 1 tablespoon maple syrup), mixing until well combined, about 30 seconds. Be sure to scrape down the sides of the bowl to ensure everything is evenly incorporated.</li><li class="MethodStepper"><h4 class="step-title">Step 4</h4>With the mixer on low speed, gradually add the flour mixture until just combined. Be careful not to overmix at this stage as it can develop too much gluten, resulting in tough cookies rather than tender ones.</li><li class="MethodStepper"><h4 class="step-title">Step 5</h4>Remove the dough from the mixer, divide it in half, form each half into a disc, and wrap in plastic wrap. Refrigerate for at least 30 minutes or until firm enough to roll. Chilling relaxes the gluten and solidifies the butter, making the dough easier to handle and preventing spreading during baking.</li><li class="MethodStepper"><h4 class="step-title">Step 6</h4>While the dough chills, prepare the filling by mixing together the brown sugar, cinnamon, and finely chopped pecans in a bowl. Stir in the remaining maple extract (or 1 tablespoon maple syrup) until the mixture is slightly moistened and holds together when pressed.</li><li class="MethodStepper"><h4 class="step-title">Step 7</h4>Working with one disc at a time (keeping the other refrigerated), roll the dough on a lightly floured surface into a rectangle approximately 25cm × 30cm (10 × 12 inches) and about 5mm (1/4 inch) thick. Use even, gentle pressure to create a uniform thickness for even baking.</li><li class="MethodStepper"><h4 class="step-title">Step 8</h4>Sprinkle half of the pecan filling evenly over the dough, leaving a 1cm (1/2 inch) border along one of the long edges. Press the filling gently into the dough to help it adhere during rolling.</li><li class="MethodStepper"><h4 class="step-title">Step 9</h4>Starting from the long edge that doesn't have the border, carefully roll the dough into a tight log, using the uncovered border to seal the roll. The tighter your roll, the more distinct your spiral pattern will be in the finished cookies.</li><li class="MethodStepper"><h4 class="step-title">Step 10</h4>Wrap the log in plastic wrap and refrigerate for at least 2 hours or overnight. This extended chilling time is crucial—it firms the dough completely, allowing you to cut clean slices and helping the cookies maintain their shape during baking.</li><li class="MethodStepper"><h4 class="step-title">Step 11</h4>Repeat steps 7-10 with the second portion of dough and remaining filling. If you're short on time, you can freeze one log for later use (it will keep for up to 3 months if well-wrapped).</li><li class="MethodStepper"><h4 class="step-title">Step 12</h4>When ready to bake, preheat your oven to 180°C (350°F) and line baking sheets with parchment paper. The parchment prevents sticking and makes cleanup easier, especially if any filling leaks out during baking.</li><li class="MethodStepper"><h4 class="step-title">Step 13</h4>Remove one log from the refrigerator and let it sit at room temperature for about 5-10 minutes (just enough to slightly soften for easier cutting, but not so long that it becomes too soft).</li><li class="MethodStepper"><h4 class="step-title">Step 14</h4>Using a sharp knife, cut the log into 1cm (3/8 inch) thick slices. Place the slices about 5cm (2 inches) apart on the prepared baking sheets, as they will expand slightly during baking.</li><li class="MethodStepper"><h4 class="step-title">Step 15</h4>Bake for 10-12 minutes, until the edges are just beginning to turn golden. Don't overbake—the cookies should remain relatively pale with just hints of gold at the edges for the perfect texture balance between crisp and tender.</li><li class="MethodStepper"><h4 class="step-title">Step 16</h4>Allow the cookies to cool on the baking sheet for 5 minutes before transferring to a wire rack to cool completely. This brief rest on the hot sheet allows the cookies to firm up enough to move without breaking.</li><li class="MethodStepper"><h4 class="step-title">Step 17</h4>While the cookies cool, prepare the maple glaze by whisking together the powdered sugar, maple syrup, and enough milk to achieve a drizzling consistency. The glaze should coat the back of a spoon but still run off smoothly.</li><li class="MethodStepper"><h4 class="step-title">Step 18</h4>Once the cookies are completely cool, drizzle the maple glaze over them and allow it to set for about 30 minutes. For a more professional finish, transfer the glaze to a small piping bag or zip-top bag with a corner snipped off for more controlled drizzling.</li><li class="MethodStepper"><h4 class="step-title">Step 19</h4>Store the cookies in an airtight container at room temperature for up to 5 days, or freeze unglazed cookies for up to 3 months. If stacking, place parchment between layers to prevent sticking, especially if glazed.</li></ol>