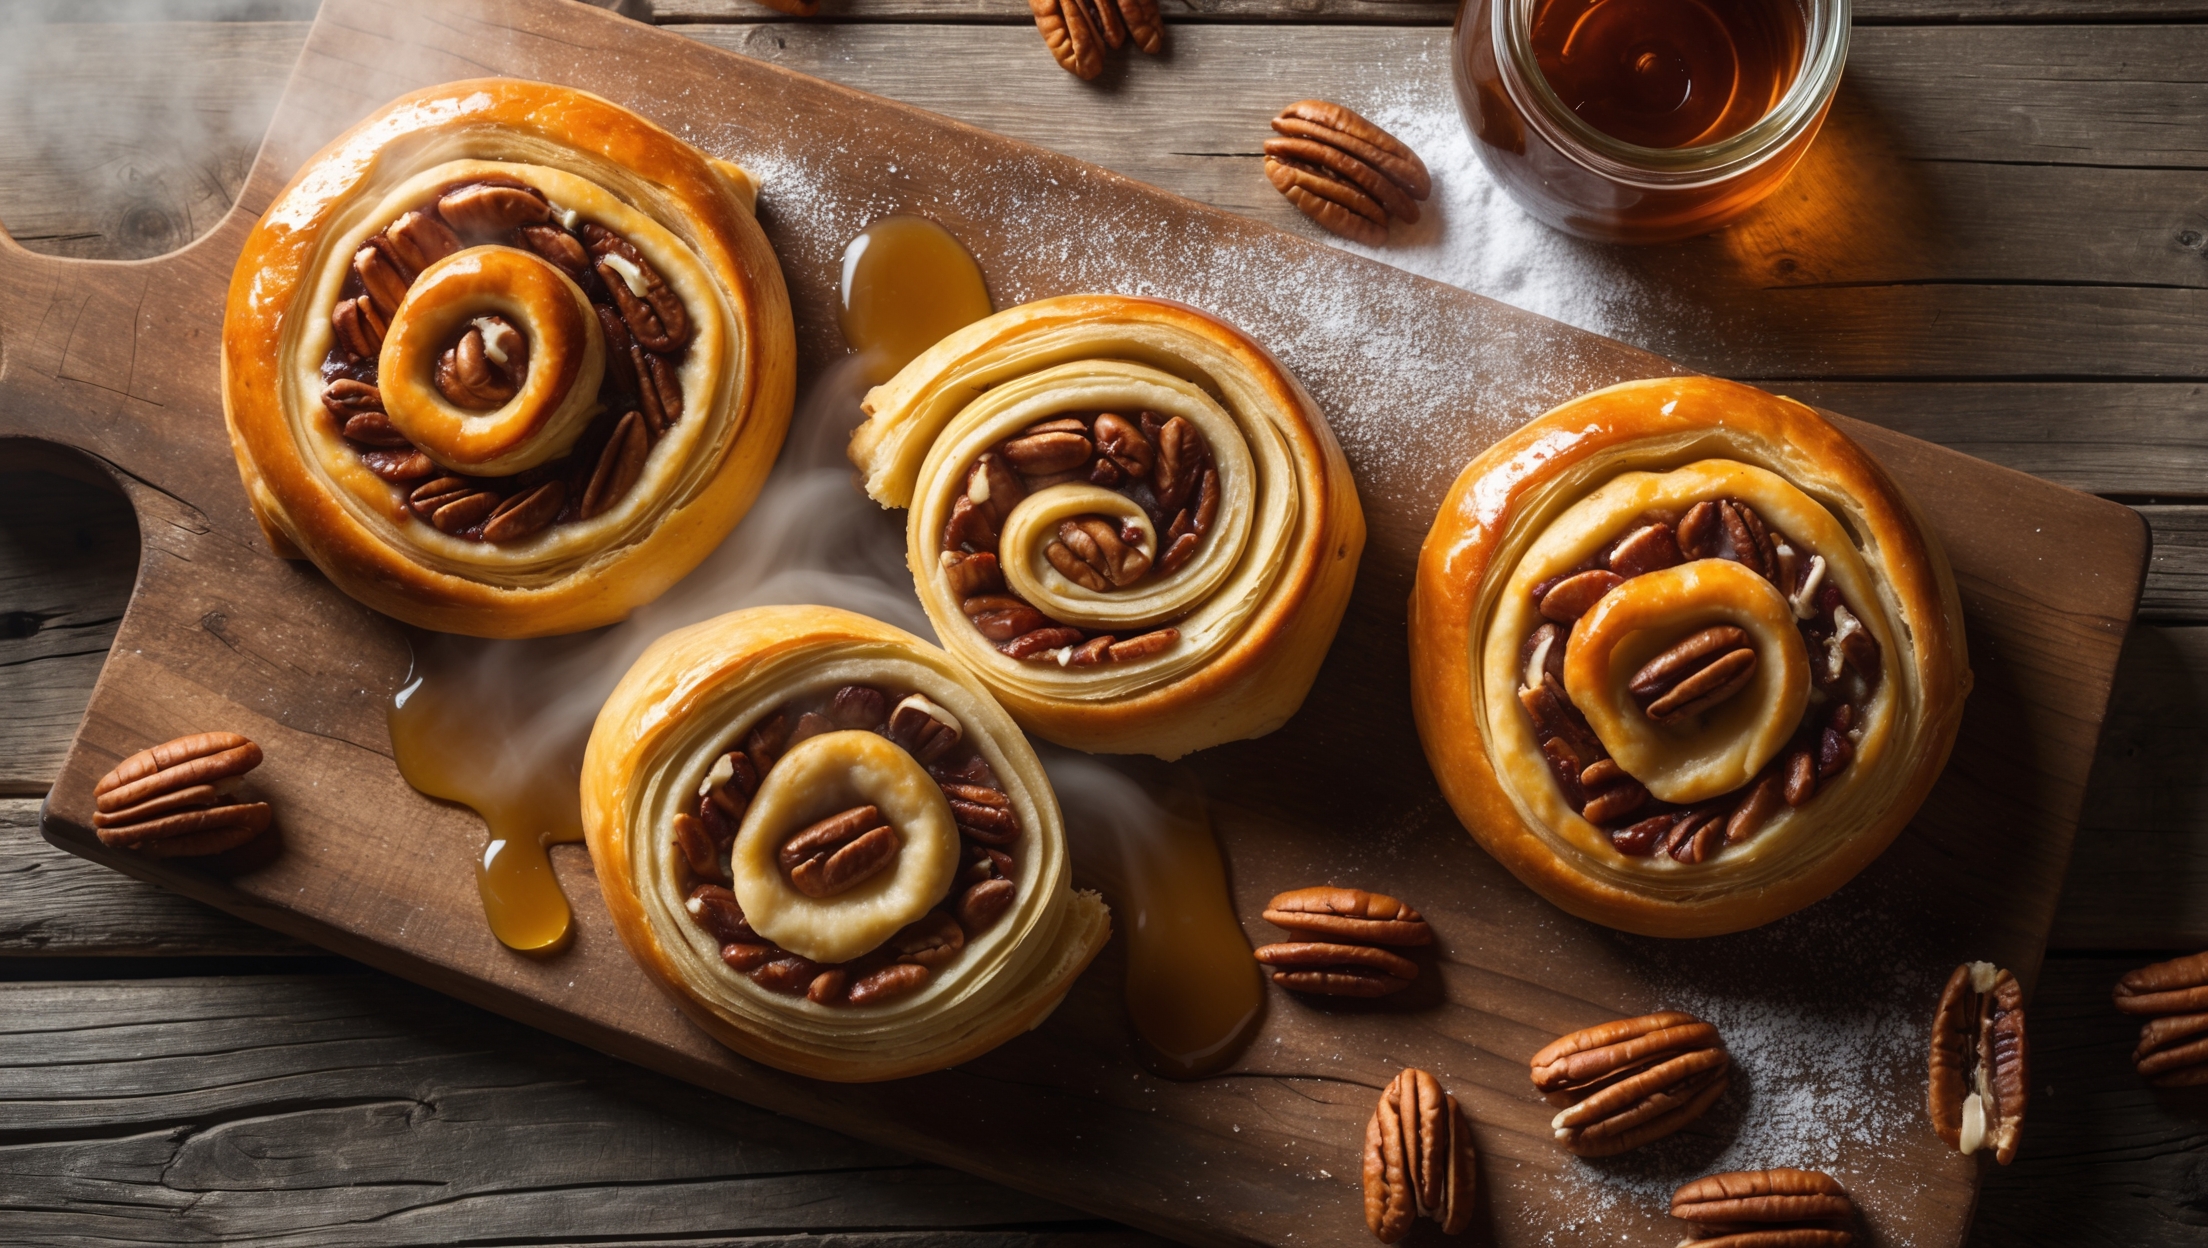
Directions
<ol class="no-list-style"> <li class="MethodStepper"> <h4 class="step-title">Step 1</h4> Begin by making the Danish dough. In the bowl of a stand mixer fitted with the dough hook, combine the flour, yeast, sugar, and salt. Mix briefly to combine. In a separate bowl, whisk together the cold milk and egg. With the mixer running on low speed, slowly add the milk mixture to the dry ingredients. Mix for 4-5 minutes until a smooth dough forms that pulls away from the sides of the bowl. The cold ingredients help prevent the butter from melting too quickly during lamination. </li> <li class="MethodStepper"> <h4 class="step-title">Step 2</h4> Turn the dough onto a lightly floured surface and knead briefly to form a ball. Place in a lightly oiled bowl, cover with plastic wrap, and refrigerate for 30 minutes. Chilling the dough relaxes the gluten and makes lamination easier. </li> <li class="MethodStepper"> <h4 class="step-title">Step 3</h4> While the dough chills, prepare the butter block for lamination. Place the cold butter between two sheets of parchment paper and beat with a rolling pin until pliable but still cold. Shape into a 15cm square, wrap in the parchment, and refrigerate until needed. The butter should be cool but malleable - the same consistency as your dough for successful lamination. </li> <li class="MethodStepper"> <h4 class="step-title">Step 4</h4> On a lightly floured surface, roll the chilled dough into a 30cm square. Place the butter block diagonally in the center so the corners of the butter point to the middle of the dough's sides. Fold the corners of the dough over the butter, overlapping them like an envelope. Seal the edges by pinching them together. </li> <li class="MethodStepper"> <h4 class="step-title">Step 5</h4> Roll the dough into a rectangle about 45cm x 20cm, keeping the edges straight. Fold the dough in thirds like a business letter (this is your first "turn"). Wrap in plastic and refrigerate for 30 minutes. This resting period keeps the butter cold and prevents it from leaking through the dough. </li> <li class="MethodStepper"> <h4 class="step-title">Step 6</h4> Repeat the rolling, folding, and chilling process two more times, always keeping the open seam to the right before rolling. After the third turn, wrap the dough and refrigerate for at least 2 hours or overnight. Multiple turns create the signature flaky layers in Danish pastry. </li> <li class="MethodStepper"> <h4 class="step-title">Step 7</h4> Meanwhile, prepare the maple pecan filling. Toast the pecans in a dry skillet over medium heat for 5-7 minutes until fragrant, stirring frequently to prevent burning. Let cool, then roughly chop. Toasting enhances the nuts' flavor and gives them better crunch. </li> <li class="MethodStepper"> <h4 class="step-title">Step 8</h4> In a medium bowl, beat the cream cheese until smooth. Add the maple syrup, sugar, egg yolk, cornstarch, and vanilla extract. Mix until well combined. Fold in most of the chopped pecans, reserving some for topping. Refrigerate until needed. </li> <li class="MethodStepper"> <h4 class="step-title">Step 9</h4> When ready to shape, roll the chilled dough on a lightly floured surface into a rectangle about 60cm x 30cm and 3-4mm thick. Trim the edges with a sharp knife to create neat sides. Cut the dough into 12 equal squares. </li> <li class="MethodStepper"> <h4 class="step-title">Step 10</h4> Place a heaping tablespoon of filling in the center of each square. Make cuts from each corner toward the center, stopping about 2.5cm from the filling. Fold every other point into the center, pressing gently to seal, creating a pinwheel shape. Alternatively, fold two opposite corners over the filling and press to seal for a simpler shape. </li> <li class="MethodStepper"> <h4 class="step-title">Step 11</h4> Transfer the shaped danishes to parchment-lined baking sheets, leaving 5cm between each. Cover loosely with oiled plastic wrap and let rise in a warm place for 45-60 minutes until puffy but not doubled. The slow rise develops flavor and ensures the pastry will be light. </li> <li class="MethodStepper"> <h4 class="step-title">Step 12</h4> Preheat your oven to 190°C. Make the egg wash by whisking together the egg and milk. Gently brush the danishes with the egg wash, being careful not to deflate them. Sprinkle with some of the reserved chopped pecans. The egg wash gives the pastries their golden, shiny finish. </li> <li class="MethodStepper"> <h4 class="step-title">Step 13</h4> Bake for 22-25 minutes, rotating the pans halfway through, until the danishes are deeply golden brown. They should feel light for their size and sound hollow when tapped on the bottom. Transfer to a wire rack to cool slightly. </li> <li class="MethodStepper"> <h4 class="step-title">Step 14</h4> While the danishes are cooling, prepare the maple glaze by whisking together the powdered sugar, maple syrup, salt, and just enough milk to achieve a thick but pourable consistency. The glaze should coat the back of a spoon but still flow slowly. </li> <li class="MethodStepper"> <h4 class="step-title">Step 15</h4> When the danishes are still warm but not hot (about 10-15 minutes after baking), drizzle the maple glaze over them. The residual warmth helps the glaze to partially set while still remaining slightly sticky. Sprinkle with any remaining chopped pecans if desired. </li> <li class="MethodStepper"> <h4 class="step-title">Step 16</h4> Serve the Maple Pecan Danishes warm or at room temperature. They're best enjoyed the day they're made, but can be stored in an airtight container for up to 2 days. To refresh, warm them in a 150°C oven for 5 minutes. The flavor of maple and pecans will actually intensify slightly on the second day. </li> </ol>