Mango Danish Recipe
Ingredients
Equipment
Directions
FAQs
Find answers to your most pressing questions about this delicious recipe right here.
The key ingredients include all-purpose flour, yeast, eggs, cold butter for laminating, ripe mangoes, sugar, cornstarch, lemon juice, and vanilla extract. The pastry requires proper lamination butter and the filling needs fresh mangoes for the best tropical flavour.
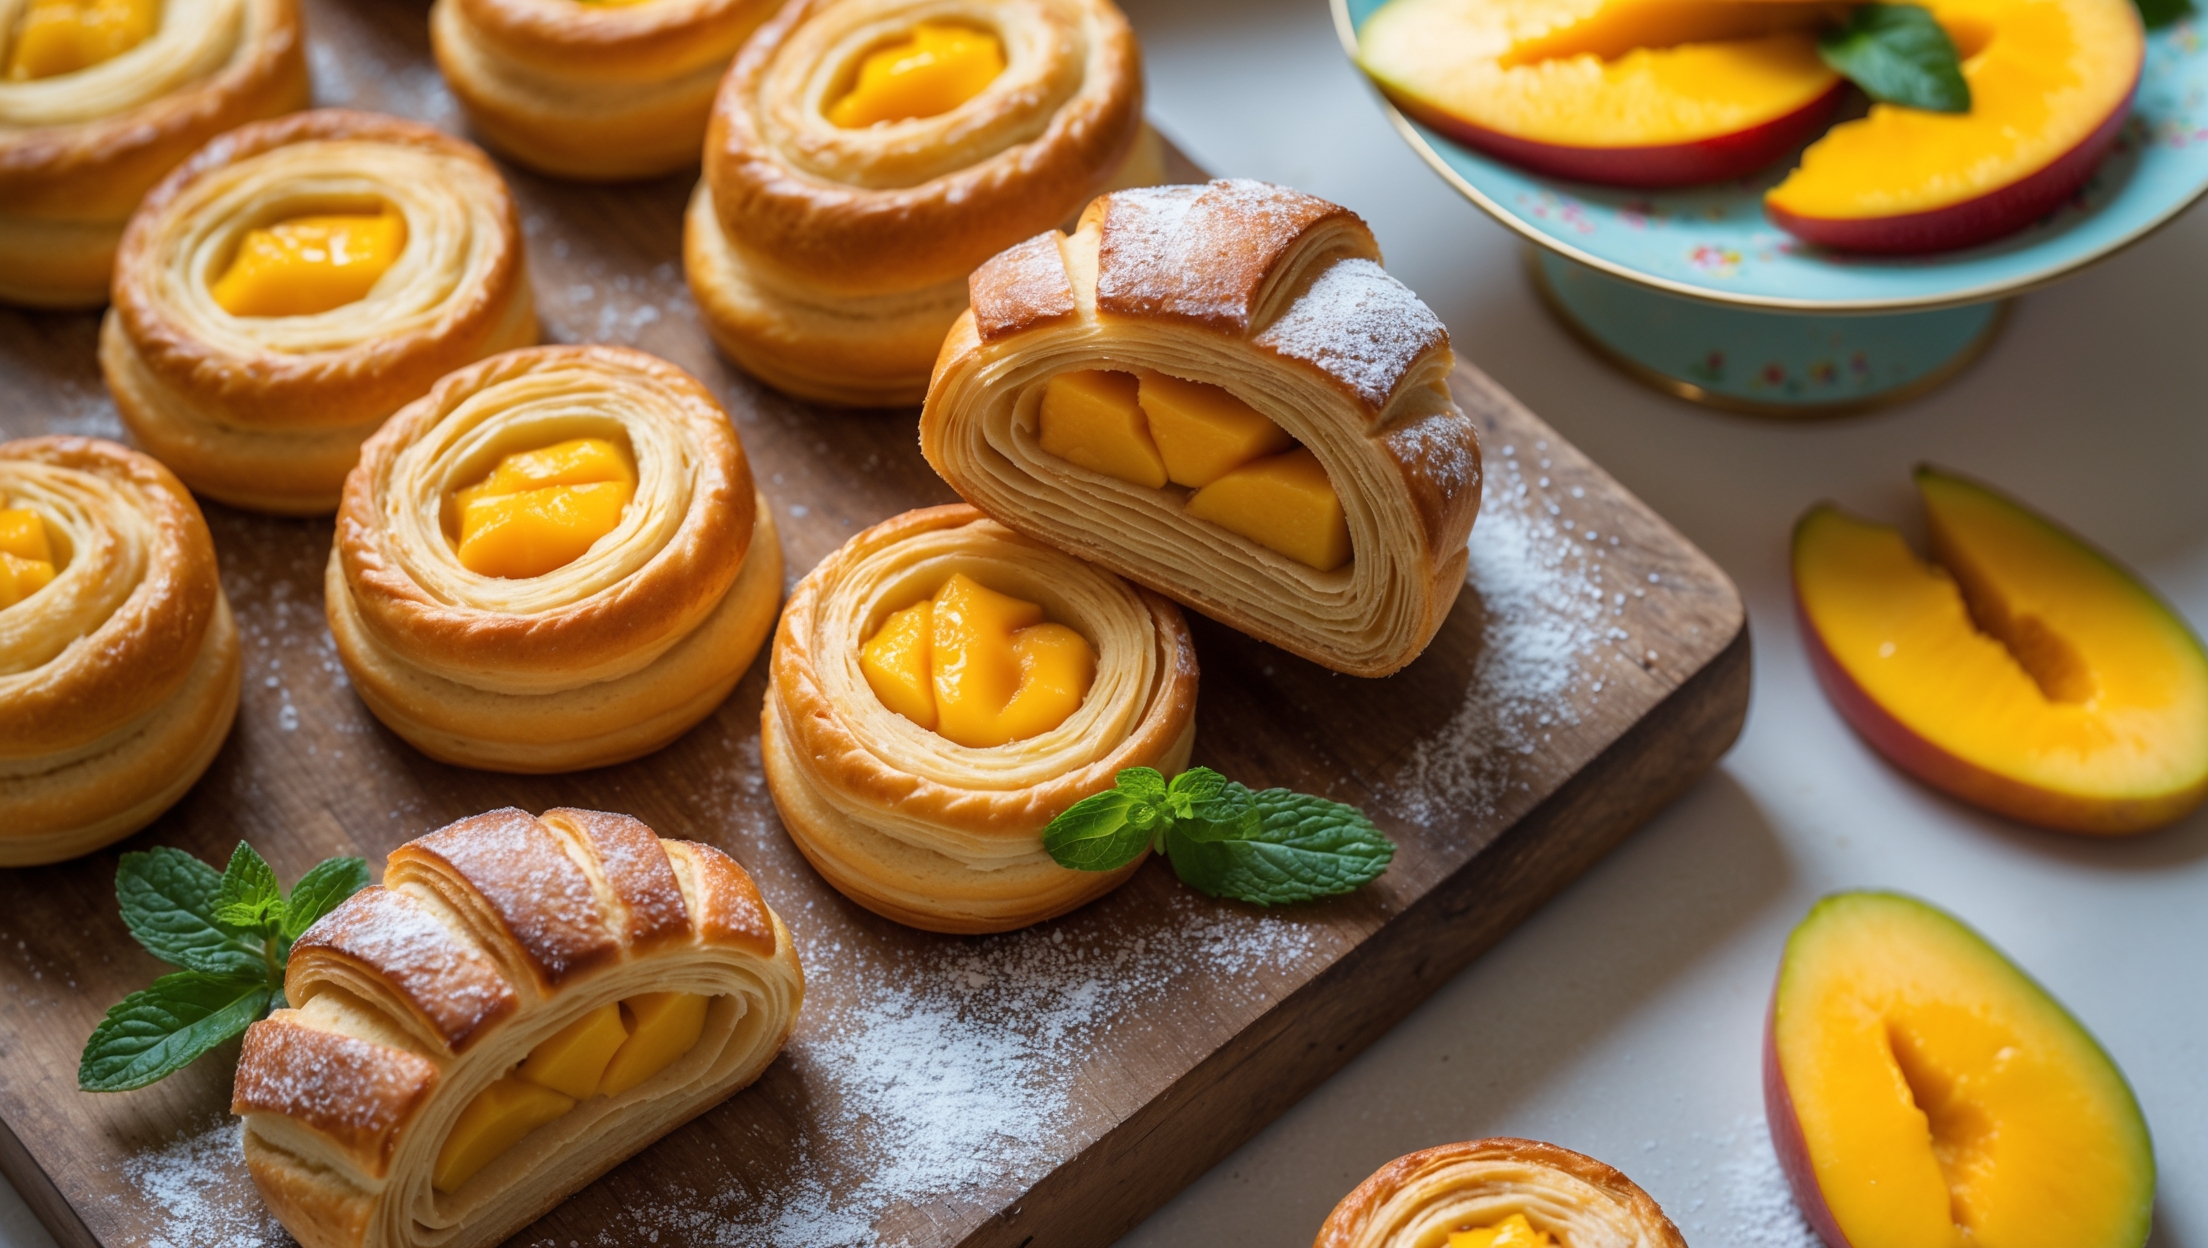
Learn how to cook Mango Danish Recipe by mastering the lamination technique - folding butter into dough to create flaky layers. Prepare the dough, create the mango filling, then perform three "turns" with resting periods between each. Shape your pastries, let them rise, bake at 190°C until golden, and finish with a sweet glaze.
Resting the dough allows the gluten to relax and the butter to firm up again. Without proper rest periods, the butter can melt into the dough instead of creating distinct layers, resulting in a dense pastry rather than the desired light, flaky texture with visible lamination.
Yes, you can use frozen mangoes (thawed and drained) when fresh aren't available. Canned mangoes work too but drain thoroughly and reduce sugar as they're often pre-sweetened. Fresh mangoes provide the best flavour and texture, with alphonso or ataulfo varieties being ideal.
You can freeze shaped, unbaked Danish pastries for up to a month. Place them on a baking sheet until solid, then transfer to freezer bags. When ready to bake, thaw overnight in the refrigerator, let rise at room temperature for 1-2 hours, then bake as directed.
Danish Pastry
Try following recommended recipes


