Lemon Curd Danish Recipe
Ingredients
Equipment
Directions
FAQs
Find answers to your most pressing questions about this delicious recipe right here.
The key ingredients include strong bread flour, salt, sugar, yeast, eggs, milk, butter (for lamination), lemons, and additional eggs for the lemon curd. The recipe also requires an egg wash and optional icing sugar glaze for finishing touches.
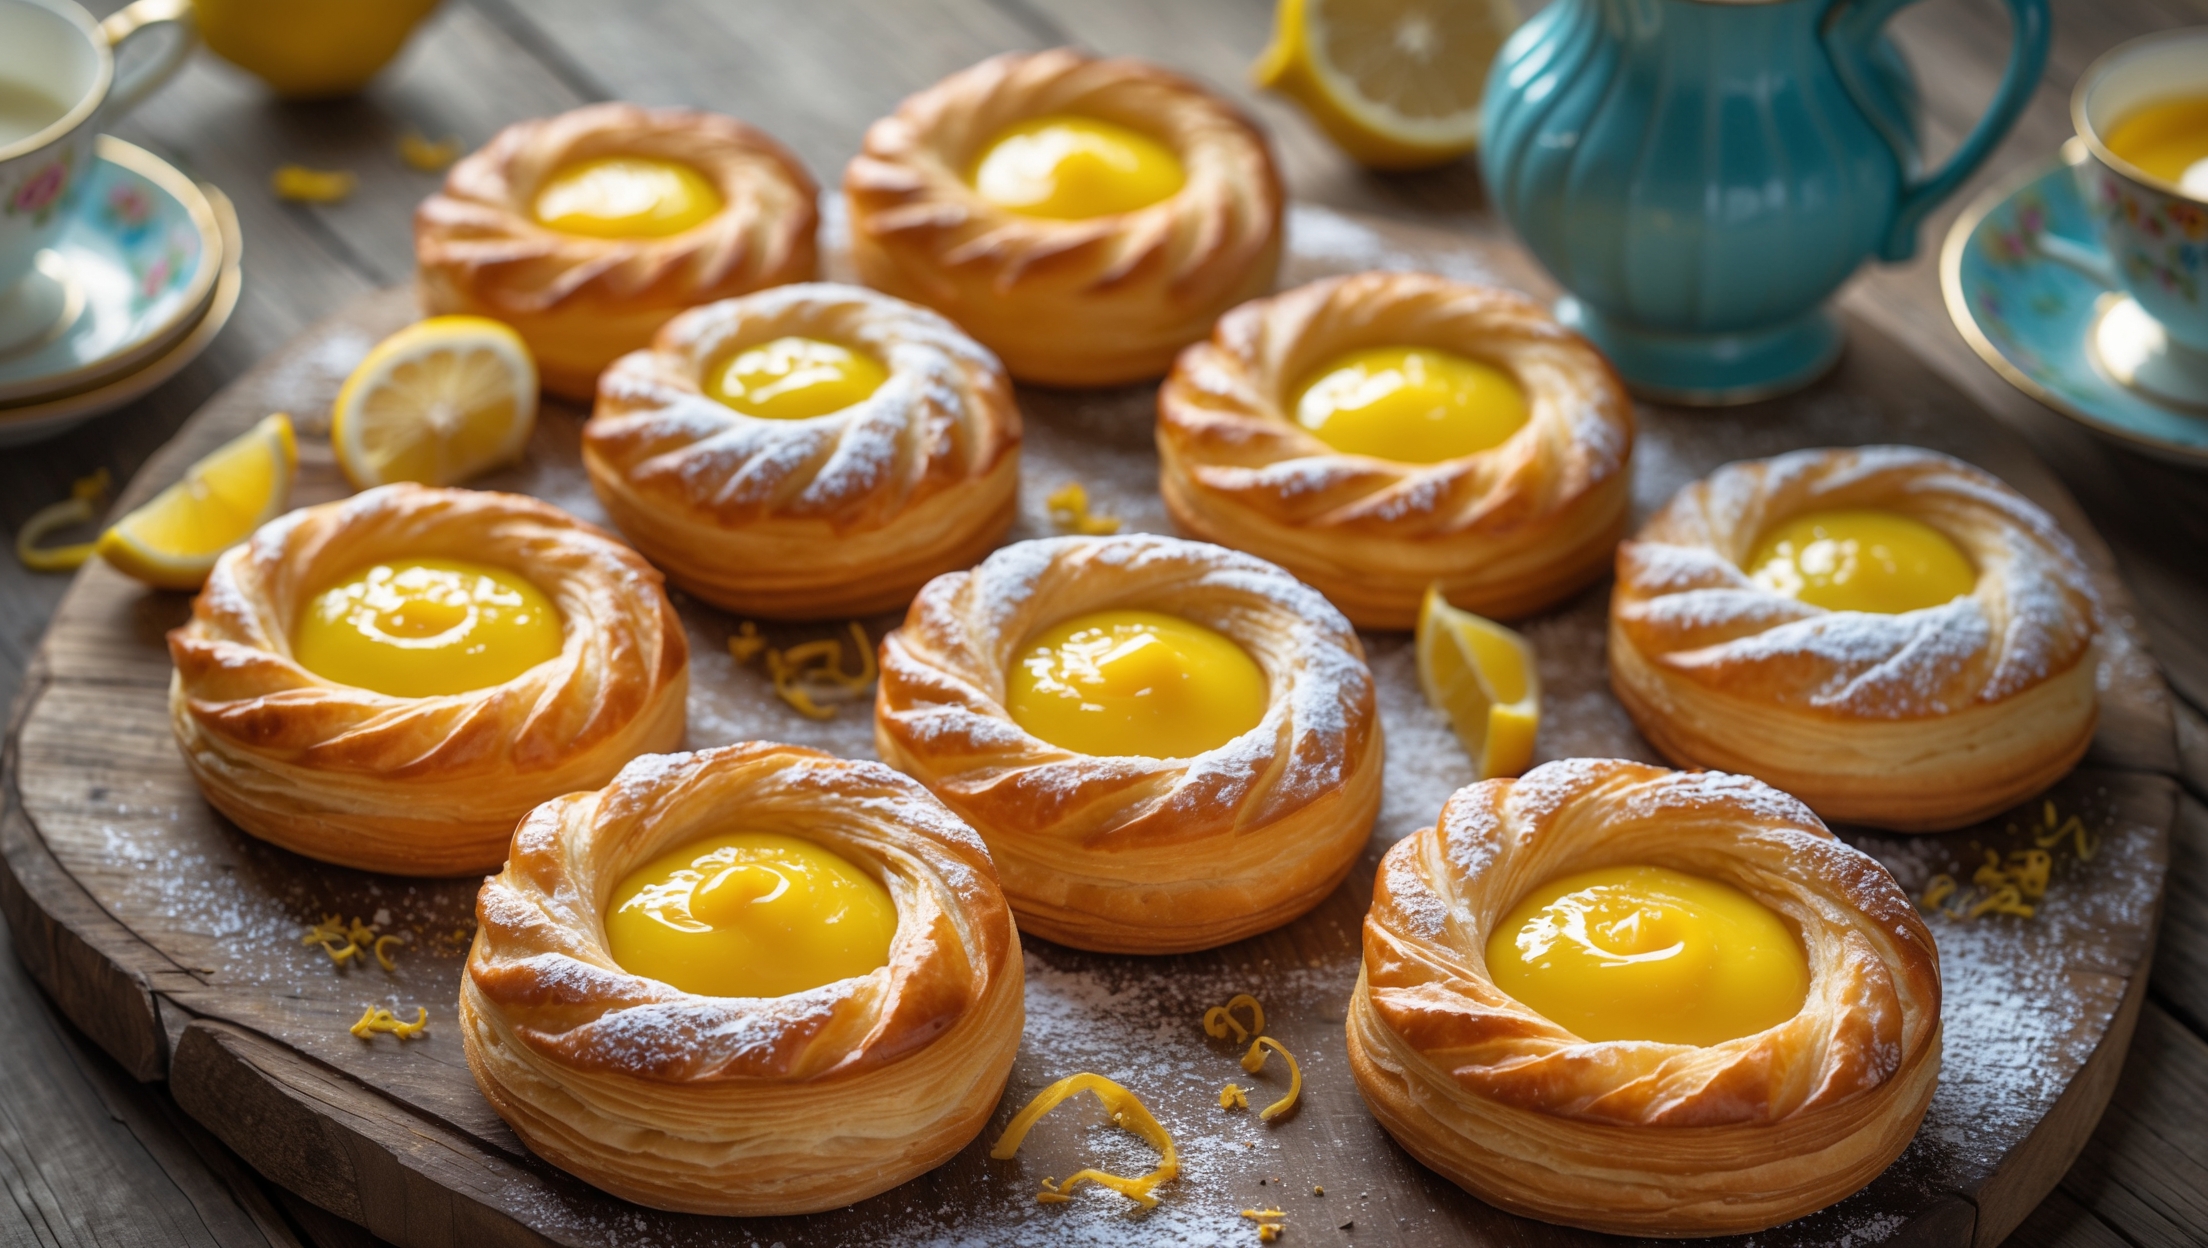
Learn how to cook Lemon Curd Danish Recipe by mastering three key processes: creating a tangy homemade lemon curd, preparing a properly laminated Danish pastry dough with multiple folding stages, and shaping individual pastries that are filled with curd before being baked until golden at 190°C for 15-18 minutes.
The key to flaky Danish pastry lies in proper lamination - creating alternating layers of dough and cold butter through multiple folding and chilling cycles. Maintaining cold temperature throughout, rolling to even thickness, and adequate resting time between folds ensures perfect honeycomb layers.
Runny lemon curd typically results from insufficient cooking time or temperature. Ensure it reaches 82°C and coats the back of a spoon. To fix runny curd, return it to heat and gently cook longer, or add a cornstarch slurry (1 tsp cornstarch mixed with water) while whisking continuously.
Yes! Prepare the dough and lemon curd separately up to 2 days ahead and refrigerate. You can also freeze the shaped, unbaked pastries for up to a month. For the freshest results, bake them on the morning of your event and apply the glaze just before serving.
Danish Pastry
Try following recommended recipes


