Laminated Chocolate Valrhona Danish with Gold Leaf Recipe
Ingredients
Equipment
Directions
FAQs
Find answers to your most pressing questions about this delicious recipe right here.
The key ingredients include strong bread flour, yeast, eggs, whole milk, unsalted butter for lamination, premium Valrhona dark chocolate (70% cocoa), edible gold leaf, and apricot jam for glazing. These create the delicate layers and luxurious finish.
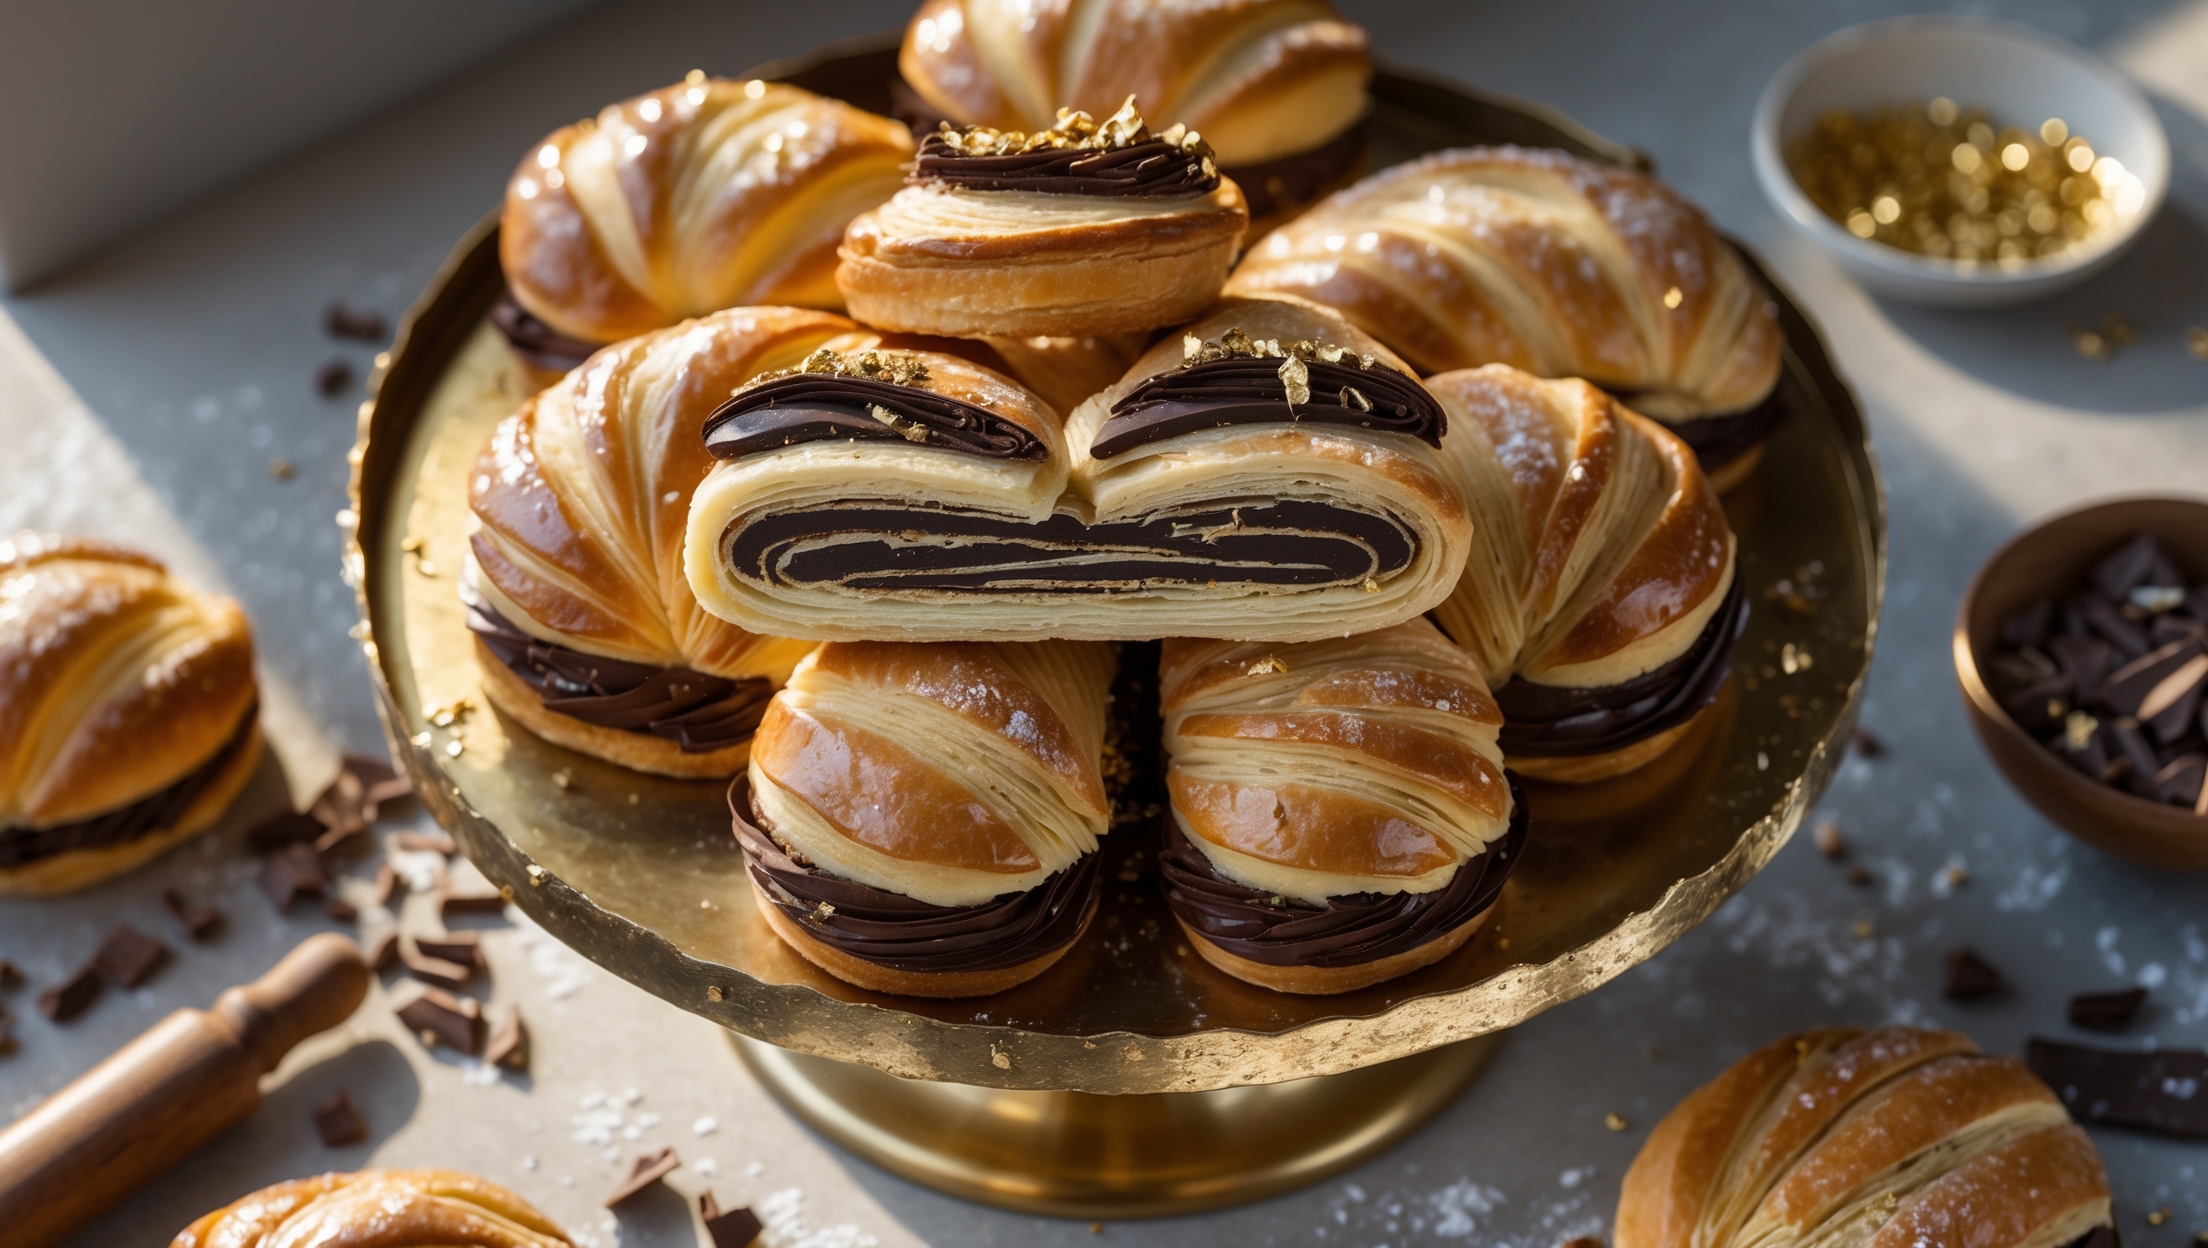
Learn how to cook Laminated Chocolate Valrhona Danish with Gold Leaf by mastering the art of lamination, where you'll fold butter into dough multiple times to create flaky layers. After shaping and filling with Valrhona chocolate, bake at 190°C until golden brown, then finish with apricot glaze and decorative gold leaf for a professional patisserie result.
The secret lies in proper lamination technique: keeping ingredients cold throughout the process, executing precise folds, allowing adequate resting time between folds, and maintaining the correct dough thickness. This creates distinct butter layers that expand during baking, forming the flaky texture.
While you can substitute another high-quality dark chocolate with 70% cocoa content, Valrhona is preferred for its superior melting properties and complex flavour profile. The quality of chocolate significantly impacts the final taste and texture of these luxury Danish pastries.
Work in a draft-free environment using completely dry, clean tools. Use a small artist's brush to gently lift the gold leaf, and apply it when the Danish glaze is just slightly tacky. If your fingers are slightly oily, the gold leaf will stick to them instead of your pastry.
Danish Pastry
Try following recommended recipes


