Koji-Fermented Fruit Danish with Caramelized Layers Recipe
Ingredients
Equipment
Directions
FAQs
Find answers to your most pressing questions about this delicious recipe right here.
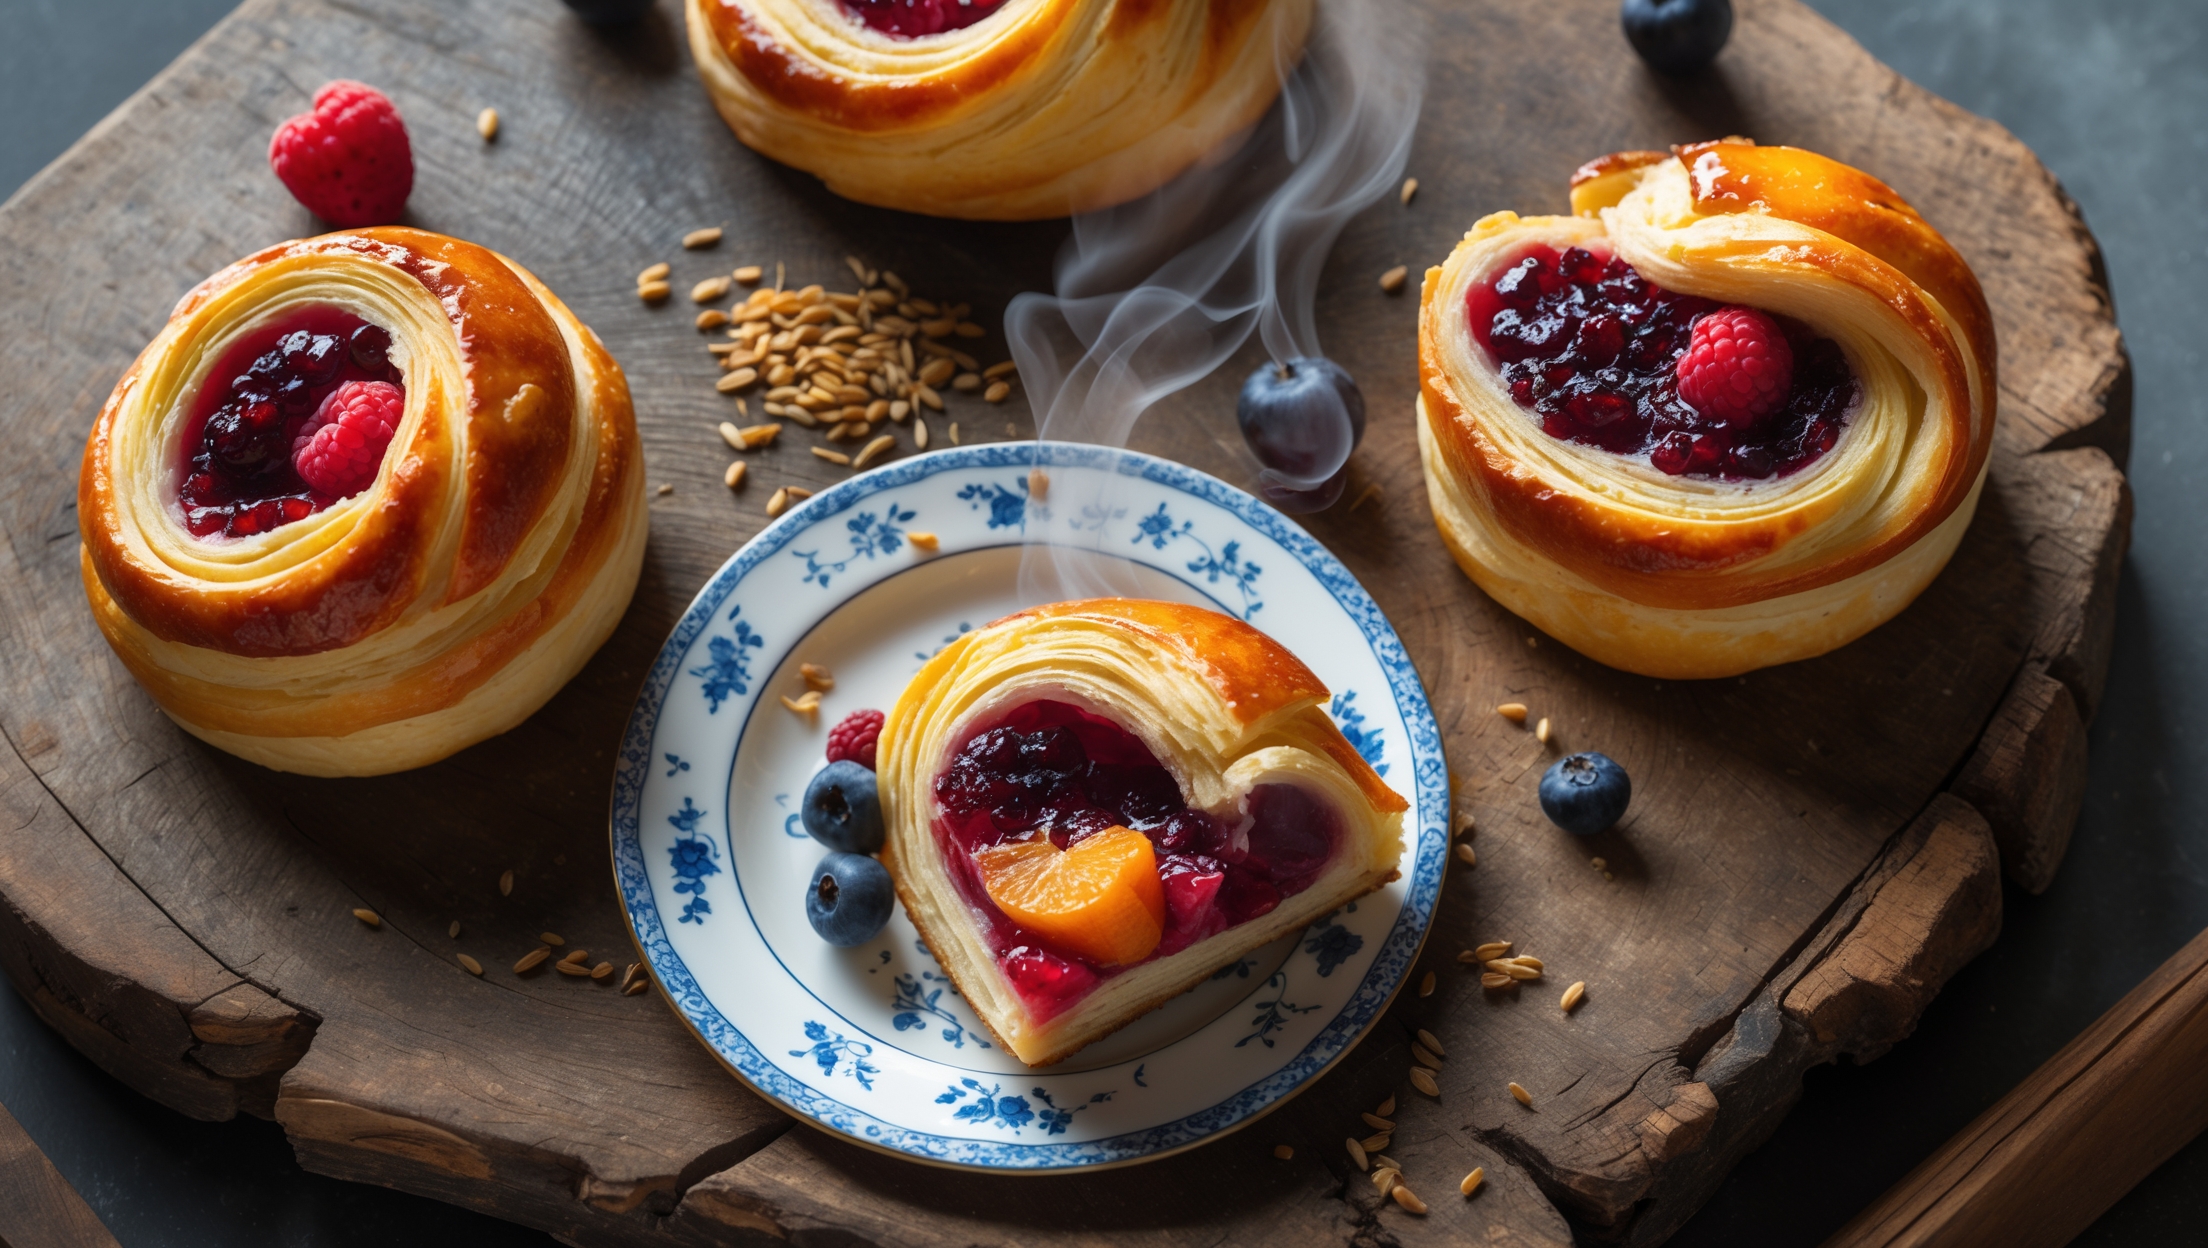
Key ingredients include dried koji rice, bread flour, European-style butter, seasonal fruits, active dry yeast, whole milk, and eggs. The unique fermentation process using koji creates an extraordinary depth of flavour and perfect caramelization in the final pastry.
Learn how to cook Koji-Fermented Fruit Danish by first creating a koji starter 48 hours ahead, then preparing a laminated dough with butter folding techniques. After fermenting your seasonal fruit filling, shape the pastries, allow them to proof, and bake at 190°C until deeply golden brown. The koji enzymes enhance caramelization for an exceptional pastry experience.
Koji fermentation introduces enzymes that break down proteins and starches into more complex flavour compounds, creating umami notes and enhancing sweetness naturally. This process also tenderises the dough, improves browning during baking, and creates a more complex flavour profile than traditional Danish pastries.
Absolutely! The beauty of this technique is its versatility with seasonal produce. Try berries and stone fruits in summer, apples and pears in autumn, and citrus in winter. The koji fermentation works wonderfully with all fruit types, enhancing their natural sweetness and adding depth of flavour.
European-style butter contains higher butterfat (at least 82%) and less water than standard butter, creating distinct, flaky layers when folded into pastry dough. This higher fat content also produces better flavour, richer texture, and superior caramelization during baking.
Danish Pastry
Try following recommended recipes


