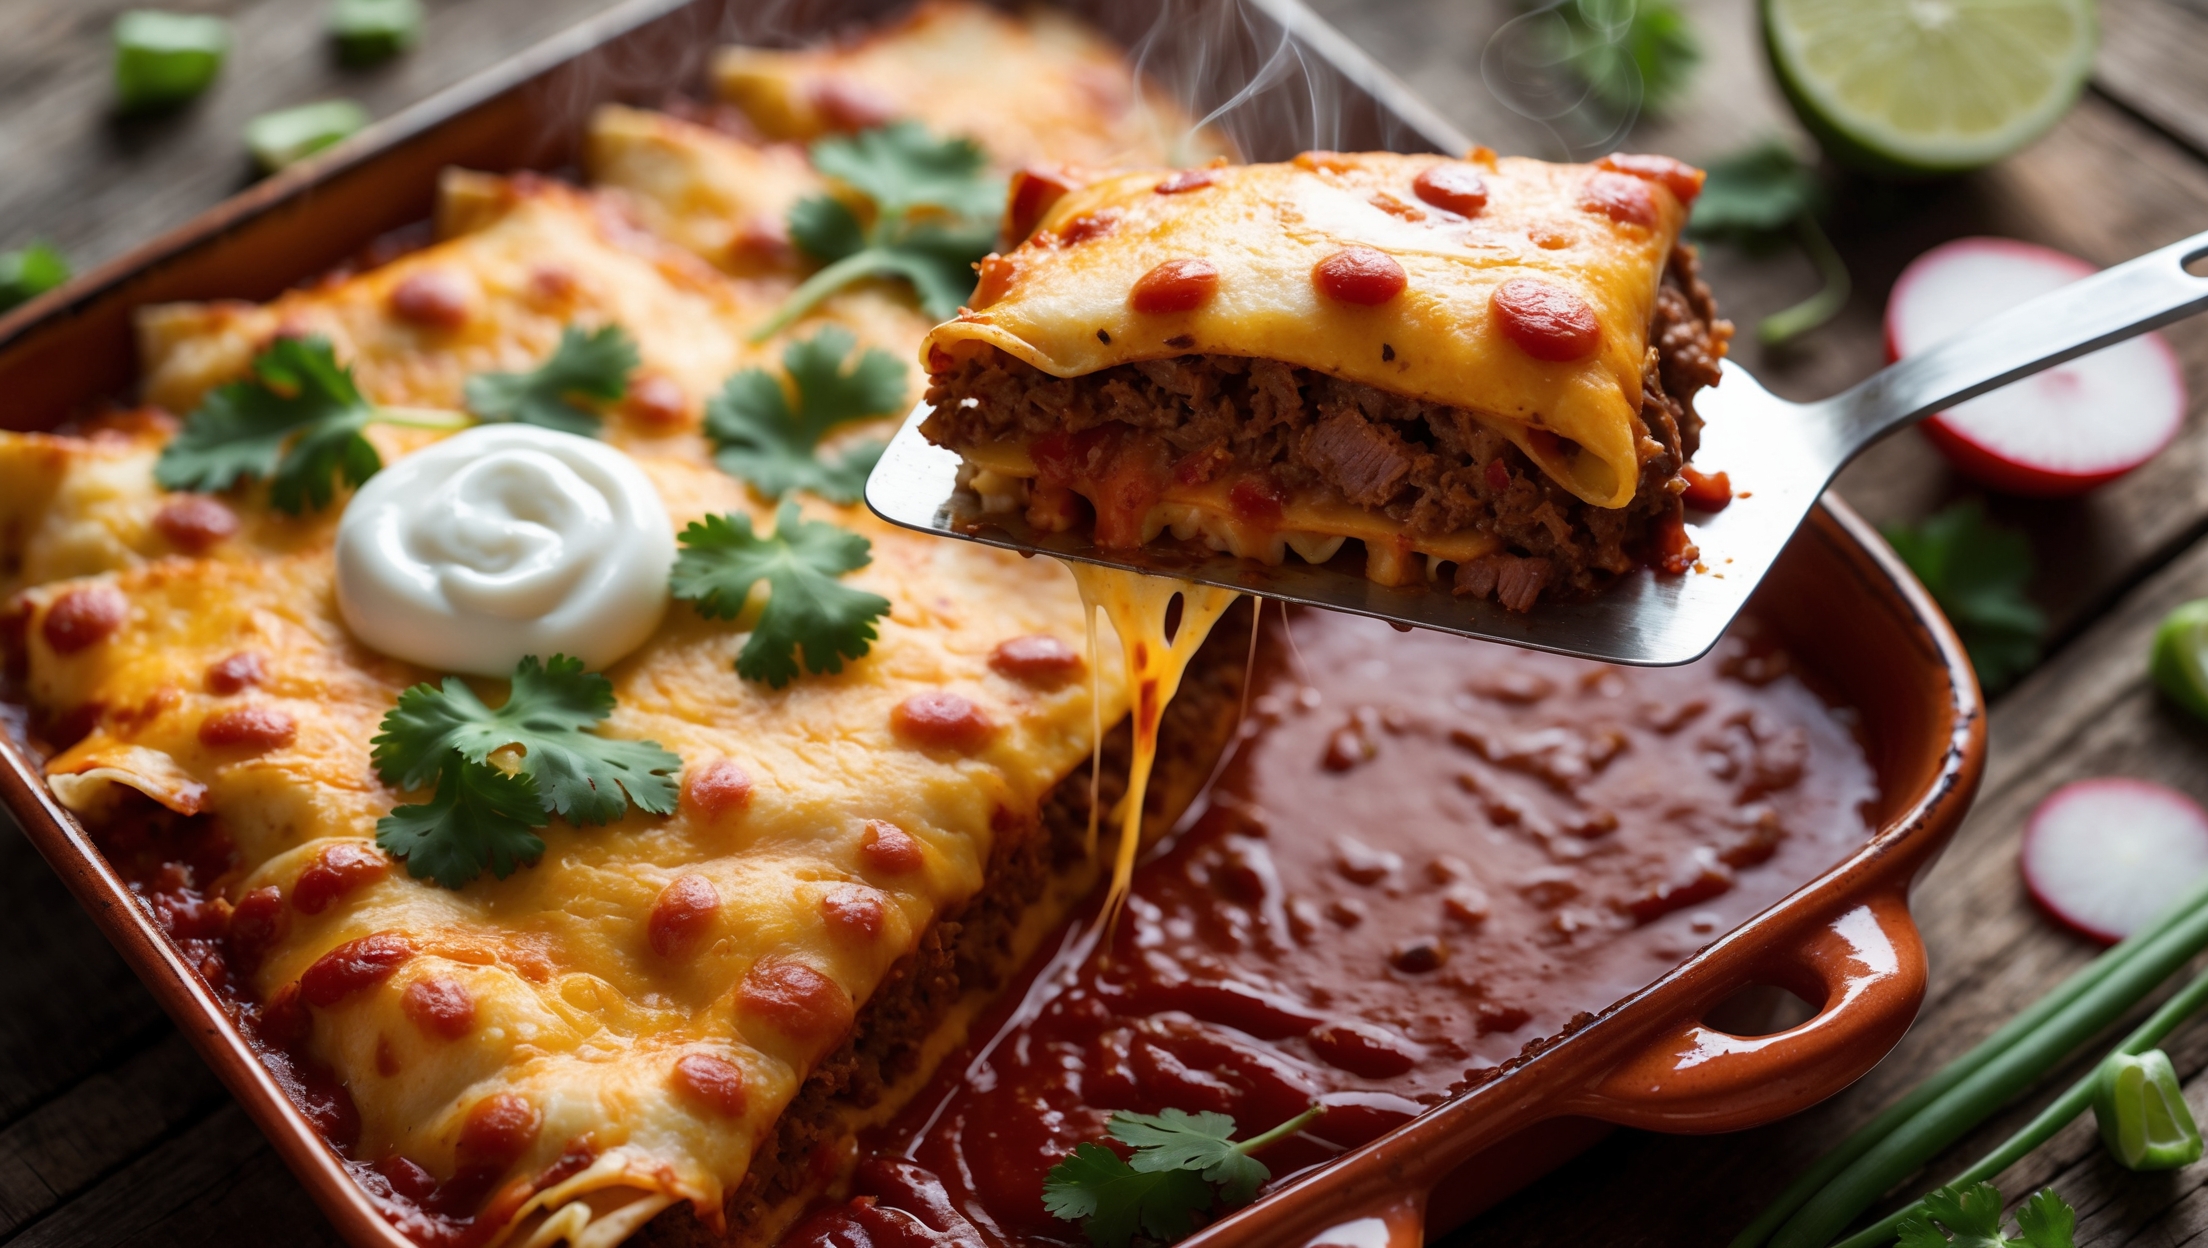
Directions
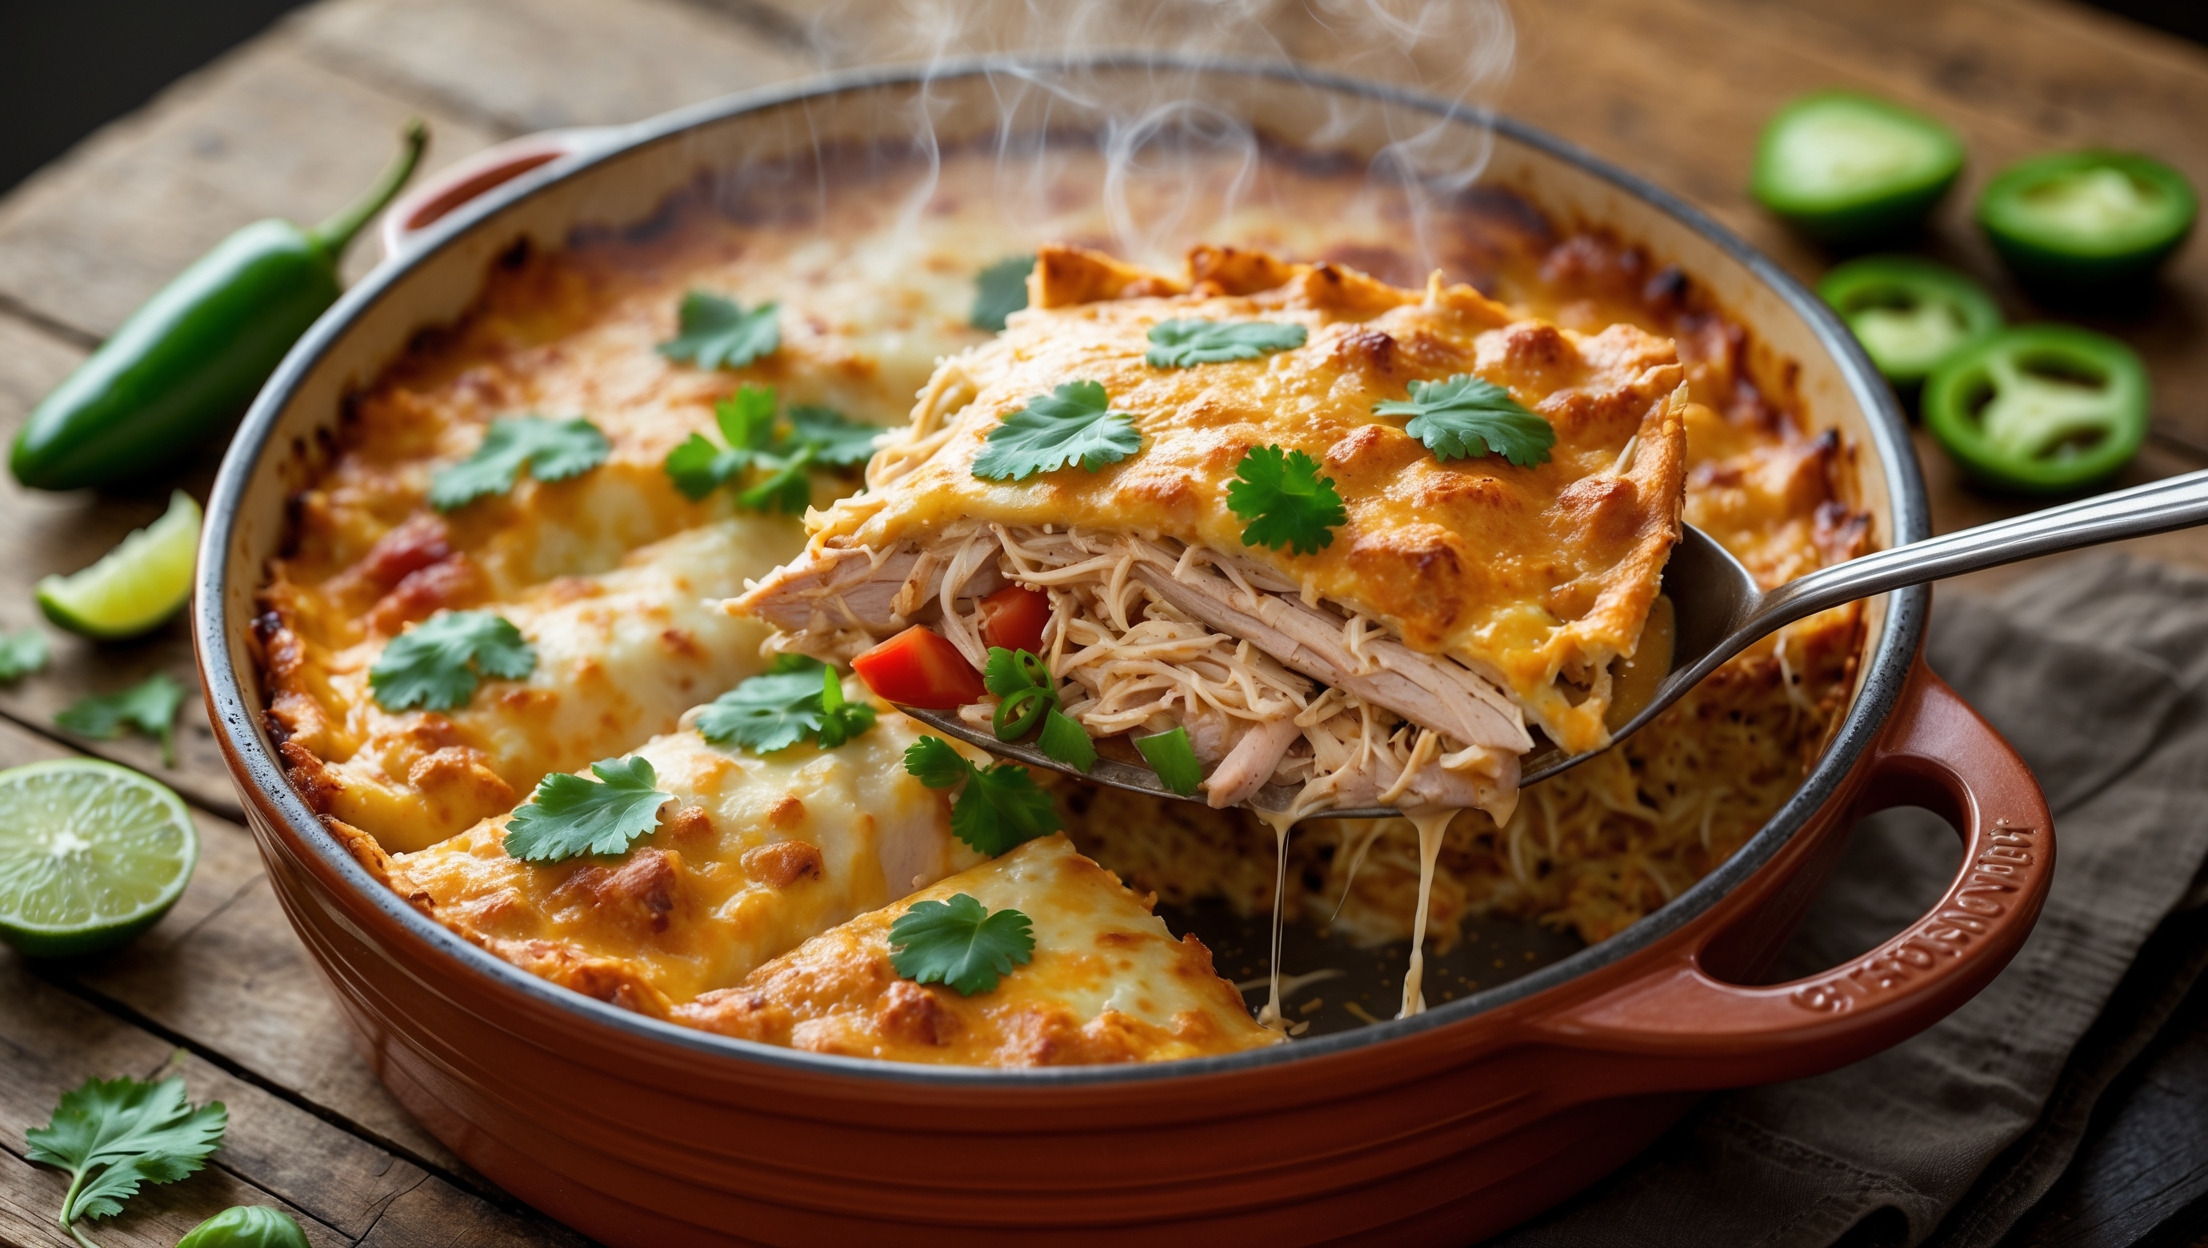
<ol class="no-list-style"> <li class="MethodStepper"> <h4 class="step-title">Step 1</h4> Preheat your oven to 180°C. Lightly grease a 33 x 23 cm (9 x 13 inch) baking dish with cooking spray or butter. This preparation ensures your casserole won't stick and will release easily when serving. </li> <li class="MethodStepper"> <h4 class="step-title">Step 2</h4> Place chicken breasts in a large pot and cover with cold water. Bring to a gentle boil over medium-high heat, then reduce to a simmer and cook for about 15-20 minutes until the chicken is completely cooked through (internal temperature of 74°C). This poaching method keeps the chicken moist and tender, perfect for shredding. </li> <li class="MethodStepper"> <h4 class="step-title">Step 3</h4> Remove the chicken from the water and allow it to cool slightly before shredding with two forks. The chicken should pull apart easily - if it's difficult to shred, it may need a few more minutes of cooking time. Set the shredded chicken aside. </li> <li class="MethodStepper"> <h4 class="step-title">Step 4</h4> In a large skillet, heat the vegetable oil over medium heat. Add the diced onion and bell peppers, cooking until softened, about 5-6 minutes. The vegetables should become translucent but not browned - this initial sautéing releases their flavors into the dish. </li> <li class="MethodStepper"> <h4 class="step-title">Step 5</h4> Add the minced garlic and cook for another 30 seconds until fragrant. Garlic burns easily, so adding it after the other vegetables helps protect its flavor while still allowing it to infuse the dish. </li> <li class="MethodStepper"> <h4 class="step-title">Step 6</h4> Stir in the tomato paste and cook for 1 minute, allowing it to slightly caramelize. This step helps develop a deeper, richer tomato flavor that forms the base of your sauce. </li> <li class="MethodStepper"> <h4 class="step-title">Step 7</h4> Add the diced tomatoes, green chilies, cumin, chili powder, and dried oregano. Stir well to combine, and let simmer for 3-4 minutes to allow the flavors to meld together. These aromatic spices are essential for building the signature Tex-Mex flavor profile. </li> <li class="MethodStepper"> <h4 class="step-title">Step 8</h4> Pour in the chicken broth, bring to a simmer, and cook for 5 minutes until slightly reduced. The liquid will concentrate as it reduces, intensifying the flavors in your sauce. </li> <li class="MethodStepper"> <h4 class="step-title">Step 9</h4> Reduce heat to low and stir in the sour cream and softened cream cheese until completely incorporated and smooth. The sauce should now be creamy with no lumps - be careful not to let it boil once the dairy is added, as this can cause separation. </li> <li class="MethodStepper"> <h4 class="step-title">Step 10</h4> Add about ¾ of the shredded chicken to the sauce mixture, reserving the rest for the topping. Mix well to coat the chicken with the creamy sauce. </li> <li class="MethodStepper"> <h4 class="step-title">Step 11</h4> Begin assembling your casserole by arranging a layer of halved corn tortillas on the bottom of your greased baking dish, slightly overlapping them. The tortillas act as the structure of your casserole, absorbing some sauce while maintaining their texture. </li> <li class="MethodStepper"> <h4 class="step-title">Step 12</h4> Spread half of the chicken and sauce mixture over the tortillas, then sprinkle with about ⅓ of the combined cheeses. The cheese between layers not only adds flavor but also helps bind the casserole together as it melts. </li> <li class="MethodStepper"> <h4 class="step-title">Step 13</h4> Add another layer of halved tortillas, followed by the remaining chicken mixture and another third of the cheese. Top with a final layer of tortillas. </li> <li class="MethodStepper"> <h4 class="step-title">Step 14</h4> Sprinkle the remaining shredded chicken over the top layer of tortillas, then finish with the remaining cheese. This final cheese layer will create a beautifully golden, bubbly top that's the hallmark of a perfect casserole. </li> <li class="MethodStepper"> <h4 class="step-title">Step 15</h4> Cover the baking dish with aluminum foil, making sure it's not touching the cheese. The foil will trap steam, helping the ingredients meld together while preventing the top from burning. </li> <li class="MethodStepper"> <h4 class="step-title">Step 16</h4> Bake covered for 30 minutes, then remove the foil and bake for an additional 10-15 minutes until the cheese is bubbling and golden brown around the edges. This two-stage baking process ensures the casserole is heated through while also allowing the top to develop an appetizing color and texture. </li> <li class="MethodStepper"> <h4 class="step-title">Step 17</h4> Remove from the oven and let stand for 10 minutes before serving. This resting period allows the casserole to set, making it easier to slice and serve in intact portions. </li> <li class="MethodStepper"> <h4 class="step-title">Step 18</h4> Garnish with fresh cilantro before serving. The bright, fresh herbs provide a beautiful color contrast and add a fresh flavor note to complement the rich, creamy casserole. Serve warm with additional sour cream, salsa, or avocado if desired. </li> </ol>