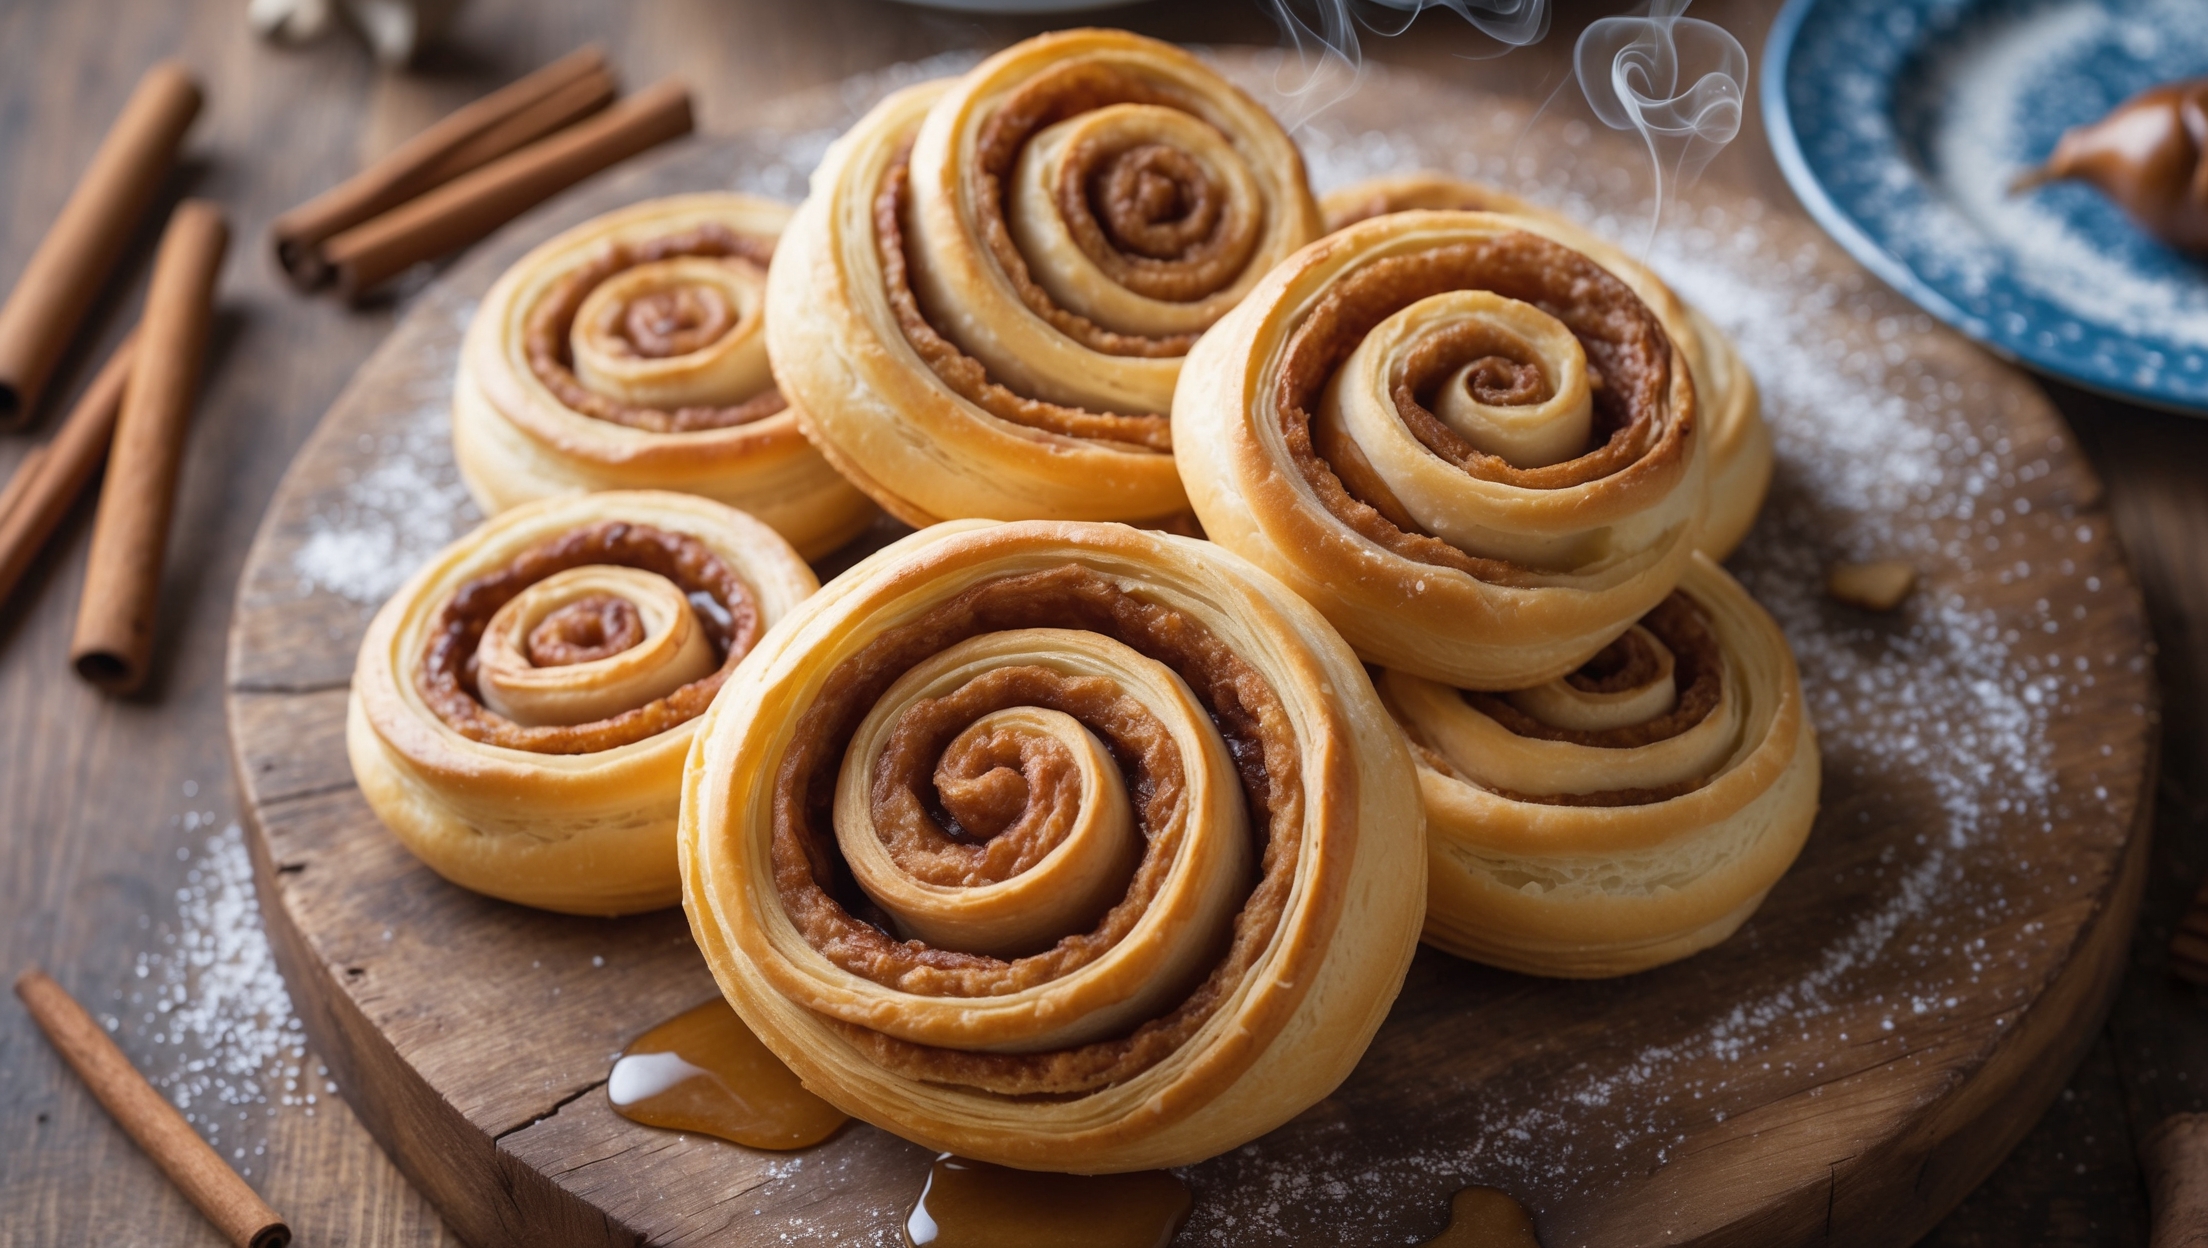
Directions
<ol class="no-list-style"><li class="MethodStepper"><h4 class="step-title">Step 1</h4>Begin by activating your yeast. Warm the milk to about 37-40°C (100-105°F) – it should feel warm but not hot when you touch it. Add a tablespoon of the sugar and sprinkle the yeast over the top. Let it sit for 5-10 minutes until foamy and active. This activation step ensures your dough will rise properly.</li><li class="MethodStepper"><h4 class="step-title">Step 2</h4>In the bowl of your stand mixer fitted with the dough hook, combine the flour, remaining sugar, salt, and ground cardamom (if using). Make a well in the center and pour in the activated yeast mixture, melted butter, and egg. Mix on low speed until combined (about 2 minutes), then increase to medium speed and knead for 7-8 minutes until the dough is smooth, elastic, and pulls away from the sides of the bowl. The gluten development during this kneading stage is crucial for that perfect texture.</li><li class="MethodStepper"><h4 class="step-title">Step 3</h4>Transfer the dough to a lightly oiled bowl, cover with a clean kitchen towel or plastic wrap, and let it rise in a warm place for about 1 hour or until doubled in size. The slower the rise, the better the flavor development, so don't rush this step.</li><li class="MethodStepper"><h4 class="step-title">Step 4</h4>While the dough is rising, prepare your filling by mixing the softened butter with brown sugar, ground cinnamon, and vanilla extract until it forms a smooth, spreadable paste. Set aside at room temperature – cold filling is difficult to spread and can tear your dough.</li><li class="MethodStepper"><h4 class="step-title">Step 5</h4>Once the dough has doubled, gently punch it down to release excess air. On a lightly floured surface, roll the dough into a large rectangle about 40x50cm (16x20 inches) with an even thickness of about 5mm. Try to create sharp corners for an even roll – this attention to detail will give you uniform snails.</li><li class="MethodStepper"><h4 class="step-title">Step 6</h4>Using a pastry brush or the back of a spoon, spread the cinnamon-sugar filling evenly across the entire surface of the dough, leaving a 1cm border along one long edge. The even distribution of filling ensures consistent flavor in every bite.</li><li class="MethodStepper"><h4 class="step-title">Step 7</h4>Starting from the long edge without the border, carefully roll the dough into a tight log, applying gentle pressure as you go. Seal the edge by gently pressing it into the log. If the dough feels too soft at this point, refrigerate the log for 15 minutes to make cutting easier.</li><li class="MethodStepper"><h4 class="step-title">Step 8</h4>Using a sharp knife, cut the log into 12 equal pieces, each about 4cm (1.5 inches) thick. For clean cuts, use a gentle sawing motion rather than pressing down, which can compress your layers.</li><li class="MethodStepper"><h4 class="step-title">Step 9</h4>Arrange the rolls on a baking sheet lined with parchment paper, leaving about 5cm (2 inches) between each one to allow for expansion. Cover loosely with a kitchen towel and let them proof for 30-40 minutes until visibly puffed up. Meanwhile, preheat your oven to 190°C (375°F).</li><li class="MethodStepper"><h4 class="step-title">Step 10</h4>Bake the kanelsnegle in the preheated oven for 14-16 minutes until golden brown. Check them around the 12-minute mark – if they're browning too quickly, loosely cover with foil. They should sound slightly hollow when tapped at the bottom.</li><li class="MethodStepper"><h4 class="step-title">Step 11</h4>While the snails are baking, prepare the glaze by whisking together powdered sugar, milk, and vanilla extract until smooth. Add the milk gradually to achieve your preferred consistency – thicker for a white topping, thinner for a translucent glaze that seeps into the warm rolls.</li><li class="MethodStepper"><h4 class="step-title">Step 12</h4>Allow the kanelsnegle to cool for 5-10 minutes before drizzling with the vanilla glaze. The slight cooling period allows the structure to set while still keeping the rolls warm enough for the glaze to melt slightly into the crevices. Serve warm for the most authentic Danish experience, when the butter in the layers is still wonderfully soft and the cinnamon aroma is at its peak.</li></ol>