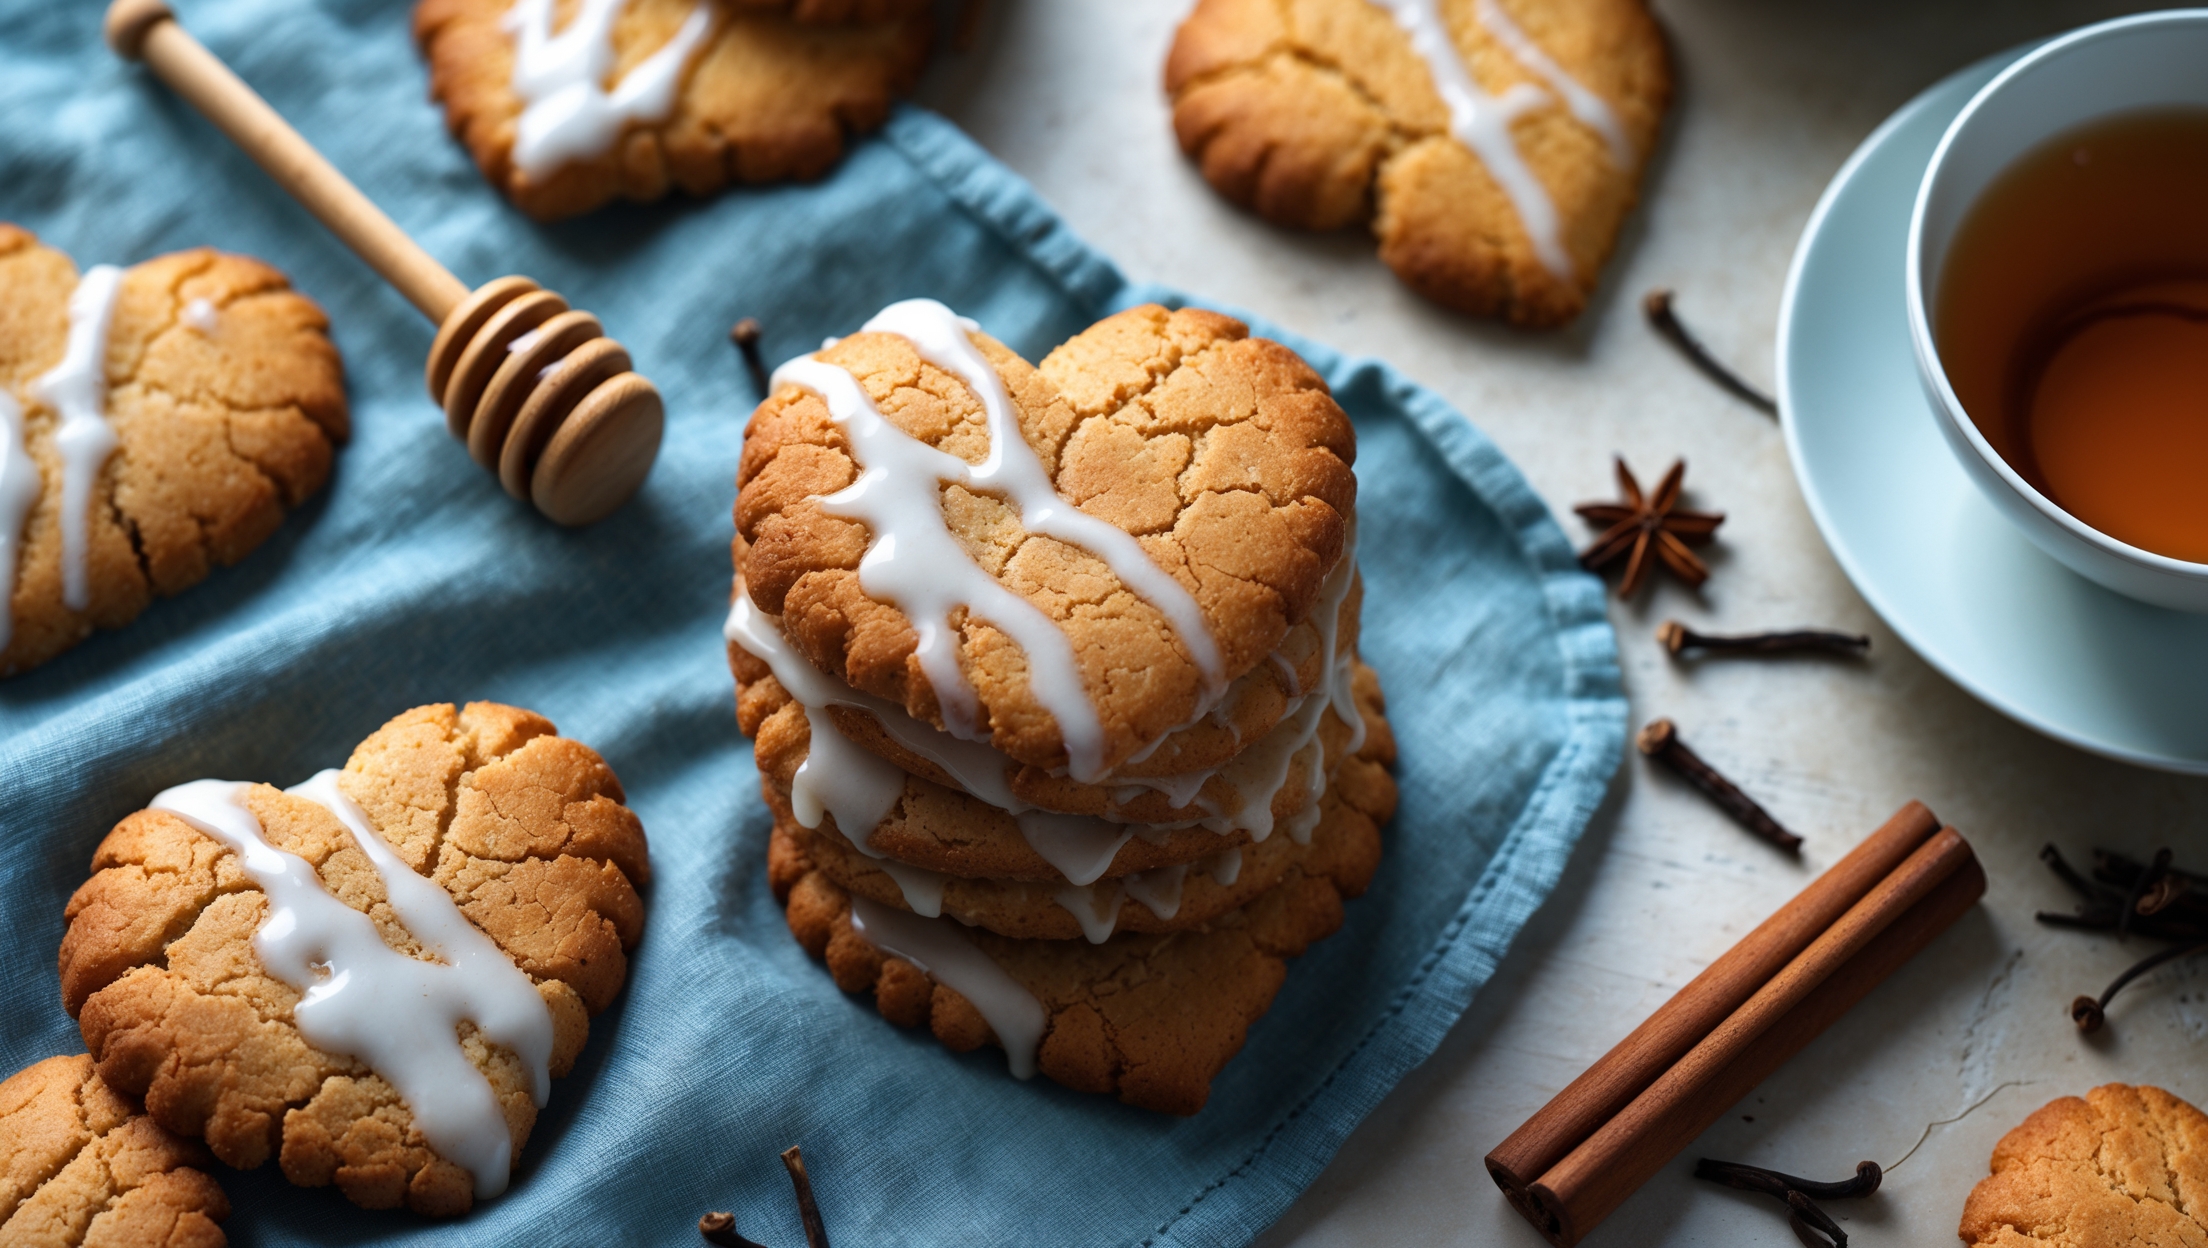
Directions
<ol class="no-list-style"><li class="MethodStepper"><h4 class="step-title">Step 1</h4>In a medium saucepan, gently heat the honey, brown sugar, and butter over low heat until completely melted and smooth. Be careful not to boil the mixture – we want to dissolve the sugar completely without caramelizing it. Remove from heat and let cool for about 10 minutes until lukewarm. This cooling period is crucial as adding the egg to a hot mixture would cook it prematurely.</li><li class="MethodStepper"><h4 class="step-title">Step 2</h4>Once the honey mixture has cooled sufficiently, add the egg and orange zest, whisking vigorously until fully incorporated. The citrus oils from the zest will begin to infuse into the warm mixture, enhancing the aromatic qualities of your dough.</li><li class="MethodStepper"><h4 class="step-title">Step 3</h4>In a large bowl, whisk together the flour, baking soda, all the spices (cinnamon, cloves, cardamom, ginger, and black pepper), and salt. The combination of these warming spices creates the distinctive flavor profile that makes these cookies so special. The pepper may seem unusual, but it adds a subtle warmth that enhances the other spices without making the cookies spicy.</li><li class="MethodStepper"><h4 class="step-title">Step 4</h4>Make a well in the center of your dry ingredients and pour in the honey mixture. Stir with a wooden spoon until the dough comes together, then switch to kneading with your hands until smooth and pliable. The dough will be quite sticky at first – this is normal! Resist the urge to add more flour at this stage.</li><li class="MethodStepper"><h4 class="step-title">Step 5</h4>Divide the dough into two equal portions, form into discs, wrap in plastic wrap and refrigerate for at least 3 hours, preferably overnight. This resting period is essential – it allows the flour to fully hydrate and the flavors to develop while firming up the dough for easier rolling.</li><li class="MethodStepper"><h4 class="step-title">Step 6</h4>When ready to bake, preheat your oven to 175°C and line baking sheets with parchment paper. Remove one disc of dough from the refrigerator (keeping the other chilled until needed). On a lightly floured surface, roll the dough to approximately 4-5mm thickness. If the dough feels too firm, let it sit at room temperature for 5-10 minutes before rolling.</li><li class="MethodStepper"><h4 class="step-title">Step 7</h4>Using heart-shaped cookie cutters, cut out shapes and transfer carefully to the prepared baking sheets, leaving about 2cm between cookies. These cookies will spread slightly but not dramatically. Gather and re-roll scraps as needed, but try to handle the dough minimally to keep it from warming too much.</li><li class="MethodStepper"><h4 class="step-title">Step 8</h4>Bake for 8-10 minutes until the cookies are lightly browned around the edges but still soft in the center. They will firm up as they cool, so be careful not to overbake – these cookies should remain somewhat tender rather than crisp. Look for a slight puffing and a matte surface as indicators of doneness.</li><li class="MethodStepper"><h4 class="step-title">Step 9</h4>Allow the cookies to cool on the baking sheets for 5 minutes before transferring to wire racks to cool completely. This short rest on the hot sheet helps them set up before moving, preventing breakage.</li><li class="MethodStepper"><h4 class="step-title">Step 10</h4>While cookies cool, prepare the glaze by whisking together powdered sugar, orange juice (start with 2 tbsp and add more if needed), and vanilla extract until smooth. The glaze should be thick enough to coat the back of a spoon but still pourable. If it's too thick, add juice a few drops at a time; if too thin, add more powdered sugar.</li><li class="MethodStepper"><h4 class="step-title">Step 11</h4>Once cookies are completely cool, drizzle or spread the glaze over the top of each heart. For a more defined look, pipe the glaze in patterns or outlines. Allow the glaze to set completely before storing, about 2 hours. These Honningkagehjerter actually improve with age – the spices develop and the texture softens beautifully over 2-3 days, making them perfect for preparing ahead of Christmas celebrations.</li><li class="MethodStepper"><h4 class="step-title">Step 12</h4>Store in an airtight container between layers of parchment paper at room temperature for up to 2 weeks. For traditional Danish storage, place a half apple slice in the container to help the cookies maintain their soft texture (replace every couple of days). The flavors will continue to mellow and develop, making these cookies even more delicious with time.</li></ol>