Hazelnut Danish Recipe
Ingredients
Equipment
Directions
FAQs
Find answers to your most pressing questions about this delicious recipe right here.
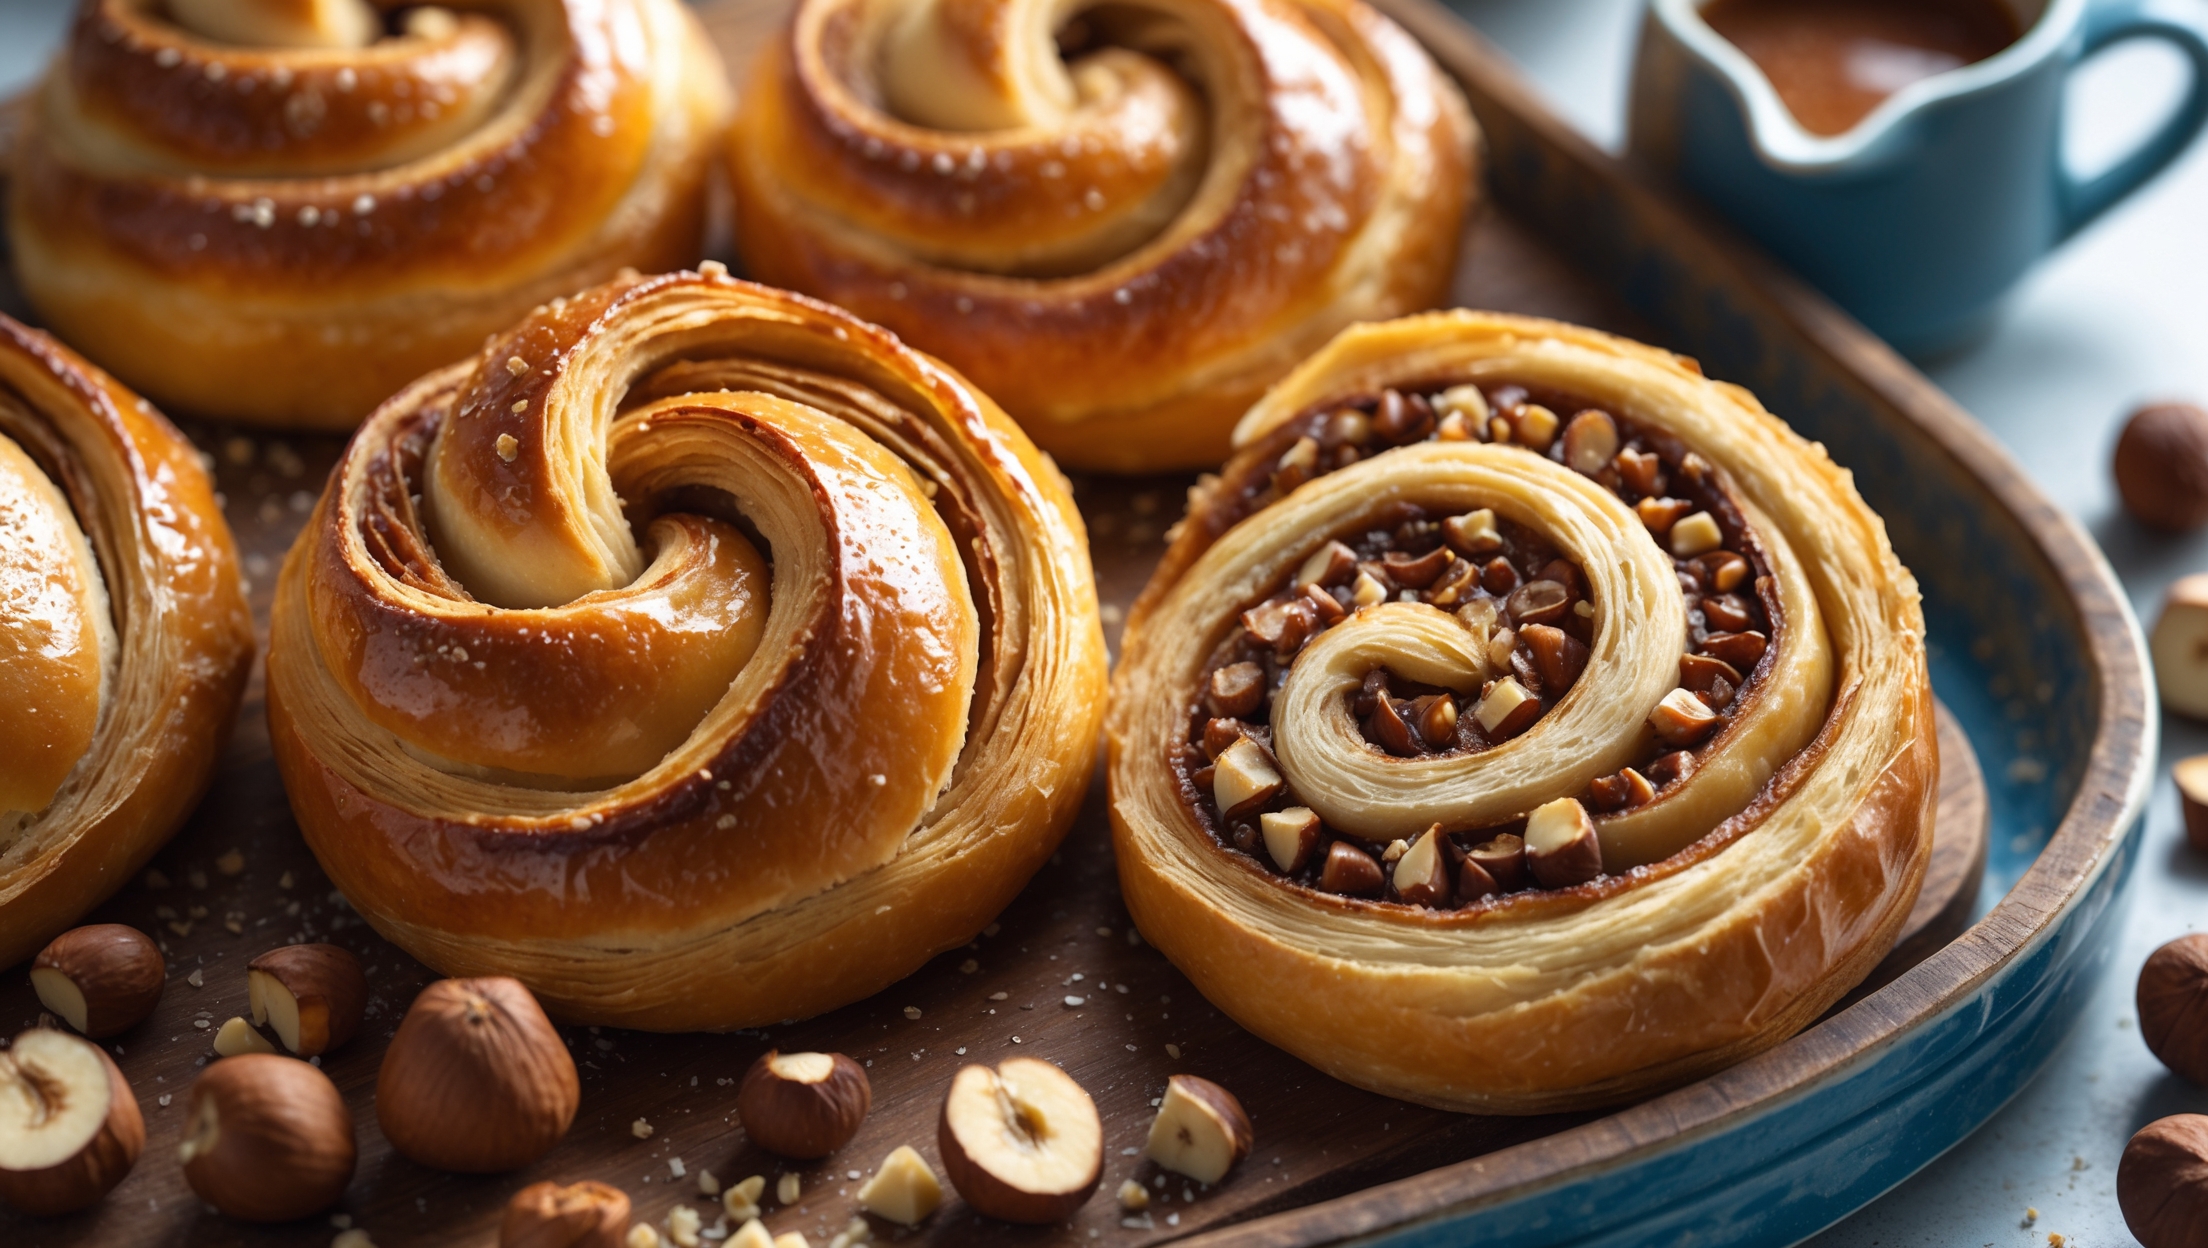
Hazelnut Danish requires all-purpose flour, yeast, butter, milk, eggs, and sugar for the laminated dough, plus toasted hazelnuts, sugar, butter, cream, and vanilla for the filling. It's finished with an egg wash, chopped hazelnuts, and a simple powdered sugar glaze.
Learn how to cook Hazelnut Danish by creating laminated dough through a series of folds that create delicate layers, then filling with a rich hazelnut mixture. After shaping and proofing, bake at 190°C for 18-22 minutes until golden brown, and finish with a sweet glaze while still warm for that professional bakery finish.
Yes, laminated dough can be prepared up to 48 hours in advance and kept refrigerated. You can even freeze it for up to a month. This time-saving technique actually improves flavour development and makes the dough easier to handle when you're ready to shape your pastries.
Insufficient rising is often due to inactive yeast, too-cold environment, or overworked dough. Ensure your yeast is fresh, proof in a warm spot (24-27°C), and handle the laminated dough gently to preserve those butter layers. The dough should feel puffy and nearly doubled before baking.
For perfect flaky layers, maintain cold butter throughout the lamination process with proper chilling between folds. Roll with even pressure and handle the dough minimally. The temperature contrast between cold butter and hot oven creates steam that pushes the dough layers apart for that signature airy texture.
Danish Pastry
Try following recommended recipes


