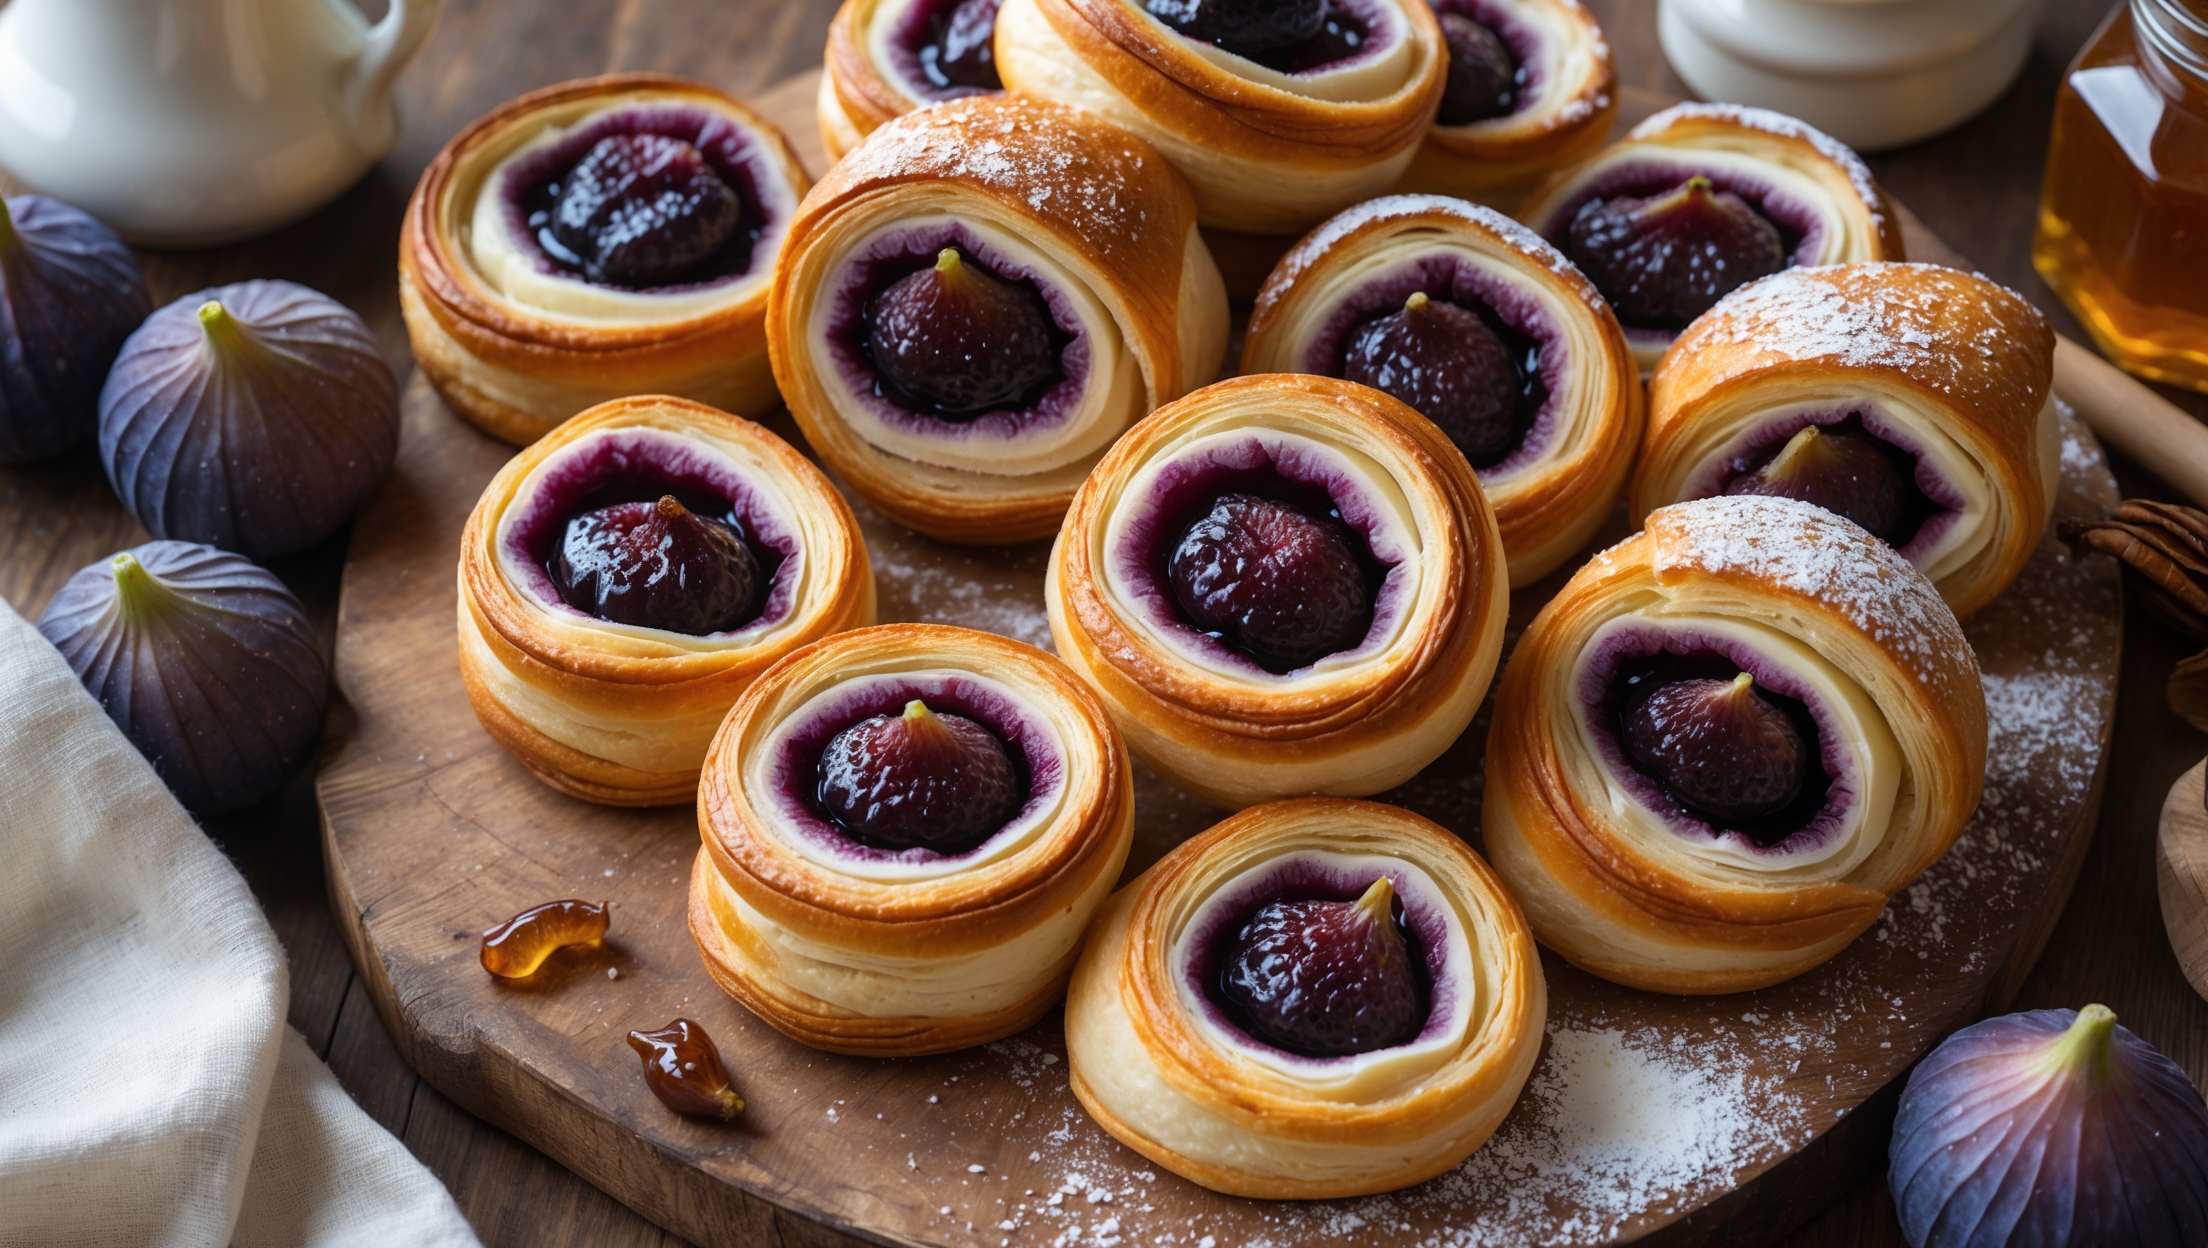
Directions
<ol class="no-list-style"><li class="MethodStepper"><h4 class="step-title">Step 1</h4>Begin by making the dough. In the bowl of your stand mixer, combine the flour, sugar, yeast, and salt. In a separate bowl, whisk together the lukewarm milk, egg, and vanilla extract. With the mixer running on low speed with the dough hook attached, gradually add the wet ingredients to the dry. Mix for 5-7 minutes until you have a smooth, slightly sticky dough that pulls away from the sides of the bowl. The proper development of gluten at this stage is crucial for structure in your final pastry.</li><li class="MethodStepper"><h4 class="step-title">Step 2</h4>Turn the dough onto a lightly floured surface and shape into a rectangle. Wrap tightly in plastic wrap and refrigerate for at least 1 hour. This rest time allows the gluten to relax and the yeast to slowly activate, developing flavor and making the dough easier to roll later.</li><li class="MethodStepper"><h4 class="step-title">Step 3</h4>While the dough chills, prepare your butter block. Place the cold butter between two sheets of parchment paper and beat it with a rolling pin to soften slightly. Fold the parchment to create a 15cm square package and roll until the butter fills the square evenly. Refrigerate until firm but still pliable, about 15 minutes. The butter needs to be at the perfect temperature – too cold and it will break through the dough, too warm and it will ooze out.</li><li class="MethodStepper"><h4 class="step-title">Step 4</h4>Now make the fig filling. In a saucepan, combine the chopped figs, brown sugar, and lemon juice. Cook over medium heat for about 10 minutes until the figs break down. Mix the cornstarch with water to create a slurry, then stir into the fig mixture. Cook for another 2 minutes until thickened. Remove from heat and let cool completely. The natural pectin in the figs helps create a thick, spreadable jam-like consistency.</li><li class="MethodStepper"><h4 class="step-title">Step 5</h4>For the cream cheese filling, beat the cream cheese, sugar, vanilla extract, and lemon zest until smooth and fluffy. Set aside. The acid from the lemon zest will brighten the flavor and cut through the richness of the pastry.</li><li class="MethodStepper"><h4 class="step-title">Step 6</h4>Remove the chilled dough from the refrigerator and roll it out on a lightly floured surface into a rectangle about 30cm x 45cm. Place the butter block in the center of the dough and fold the sides over it like an envelope, ensuring the butter is completely enclosed. Pinch the seams to seal.</li><li class="MethodStepper"><h4 class="step-title">Step 7</h4>Roll the dough out into a long rectangle about 20cm x 60cm. Perform your first letter fold: visually divide the dough into thirds, fold the bottom third up, then fold the top third down over it (like folding a letter). Wrap in plastic and refrigerate for 30 minutes. This begins the process of creating multiple alternating layers of dough and butter that will create the characteristic flaky texture.</li><li class="MethodStepper"><h4 class="step-title">Step 8</h4>Repeat the rolling and folding process twice more, chilling the dough for 30 minutes between each fold. After the third fold, refrigerate the dough for at least 2 hours or overnight. These repeated folds multiply the layers exponentially – you're creating hundreds of thin layers that will puff and separate during baking.</li><li class="MethodStepper"><h4 class="step-title">Step 9</h4>Preheat your oven to 200°C (390°F) and line two baking sheets with parchment paper. Roll the chilled dough out to a large rectangle about 3-4mm thick. Cut into 12 equal squares, approximately 10cm x 10cm each.</li><li class="MethodStepper"><h4 class="step-title">Step 10</h4>Create a border by lightly scoring a smaller square about 1cm from the edges (don't cut all the way through). Then, using a fork, dock (prick) the inner square multiple times. This will prevent the center from rising too much while allowing the edges to puff up.</li><li class="MethodStepper"><h4 class="step-title">Step 11</h4>Spread about 1 tablespoon of the cream cheese mixture in the center of each square, then top with 1 tablespoon of the fig filling. Be careful not to overfill, as the filling may bubble and overflow during baking.</li><li class="MethodStepper"><h4 class="step-title">Step 12</h4>Brush the edges of the pastries with egg wash, being careful not to let it drip down the sides (this would seal the layers and prevent proper rise). Let the danishes rest for 15-20 minutes to allow for a final brief rise. This rest period helps achieve a lighter texture in the final product.</li><li class="MethodStepper"><h4 class="step-title">Step 13</h4>Bake for 18-20 minutes, or until the pastries are golden brown and puffed. You'll know they're done when the bottom is also golden and sounds hollow when tapped. If they're browning too quickly, tent loosely with foil.</li><li class="MethodStepper"><h4 class="step-title">Step 14</h4>While still warm, brush the edges of the danishes with honey for a beautiful shine. Let cool on the baking sheets for 5 minutes, then transfer to a wire rack. Just before serving, dust lightly with powdered sugar. These danishes are best enjoyed warm or at room temperature on the day they're made, but can be stored in an airtight container for up to 2 days and reheated in a 160°C (320°F) oven for 5 minutes to restore crispness.</li></ol>