Directions
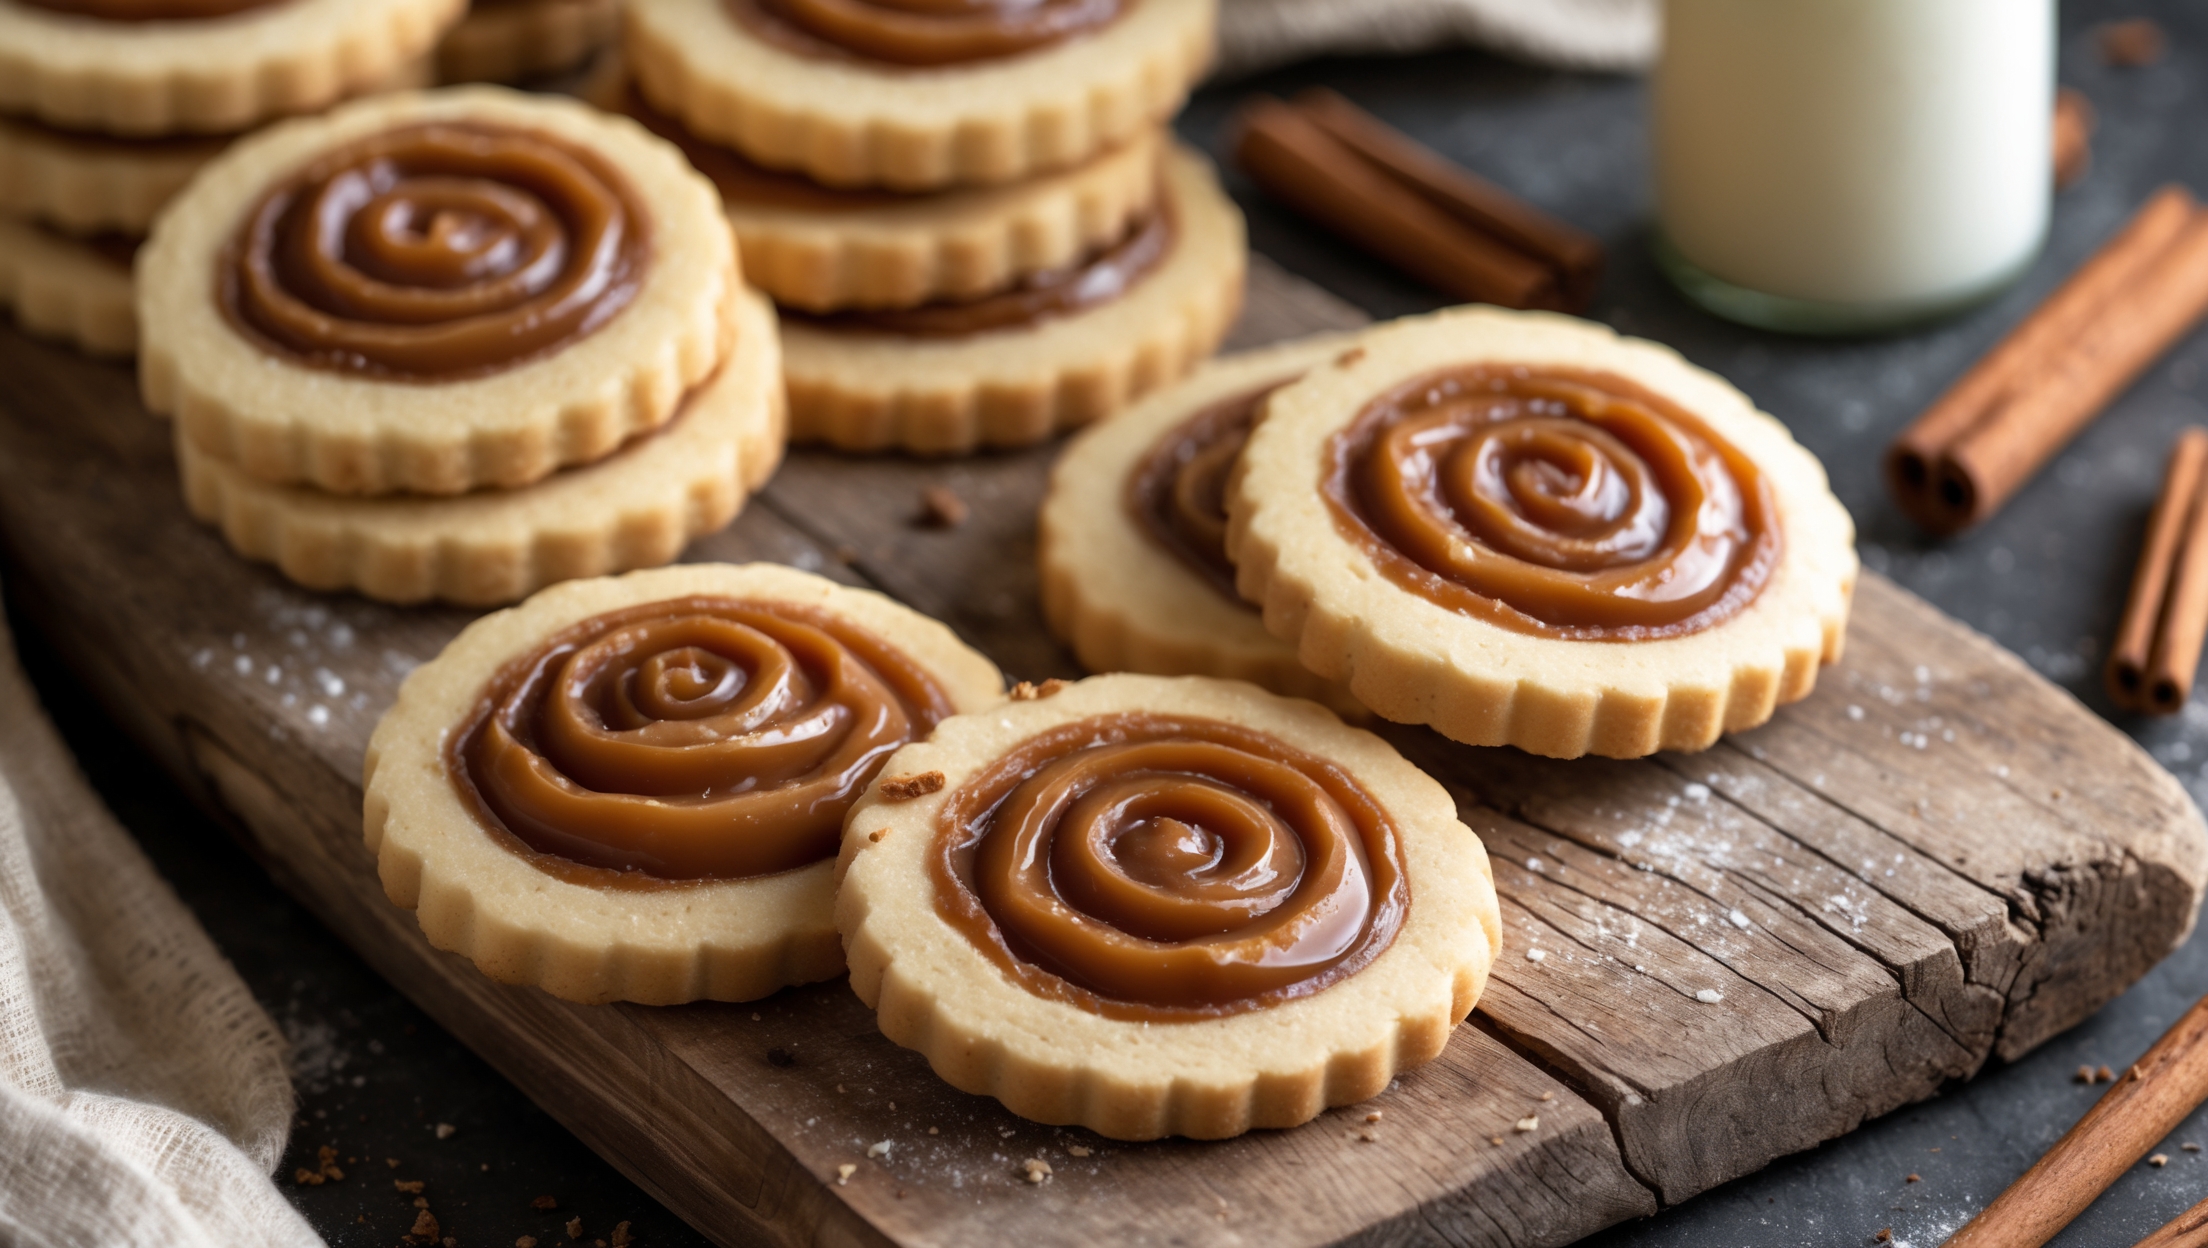
<ol class="no-list-style"><li class="MethodStepper"><h4 class="step-title">Step 1</h4>In a medium bowl, whisk together the flour and salt. Set aside. This pre-mixing ensures even distribution of salt throughout the dough, creating a balanced flavor profile.</li><li class="MethodStepper"><h4 class="step-title">Step 2</h4>In the bowl of your stand mixer fitted with the paddle attachment, cream the softened butter and granulated sugar on medium-high speed for 3-4 minutes until light and fluffy. The mixture should become noticeably paler and increase slightly in volume. This process incorporates air into the dough, contributing to the cookies' tender texture.</li><li class="MethodStepper"><h4 class="step-title">Step 3</h4>Add the egg and vanilla extract to the butter mixture, beating until fully incorporated, about 1 minute. Scrape down the sides of the bowl to ensure everything is evenly mixed.</li><li class="MethodStepper"><h4 class="step-title">Step 4</h4>Gradually add the flour mixture on low speed, mixing just until the dough comes together and no flour streaks remain. Overmixing at this stage can develop too much gluten, resulting in tough cookies.</li><li class="MethodStepper"><h4 class="step-title">Step 5</h4>Divide the dough in half and form each portion into a rectangle. Wrap each piece in plastic wrap and refrigerate for 30 minutes until firm enough to roll. This chilling step allows the gluten to relax and makes the dough less sticky for rolling.</li><li class="MethodStepper"><h4 class="step-title">Step 6</h4>Roll out each piece of dough between two sheets of parchment paper into a rectangle approximately 25cm x 35cm (10 x 14 inches) and about 3mm (⅛ inch) thick. Work quickly to keep the dough cool, which makes it easier to handle.</li><li class="MethodStepper"><h4 class="step-title">Step 7</h4>Remove the top parchment from each dough rectangle. Using an offset spatula, spread 150g of dulce de leche evenly over each rectangle, leaving a 1cm (½ inch) border along one long edge. The border will help seal your pinwheels when rolled.</li><li class="MethodStepper"><h4 class="step-title">Step 8</h4>Starting from the long edge without the border, carefully roll the dough into a tight log, using the parchment paper underneath to help lift and roll. Brush the border with a little egg white before completing the final roll to seal the edge.</li><li class="MethodStepper"><h4 class="step-title">Step 9</h4>Wrap each log tightly in parchment paper, then plastic wrap, twisting the ends to secure. Refrigerate the logs for at least 2 hours or preferably overnight. This extended chilling is crucial for maintaining the swirl pattern when sliced and prevents the cookies from spreading too much during baking.</li><li class="MethodStepper"><h4 class="step-title">Step 10</h4>Preheat your oven to 180°C (350°F) and line baking sheets with parchment paper. Remove the chilled logs from the refrigerator and unwrap.</li><li class="MethodStepper"><h4 class="step-title">Step 11</h4>Brush the outside of each log lightly with egg white and roll in demerara sugar for a sparkling, crunchy exterior. Using a sharp knife, slice each log into 2cm (¾ inch) thick rounds. If the dough becomes too soft while working, return it to the refrigerator for 10 minutes.</li><li class="MethodStepper"><h4 class="step-title">Step 12</h4>Place the sliced cookies on the prepared baking sheets about 5cm (2 inches) apart, as they will spread slightly. Bake for 11-13 minutes until the edges are golden but the centers are still slightly soft. The cookies will firm up as they cool, so don't overbake or they'll become dry.</li><li class="MethodStepper"><h4 class="step-title">Step 13</h4>Allow the cookies to cool on the baking sheets for 5 minutes before transferring to a wire rack to cool completely. The dulce de leche remains quite hot right out of the oven, so give them time to set.</li><li class="MethodStepper"><h4 class="step-title">Step 14</h4>Store the cooled pinwheels in an airtight container at room temperature for up to 5 days, or freeze for up to 3 months. The flavor actually improves after a day as the caramel notes develop further. Enjoy your beautiful dulce de leche pinwheels with a cup of coffee or glass of milk!</li></ol>