Dulce de Leche Danish Recipe
Ingredients
Equipment
Directions
FAQs
Find answers to your most pressing questions about this delicious recipe right here.
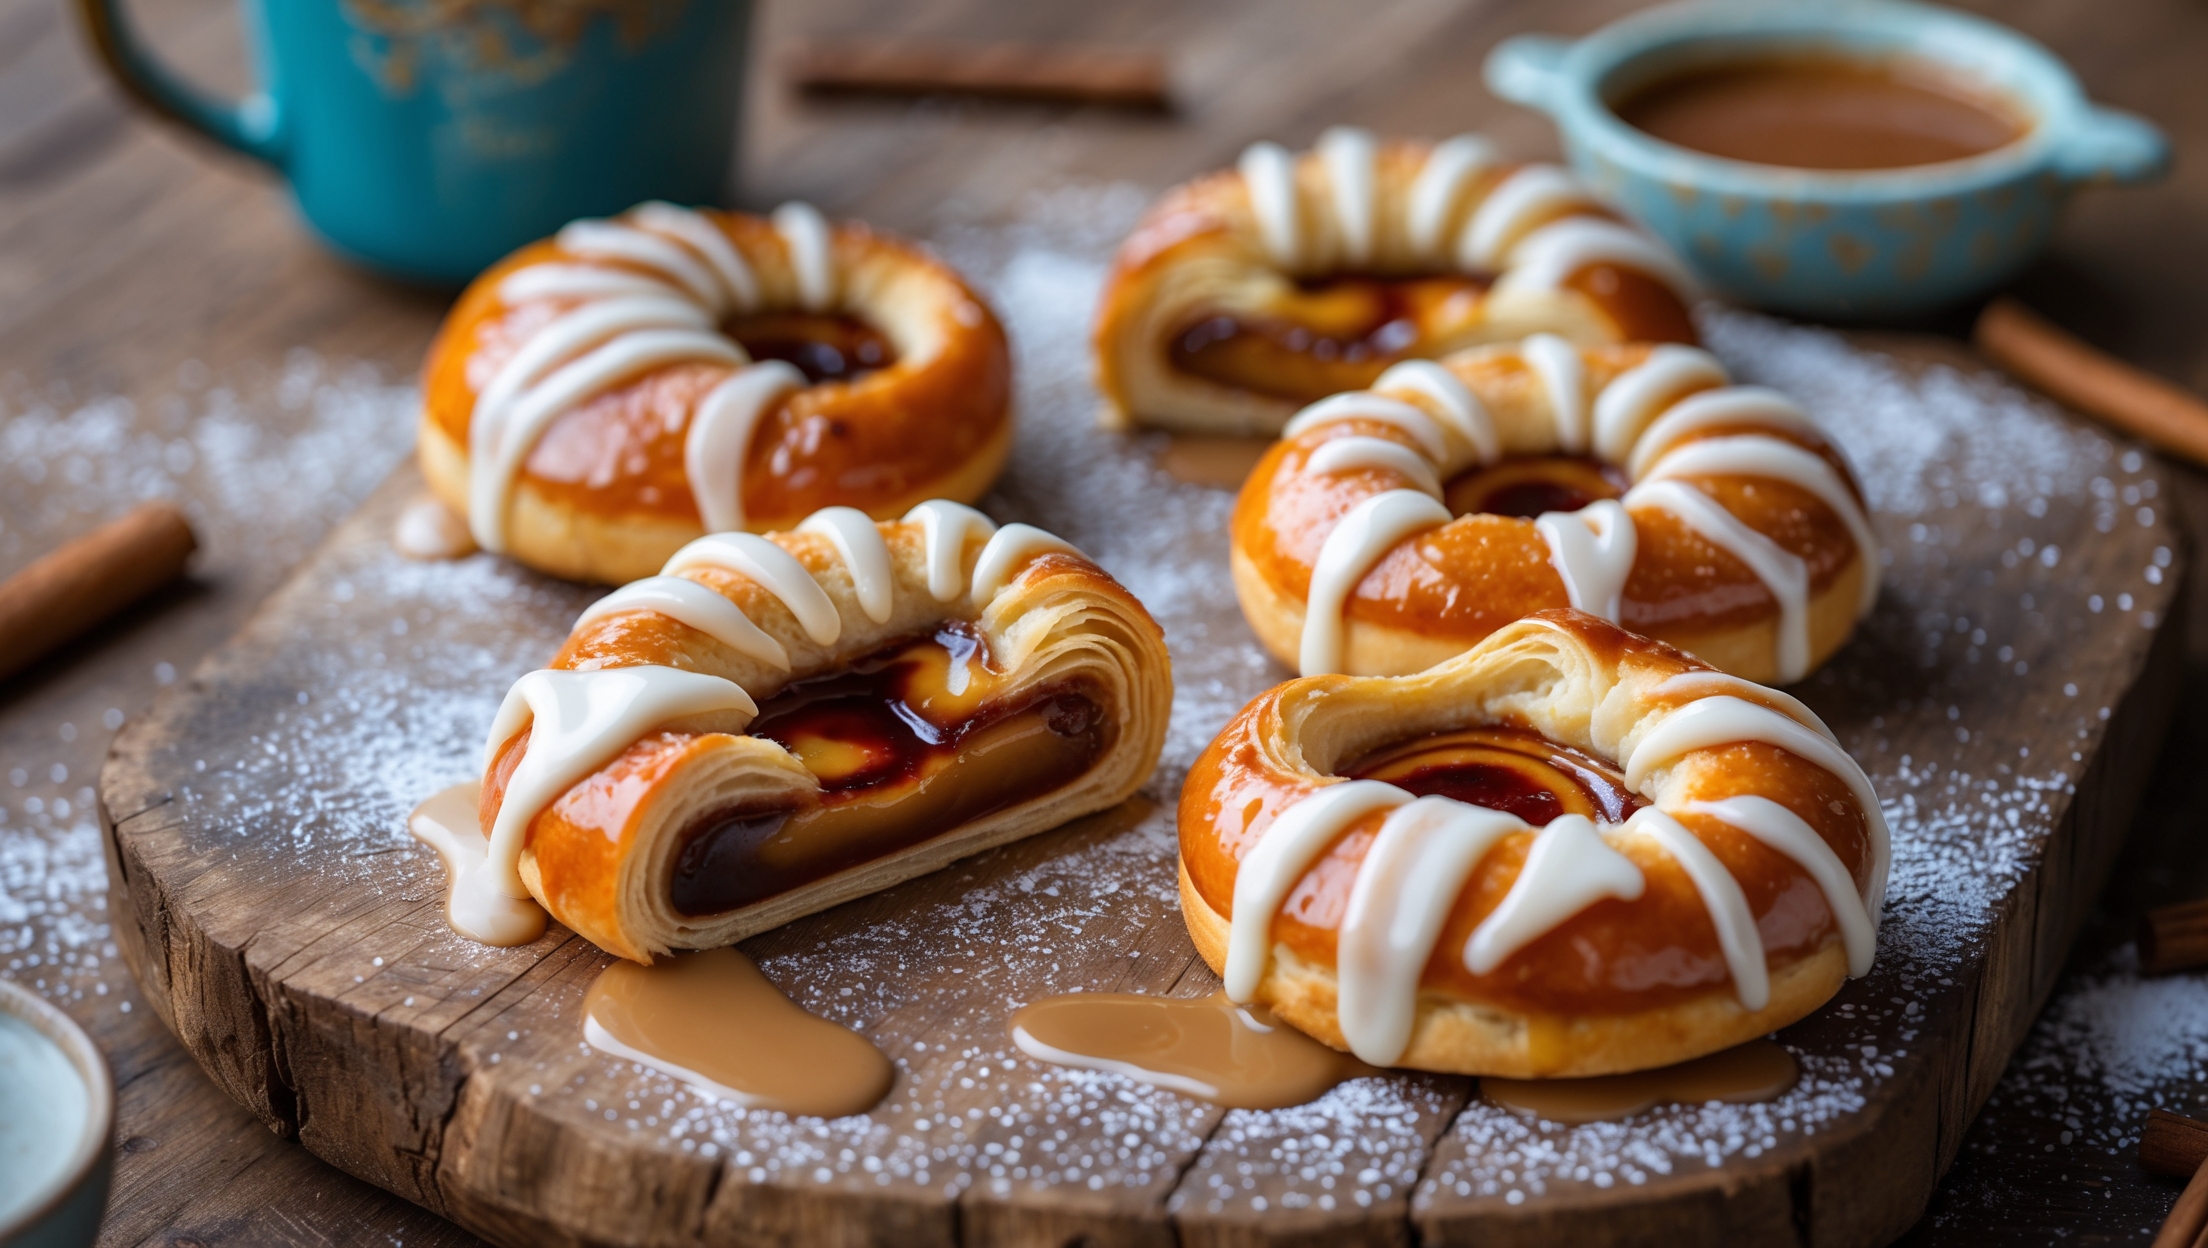
The key ingredients include all-purpose flour, yeast, milk, eggs, plenty of butter for lamination, and dulce de leche for filling. A simple vanilla glaze tops the pastries, made from powdered sugar, milk and vanilla extract.
Learn how to cook Dulce de Leche Danish by making a buttery yeasted dough and creating layers through lamination (folding butter into dough). After three folding sequences and proper chilling, shape the pastries, fill with dulce de leche, proof briefly, and bake at 190°C until golden brown. Finish with a vanilla glaze for professional-looking results.
Temperature control is crucial—keep butter cool but pliable. Work quickly, return dough to the refrigerator whenever it feels soft or the butter starts to melt. Always chill for at least 30 minutes between folds, and use a cool work surface like marble if possible.
Absolutely! The laminated dough can be made up to 3 days ahead and kept refrigerated, or frozen for up to a month. You can also shape the unbaked pastries and freeze them, then bake directly from frozen (adding a few minutes to the baking time).
While both are laminated doughs, Danish pastry contains eggs and sometimes sugar, making it richer and slightly sweet compared to croissant dough. Danish dough is also typically softer and more pliable, designed to hold fillings, while croissant dough is leaner and creates a more open structure.
Danish Pastry
Try following recommended recipes


