Danish Butter Cookies Recipe
Ingredients
Equipment
Directions
FAQs
Find answers to your most pressing questions about this delicious recipe right here.
Traditional Danish butter cookies require unsalted butter, icing sugar, vanilla extract, egg, all-purpose flour, and salt. The high butter content is essential for their melt-in-your-mouth texture, while vanilla provides the signature flavour. Sometimes milk is added to achieve the perfect piping consistency.
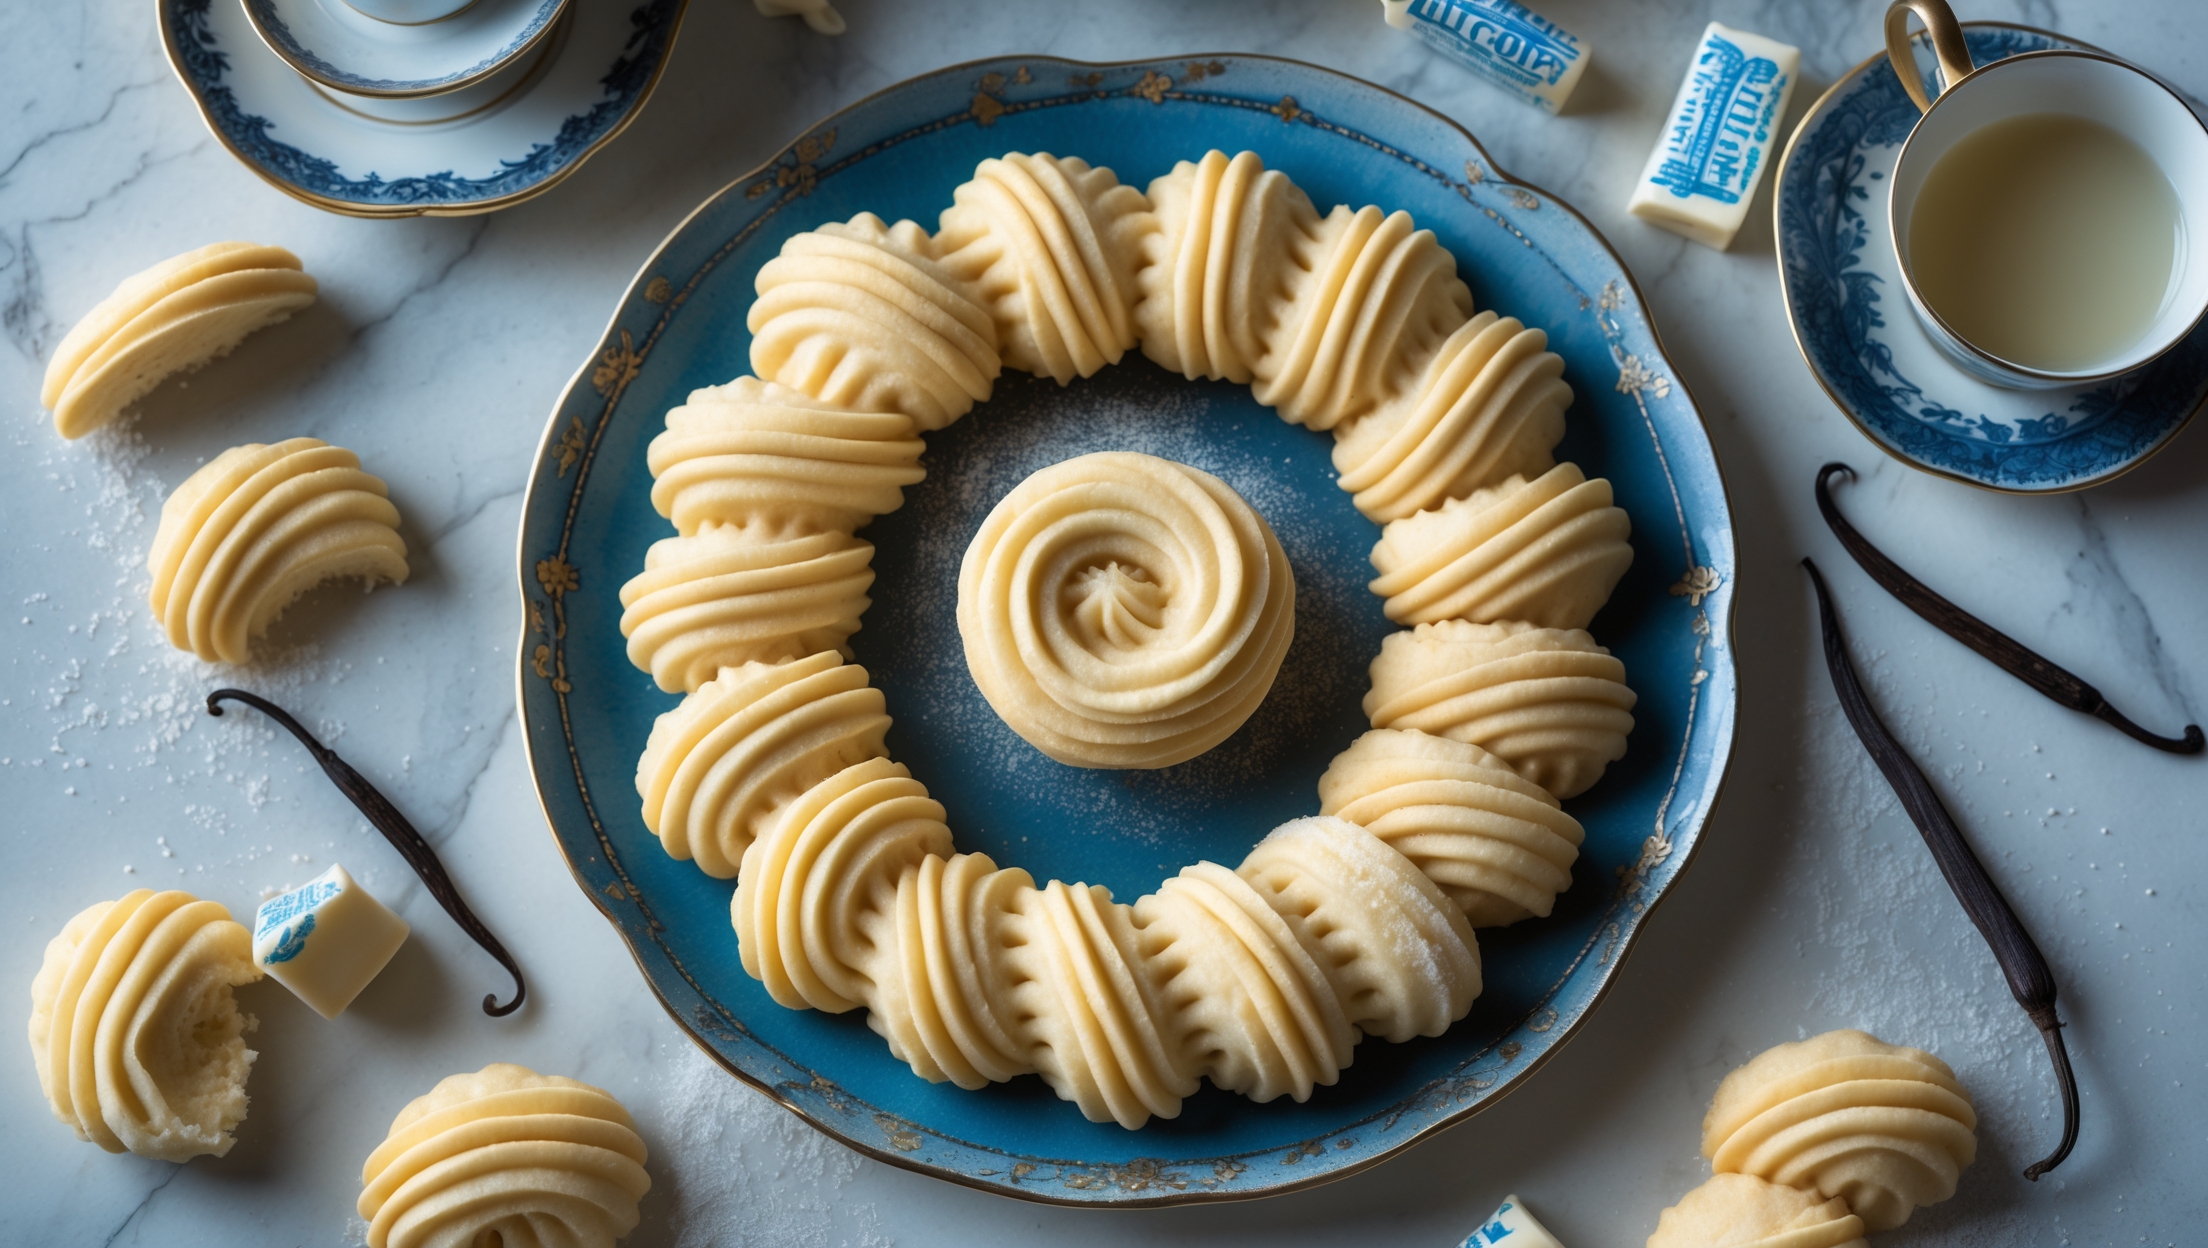
Learn how to cook Danish Butter Cookies by creaming softened butter with icing sugar until fluffy, adding vanilla and egg, then gently incorporating flour and salt. Pipe the dough into classic shapes and bake at 175°C for 10-12 minutes until just turning golden at the edges. The key is avoiding overbaking to maintain their delicate, tender texture.
If your butter cookies lose their shape, your butter might be too warm or your dough too soft. Chill the dough in the piping bag for 15 minutes before piping. Also ensure you're using room temperature (not melting) butter, the right flour amount, and a large star piping tip that creates defined ridges.
The secret to perfectly crumbly shortbread lies in using high-quality butter and avoiding overmixing when adding flour. The high fat-to-flour ratio creates that signature "short" texture. Mix just until combined, never develop the gluten, and bake just until set but not browned for that melt-in-your-mouth consistency.
Absolutely! While traditional Danish butter cookies feature vanilla, you can experiment with almond extract, citrus zest (lemon or orange), cardamom, or even cocoa powder for chocolate versions. For visual appeal, you can also add food colouring or finish with sprinkles, chocolate drizzle or glacé cherries.
Danish Pastry
Try following recommended recipes


