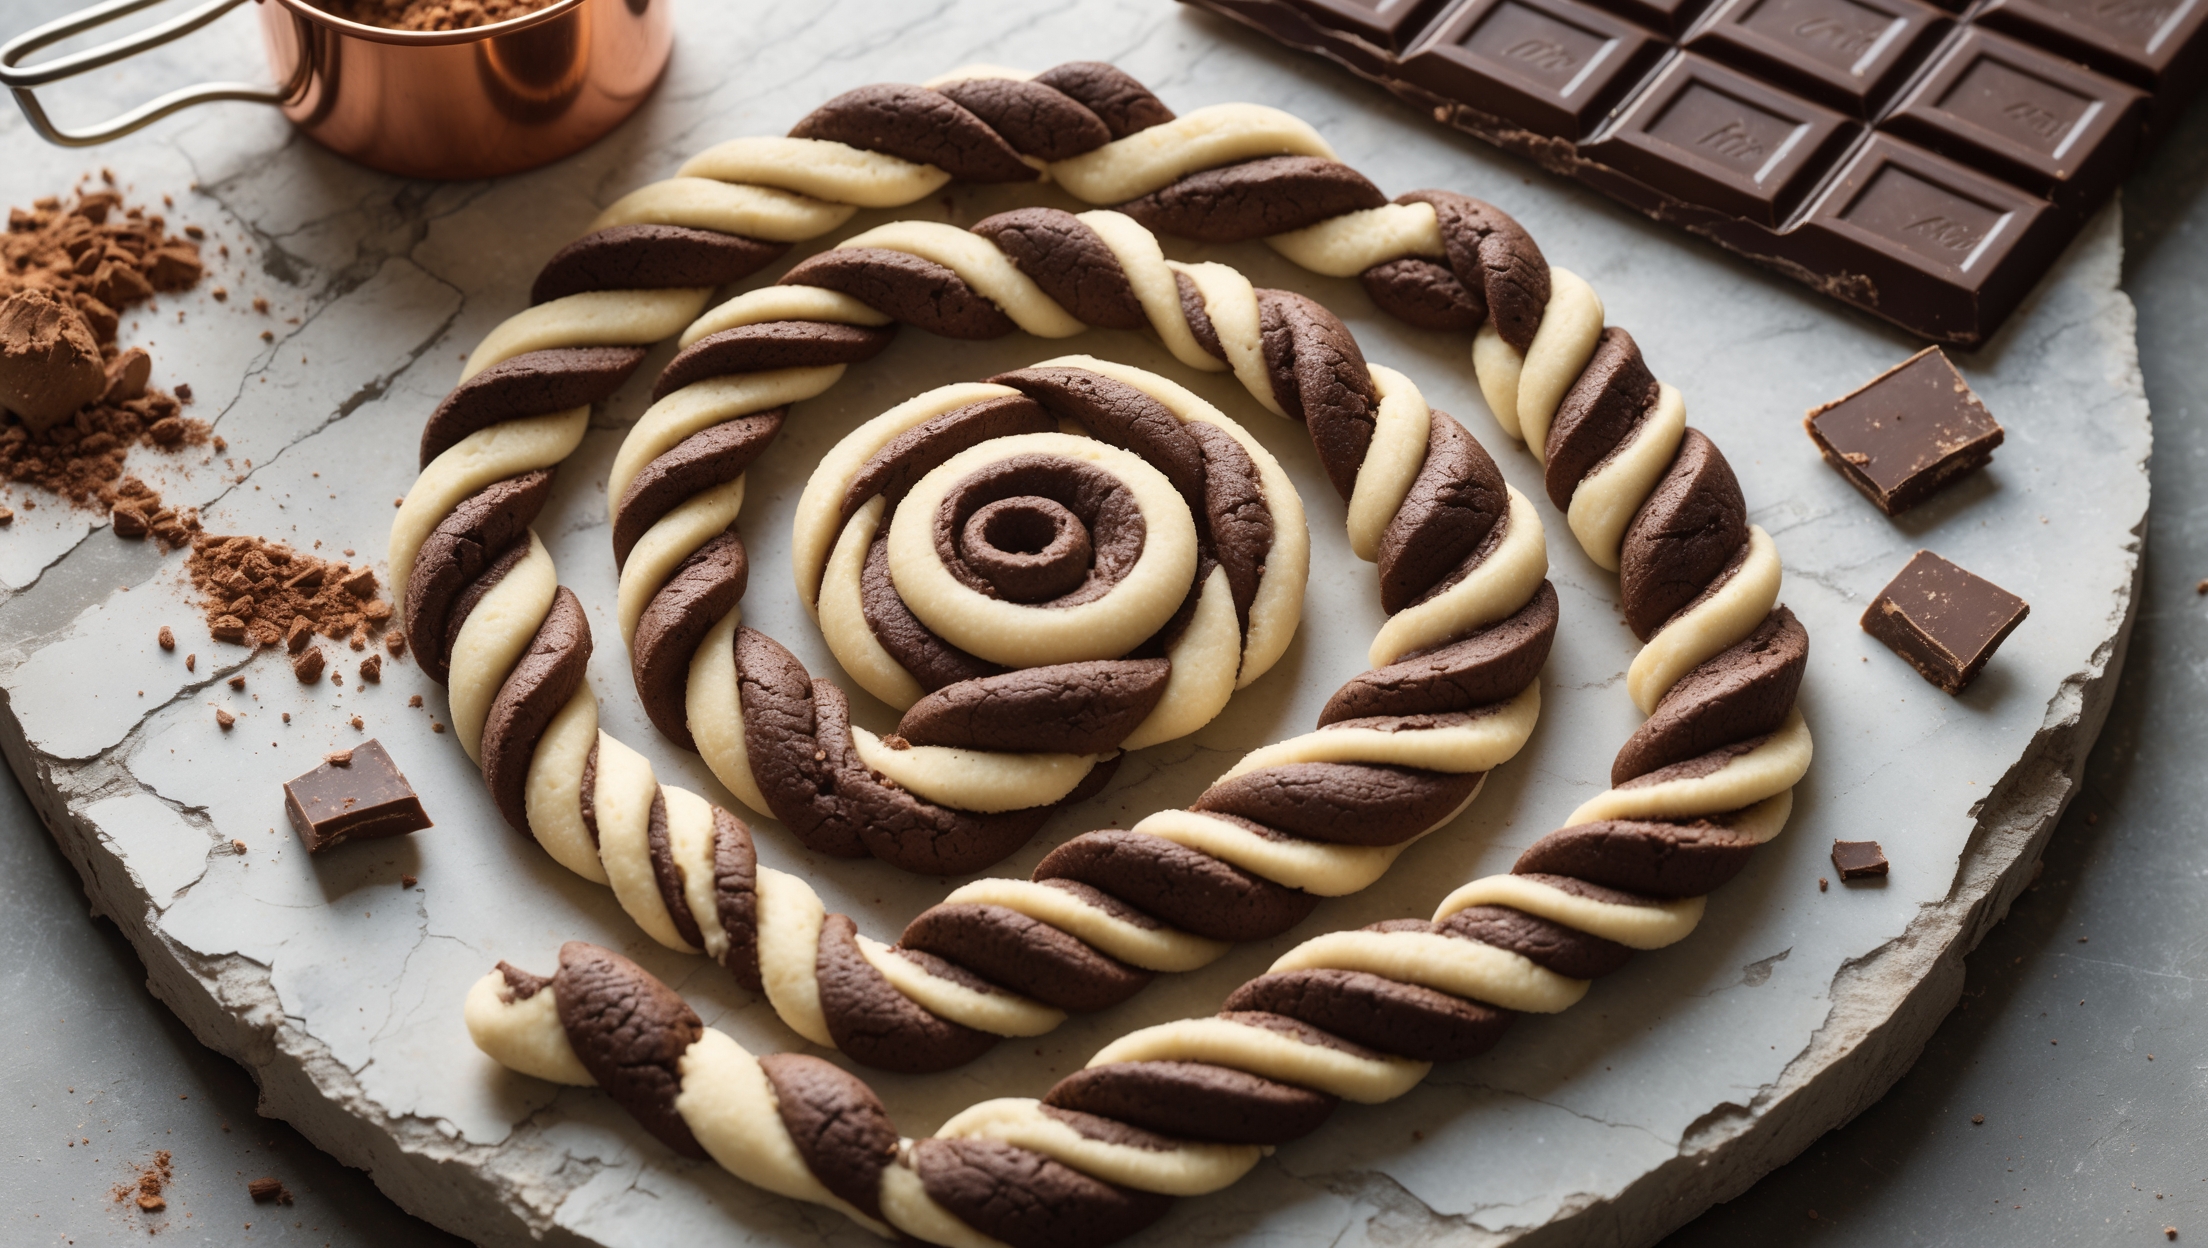
Directions
<ol class="no-list-style"> <li class="MethodStepper"> <h4 class="step-title">Step 1</h4> In a large mixing bowl, cream together the softened butter and sugar until light and fluffy, about 3-4 minutes. This extended beating time creates air pockets that give your cookies their delicate texture. The mixture should be noticeably paler than when you started. </li> <li class="MethodStepper"> <h4 class="step-title">Step 2</h4> Add the egg and vanilla extract to the butter-sugar mixture and beat until completely incorporated. Scrape down the sides of the bowl to ensure everything mixes evenly. </li> <li class="MethodStepper"> <h4 class="step-title">Step 3</h4> In a separate bowl, whisk together the flour and salt. Gradually add this dry mixture to the wet ingredients, mixing on low speed just until combined. Overmixing at this stage can develop too much gluten, resulting in tough cookies. </li> <li class="MethodStepper"> <h4 class="step-title">Step 4</h4> Divide the dough into two equal portions (using a kitchen scale if you have one for perfect accuracy). Return one half to the mixing bowl. </li> <li class="MethodStepper"> <h4 class="step-title">Step 5</h4> Add the cocoa powder and milk to the dough in the mixing bowl. Mix until the cocoa is fully incorporated and you have a uniform chocolate dough. The milk helps keep the chocolate dough from becoming too dry from the cocoa addition. </li> <li class="MethodStepper"> <h4 class="step-title">Step 6</h4> Roll out each portion of dough between two pieces of parchment paper into a rectangle approximately 25cm x 30cm (10 x 12 inches) and about 5mm (¼ inch) thick. Try to keep the edges as straight as possible for the most uniform spirals. </li> <li class="MethodStepper"> <h4 class="step-title">Step 7</h4> Chill both rolled-out dough sheets in the refrigerator for 15 minutes. This makes them easier to handle for the next steps without sticking or tearing. </li> <li class="MethodStepper"> <h4 class="step-title">Step 8</h4> Remove the dough sheets from the refrigerator. Peel off the top parchment from both sheets. Place the chocolate dough (still on its bottom parchment) on your work surface. Carefully flip the vanilla dough onto the chocolate dough so they're stacked. Peel off the remaining parchment from the vanilla dough. </li> <li class="MethodStepper"> <h4 class="step-title">Step 9</h4> Starting from one of the long sides, use the bottom parchment paper to help you roll the dough into a tight log, like a Swiss roll. The tighter your roll, the more distinct and attractive your spirals will be. If the dough feels too soft, chill it for 5 minutes before continuing. </li> <li class="MethodStepper"> <h4 class="step-title">Step 10</h4> Wrap the log in parchment paper and refrigerate for at least 2 hours or up to 3 days. You can also freeze the log at this point for up to 2 months. A thoroughly chilled dough is essential for clean slices and maintaining the spiral shape. </li> <li class="MethodStepper"> <h4 class="step-title">Step 11</h4> When ready to bake, preheat your oven to 180°C (350°F). Line baking sheets with parchment paper. </li> <li class="MethodStepper"> <h4 class="step-title">Step 12</h4> Unwrap the chilled dough log and slice into rounds about 6mm (¼ inch) thick using a sharp knife. For the cleanest cuts, rotate the log slightly after each cut to prevent flattening. If the dough becomes too soft while working, return it to the refrigerator for a few minutes. </li> <li class="MethodStepper"> <h4 class="step-title">Step 13</h4> Arrange the slices on the prepared baking sheets, spacing them about 4cm (1½ inches) apart as they will spread slightly. </li> <li class="MethodStepper"> <h4 class="step-title">Step 14</h4> Bake for 10-12 minutes until the edges are firm but the centers are still soft. The cookies should not brown significantly - just a slight golden hint at the edges of the vanilla sections. </li> <li class="MethodStepper"> <h4 class="step-title">Step 15</h4> Allow the cookies to cool on the baking sheets for 5 minutes before transferring to wire racks to cool completely. The cookies will continue to firm up as they cool, giving you that perfect crisp-tender texture. </li> </ol>