Charcoal-Activated Black Danish with Mirror Glaze Recipe
Ingredients
Equipment
Directions
FAQs
Find answers to your most pressing questions about this delicious recipe right here.
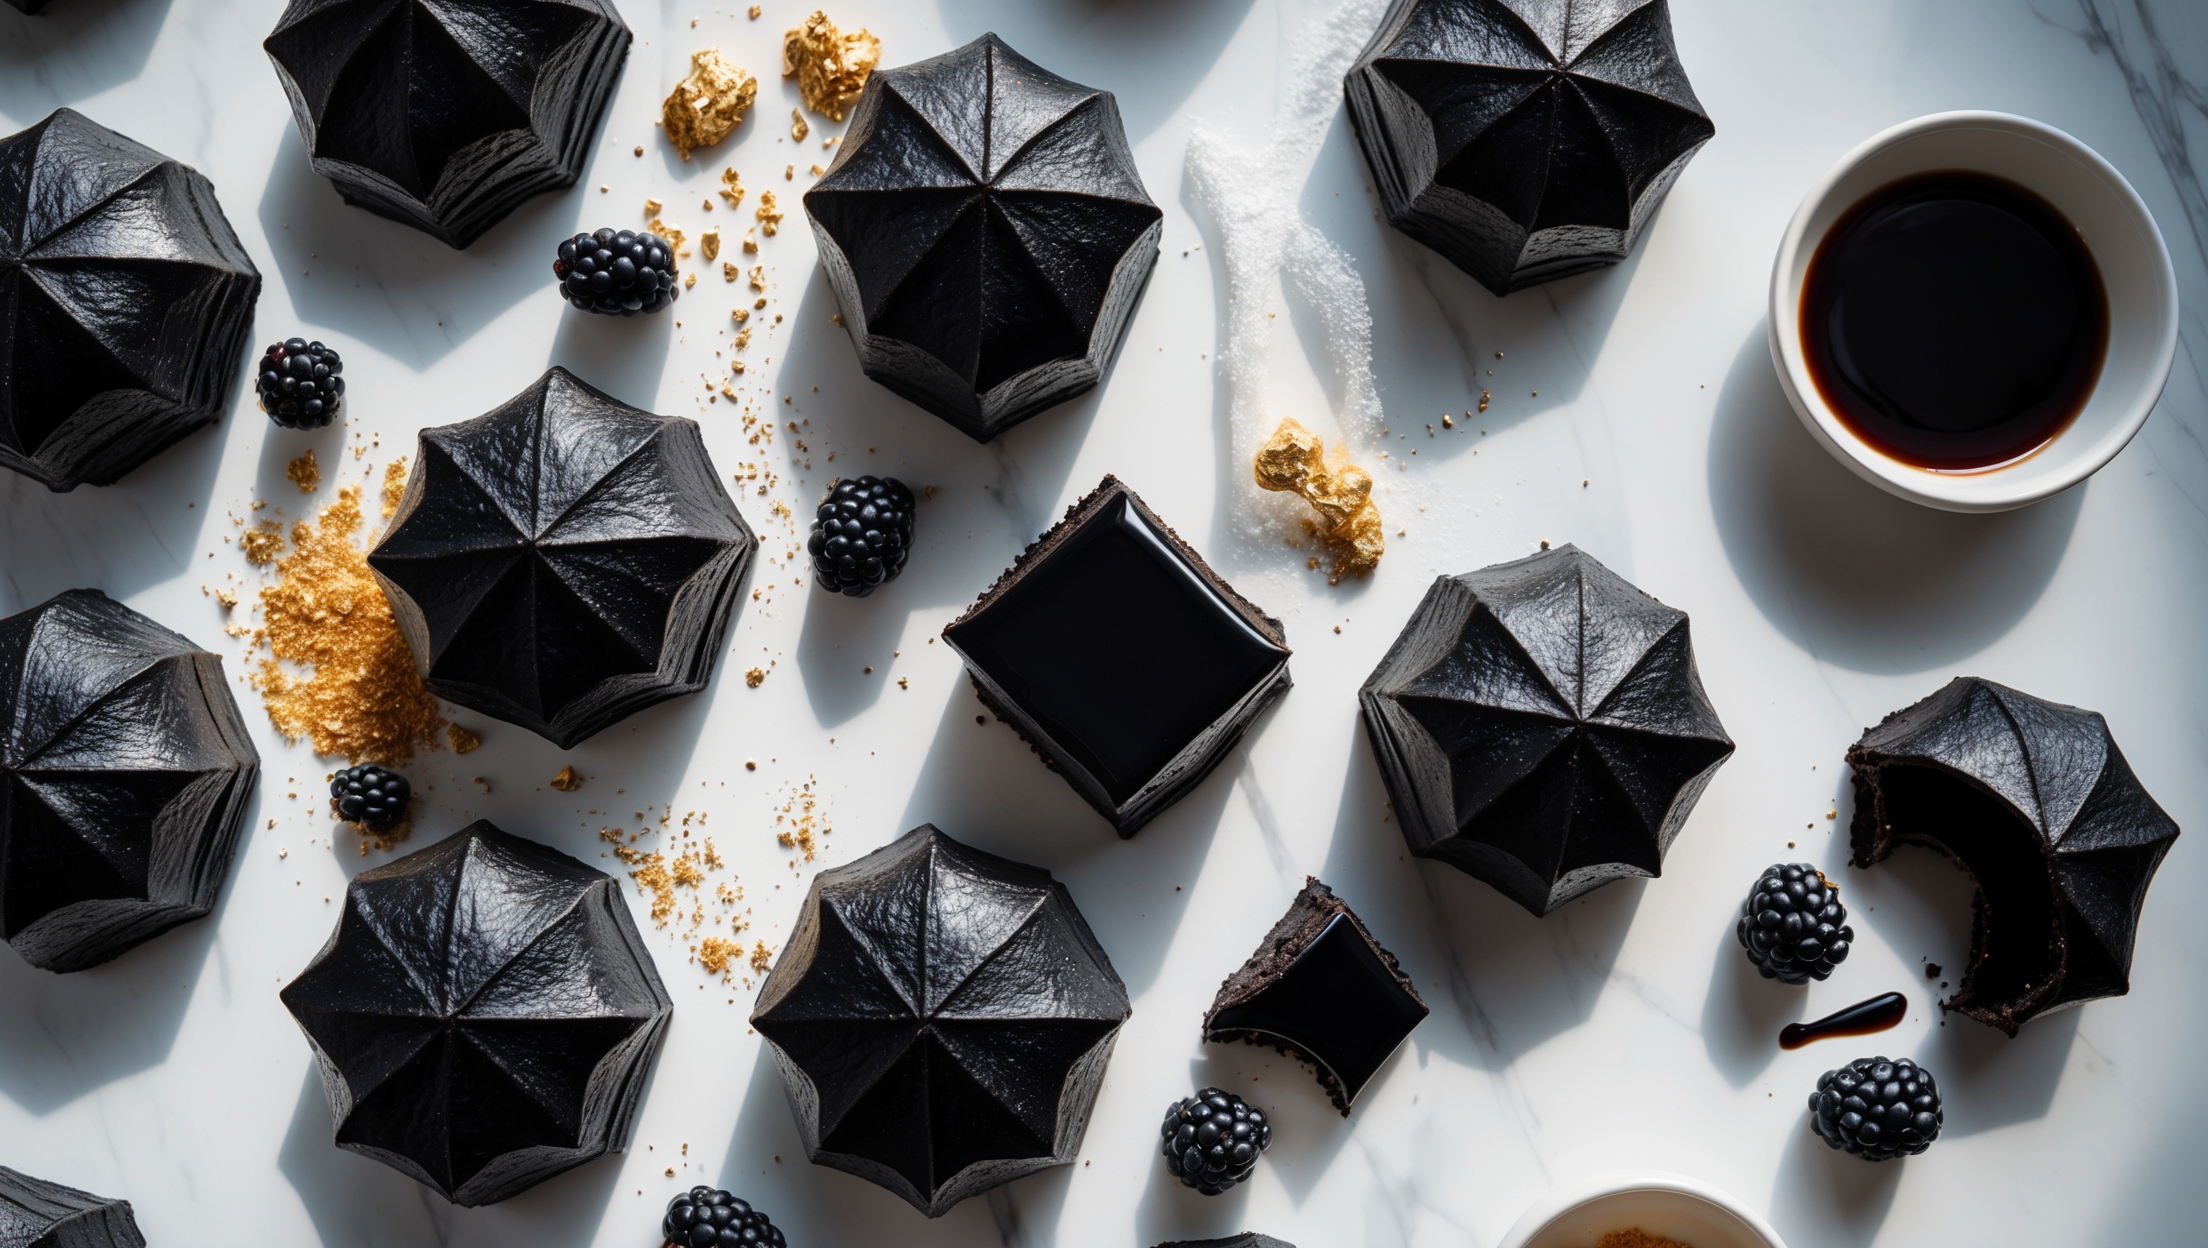
The recipe uses bread flour, activated charcoal powder, eggs, milk, butter, yeast, and sugar for the Danish dough. The mirror glaze requires white chocolate, condensed milk, gelatin, sugar, water, and black gel food colouring. Optional edible silver luster dust adds a decorative finish.
Learn how to cook Charcoal-Activated Black Danish by creating a charcoal-infused dough, performing three lamination turns for flaky layers, shaping into squares, and baking until perfectly risen. The showstopping mirror glaze is made by combining white chocolate, condensed milk and gelatin, then coloured black and poured over the cooled pastries.
Food-grade activated charcoal is safe for occasional culinary use in small amounts. However, it can interfere with medication absorption, so avoid consuming if you're taking prescription medicines. Always use food-grade charcoal specifically, as other types aren't safe for consumption.
The perfect mirror glaze requires precise temperature control (35-38°C), straining to remove particles, and pouring in one smooth motion. Allow pastries to cool completely before glazing, use a wire rack for even coating, and avoid air bubbles by gently stirring rather than whisking.
Proper lamination requires cold but pliable butter, maintaining straight edges when rolling, consistent dough thickness, and proper resting between turns. Work in a cool environment, keep dough chilled, and fold precisely to create the delicate, flaky layers that characterise perfect Danish pastries.
Danish Pastry
Try following recommended recipes


