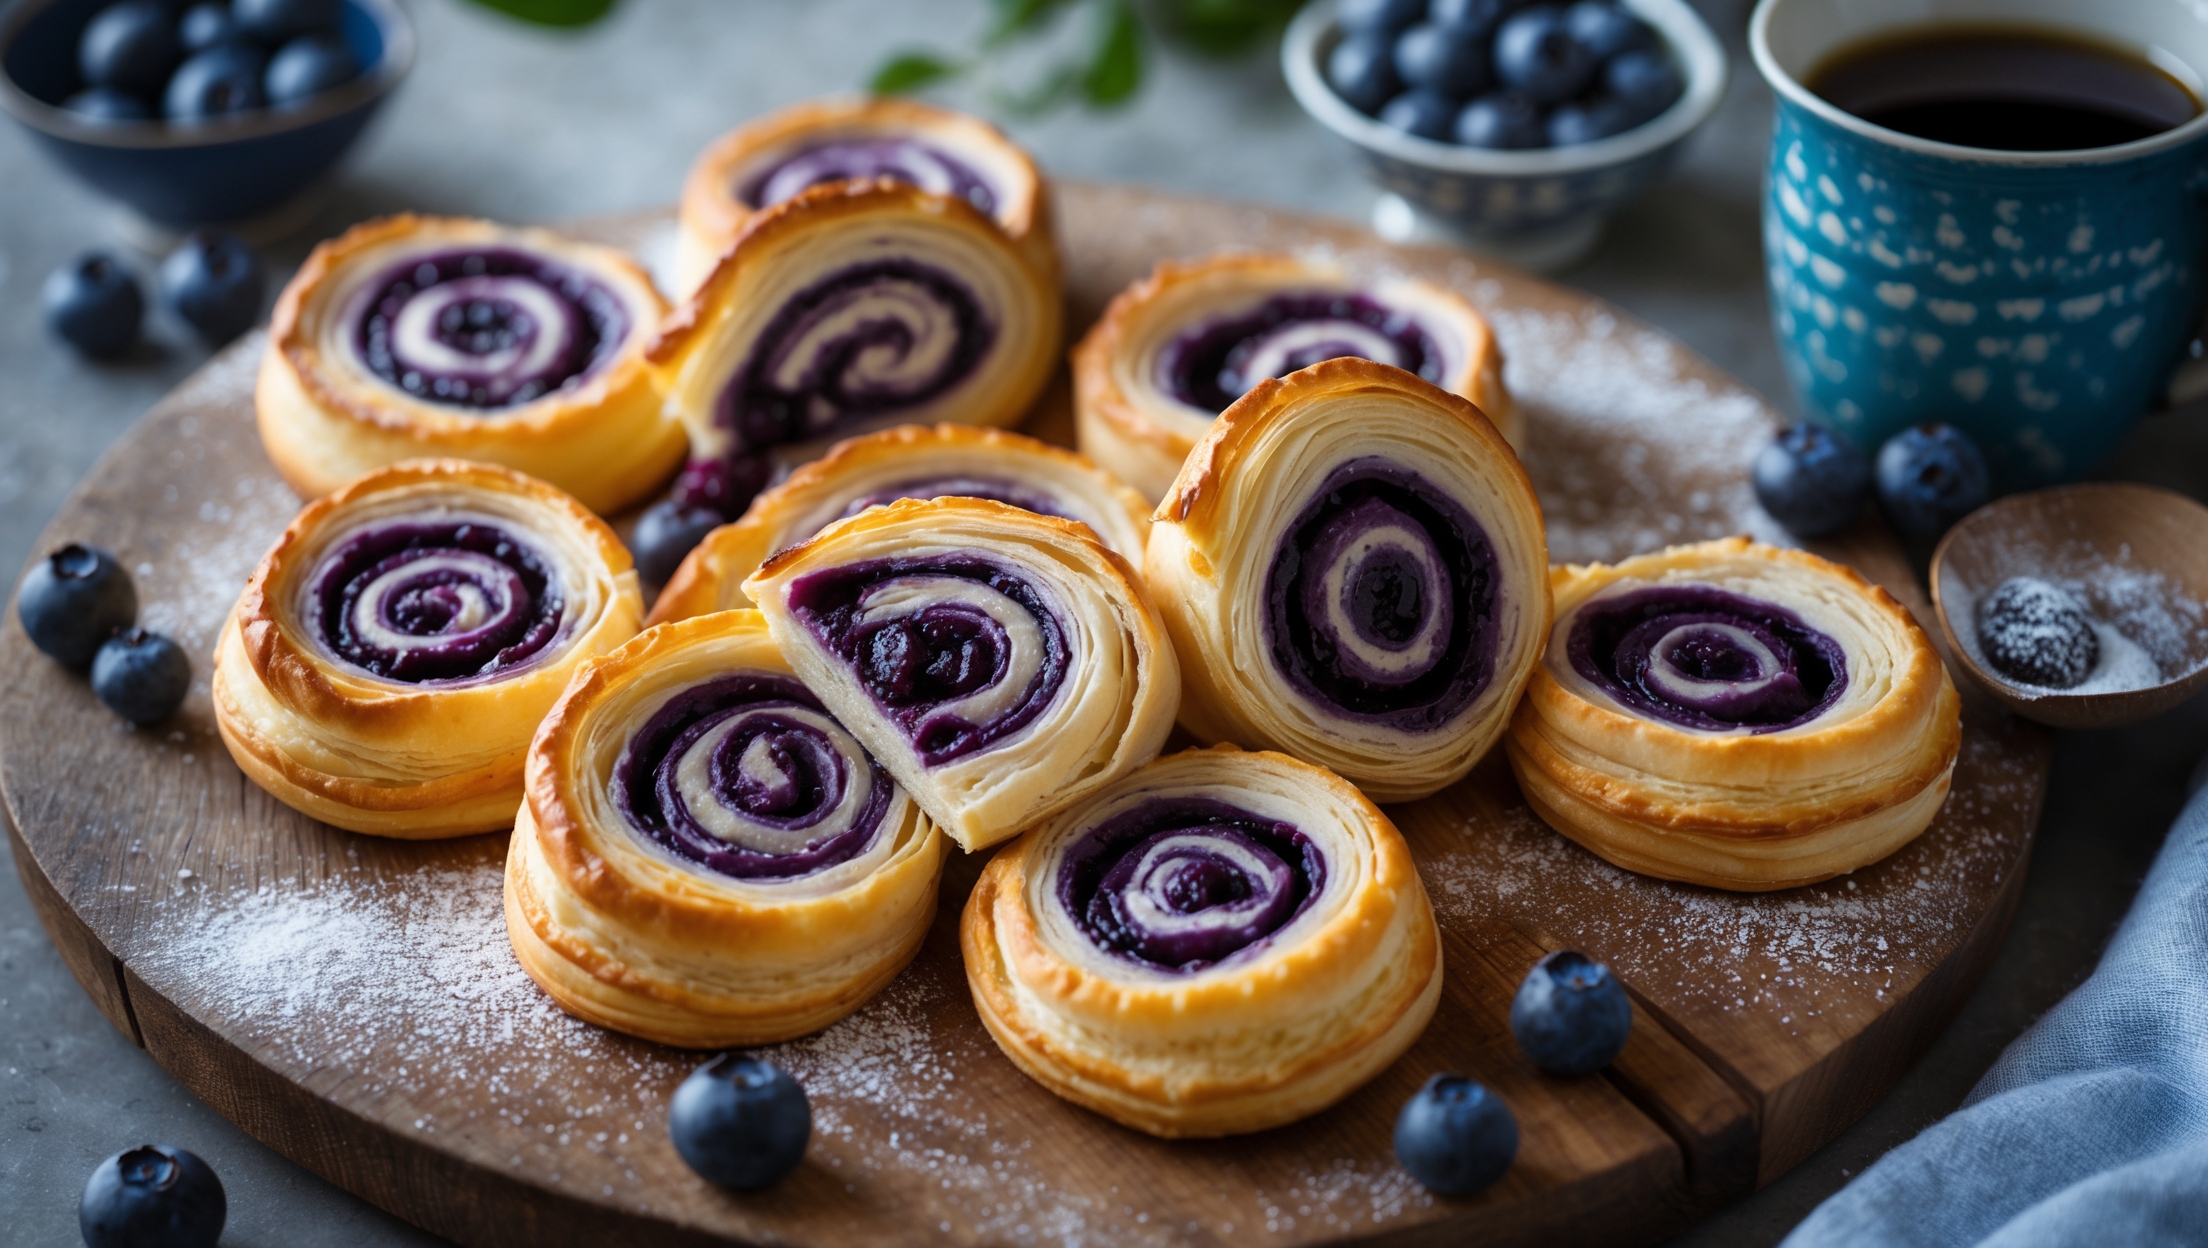
Directions
<ol class="no-list-style"><li class="MethodStepper"><h4 class="step-title">Step 1</h4>Start by preparing the blueberry filling. In a medium saucepan, combine blueberries, sugar, cornstarch, lemon juice, and zest. Cook over medium heat, stirring frequently, until the mixture thickens and bubbles, about 5-7 minutes. The cornstarch needs to reach boiling point to fully activate its thickening properties. Remove from heat and set aside to cool completely.</li><li class="MethodStepper"><h4 class="step-title">Step 2</h4>For the pastry dough, whisk together flour, sugar, and salt in a large bowl. Add the cold butter cubes and use a pastry cutter or your fingertips to work it into the flour until you have pea-sized pieces. Keeping the butter in distinct pieces rather than fully incorporating it is crucial for creating flaky layers when baked.</li><li class="MethodStepper"><h4 class="step-title">Step 3</h4>Mix the ice-cold water and vanilla extract, then drizzle over the flour mixture. Gently stir with a fork until the dough just begins to come together – it should still look somewhat shaggy. Turn onto a lightly floured surface and knead very gently 3-4 times, just enough to form a cohesive dough. Over-handling will warm the butter and develop gluten, resulting in tough pastry.</li><li class="MethodStepper"><h4 class="step-title">Step 4</h4>Shape the dough into a rectangle, wrap in plastic wrap, and refrigerate for at least 30 minutes. This chilling time allows the gluten to relax and the butter to firm up again, ensuring your pinwheels will be tender and flaky.</li><li class="MethodStepper"><h4 class="step-title">Step 5</h4>Preheat your oven to 190°C and line a baking sheet with parchment paper. On a lightly floured surface, roll the chilled dough into a rectangle approximately 35x25cm. Try to maintain even thickness and straight edges for the most attractive pinwheels.</li><li class="MethodStepper"><h4 class="step-title">Step 6</h4>Spread the cooled blueberry filling evenly over the dough, leaving a 2cm border along one long edge. The border will help seal your pinwheels once rolled. Be careful not to overfill, as excess filling will leak out during baking.</li><li class="MethodStepper"><h4 class="step-title">Step 7</h4>Starting from the long edge without the border, tightly roll the dough into a log, pinching the edge to seal. For the cleanest cut, place the log seam-side down on a baking sheet and refrigerate for 15 minutes to firm up. This brief chill makes slicing much easier and helps maintain the spiral shape.</li><li class="MethodStepper"><h4 class="step-title">Step 8</h4>With a sharp knife, slice the log into 12 equal pieces, each about 3cm thick. Place the pinwheels cut-side up on your prepared baking sheet, leaving space between each for expansion. If any filling escapes during cutting, simply tuck it back into the swirls.</li><li class="MethodStepper"><h4 class="step-title">Step 9</h4>Bake for 18-20 minutes, until the pastry is golden brown and the filling is bubbling. Look for color on the bottom edges as well – pale undersides indicate underbaked pastry. If the pinwheels are browning too quickly, loosely cover with aluminum foil.</li><li class="MethodStepper"><h4 class="step-title">Step 10</h4>While the pinwheels are cooling, prepare the glaze by whisking together powdered sugar, milk, and vanilla extract until smooth. Adjust consistency with more milk or sugar as needed – it should be thick enough to hold its shape briefly when drizzled but thin enough to flow.</li><li class="MethodStepper"><h4 class="step-title">Step 11</h4>When the pinwheels have cooled for about 10 minutes, drizzle the glaze over them using a spoon or piping bag. The slightly warm pastries will help the glaze set to a perfect finish. Serve warm or at room temperature for the best texture and flavor. These pinwheels are at their flakiest the day they're made, but can be stored in an airtight container for up to 2 days.</li></ol>