Blackberry Danish Recipe
Ingredients
Equipment
Directions
FAQs
Find answers to your most pressing questions about this delicious recipe right here.
Blackberry Danish Recipe requires all-purpose flour, instant yeast, sugar, salt, milk, eggs, vanilla extract, cold unsalted butter, fresh blackberries, cornstarch, lemon juice, and optional pearl sugar or sliced almonds for topping.
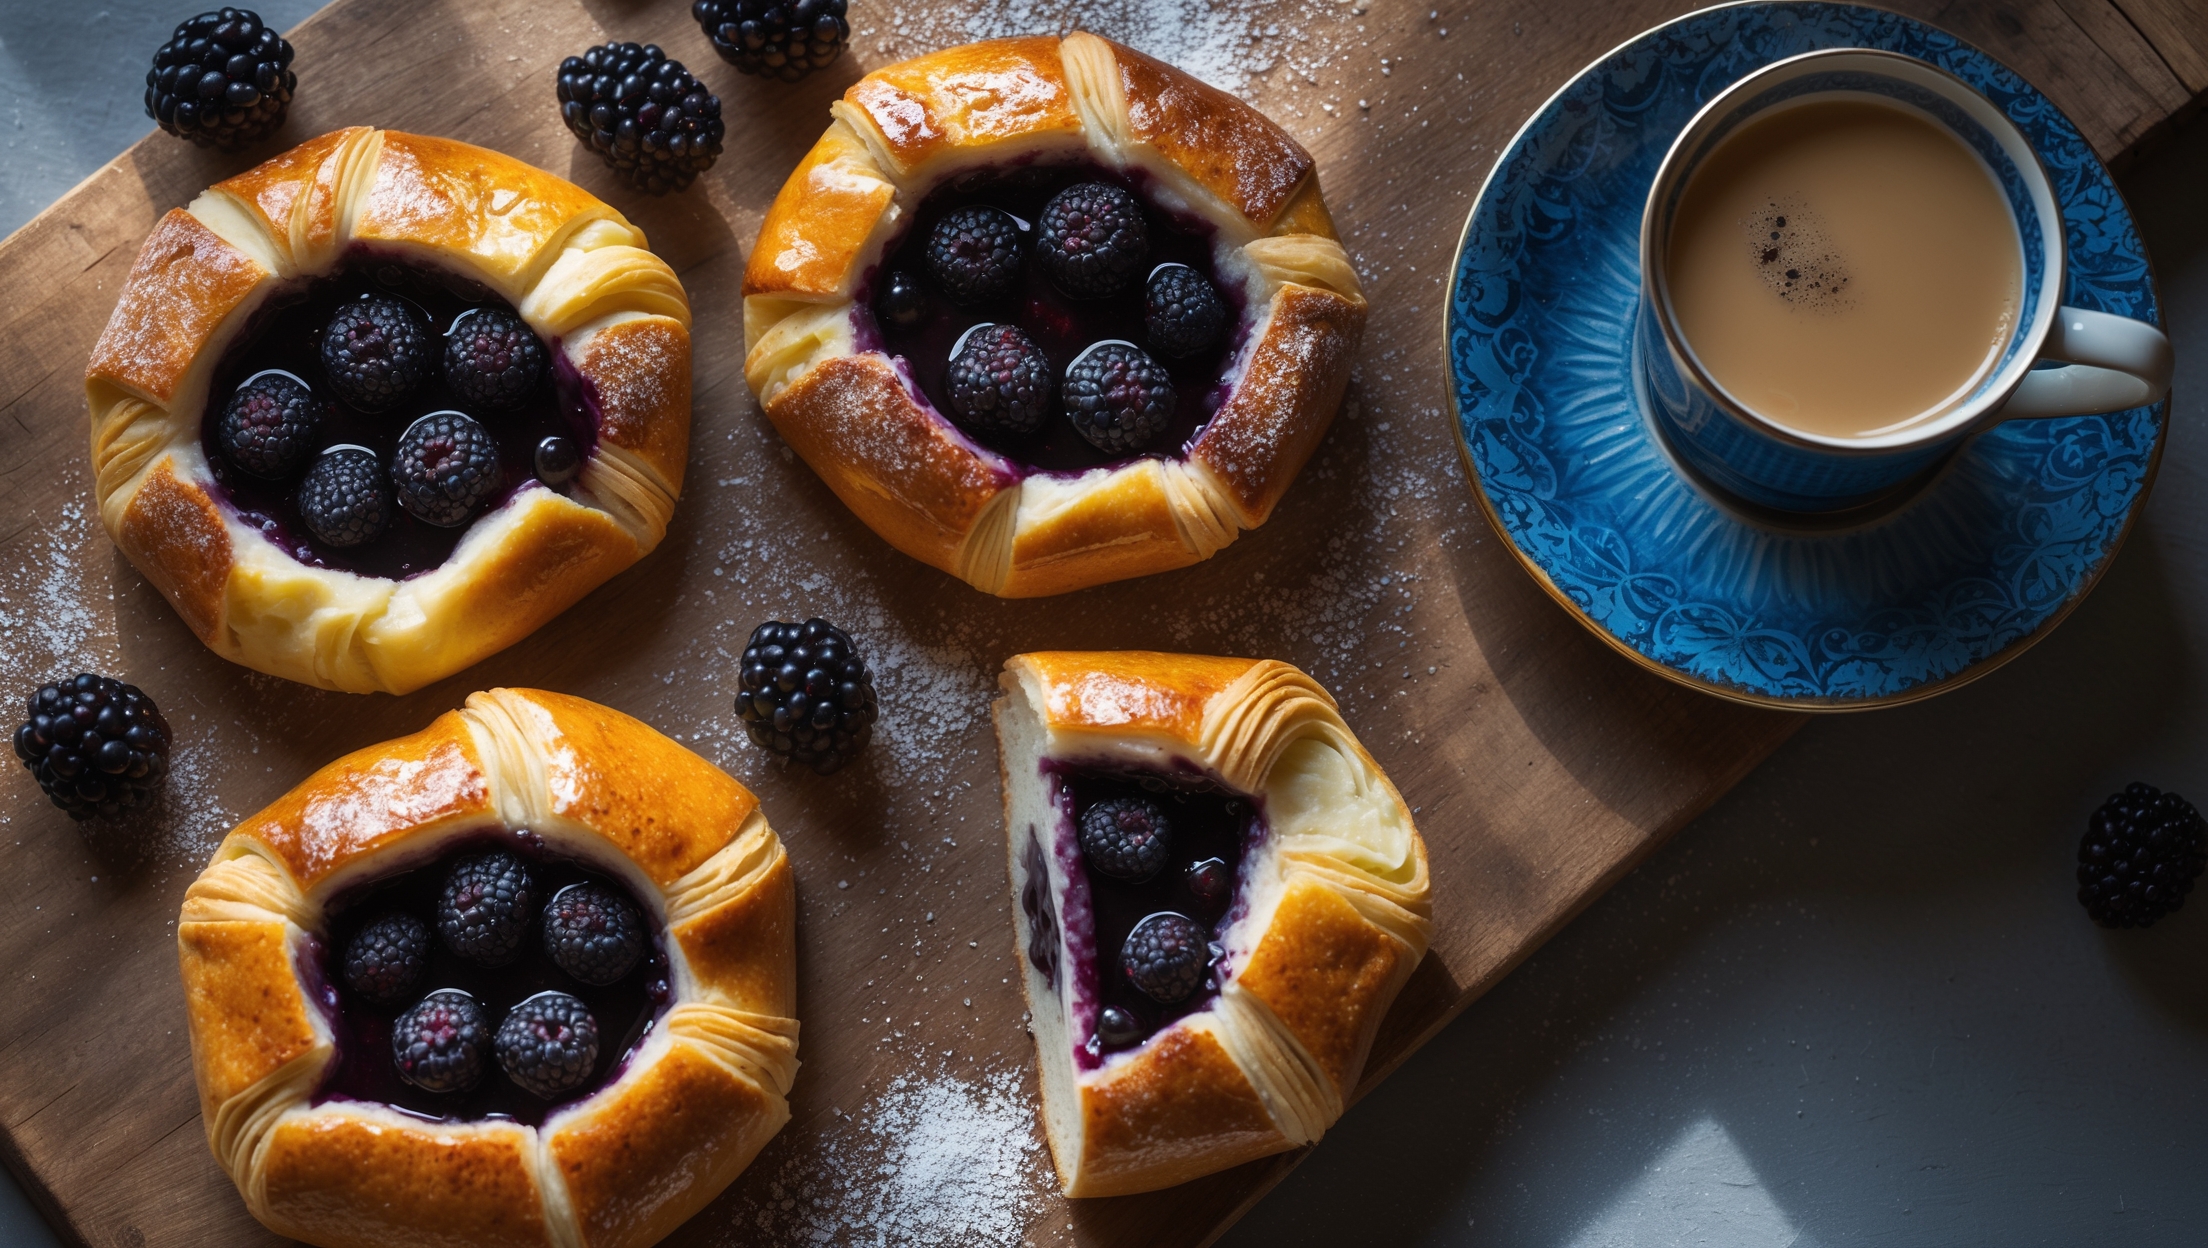
Learn how to cook Blackberry Danish Recipe by making a yeasted dough, laminating it with butter through three folding turns, preparing a thickened blackberry filling, shaping square pastries with folded corners, and baking until golden brown. The process creates beautifully flaky layers with a jammy fruit center.
The key to flaky Danish pastry is maintaining cold butter throughout the lamination process. Work quickly, keep the dough chilled between turns, and ensure the butter remains pliable but cool. This creates distinct butter layers that steam during baking, pushing the dough apart into delicate sheets.
Yes, frozen blackberries work perfectly for Danish pastry filling. Thaw them first and drain excess liquid, or cook them from frozen with a bit more cornstarch (about 1 extra teaspoon) to account for the additional moisture. The result will be equally delicious with properly thickened filling.
To prevent soggy bottoms in Danish pastries, properly thicken your blackberry filling with cornstarch until it's jammy, cool it completely before using, avoid overfilling the pastries, and ensure your oven is fully preheated. Baking on parchment paper rather than silicone mats also helps crisp the base.
Danish Pastry
Try following recommended recipes


