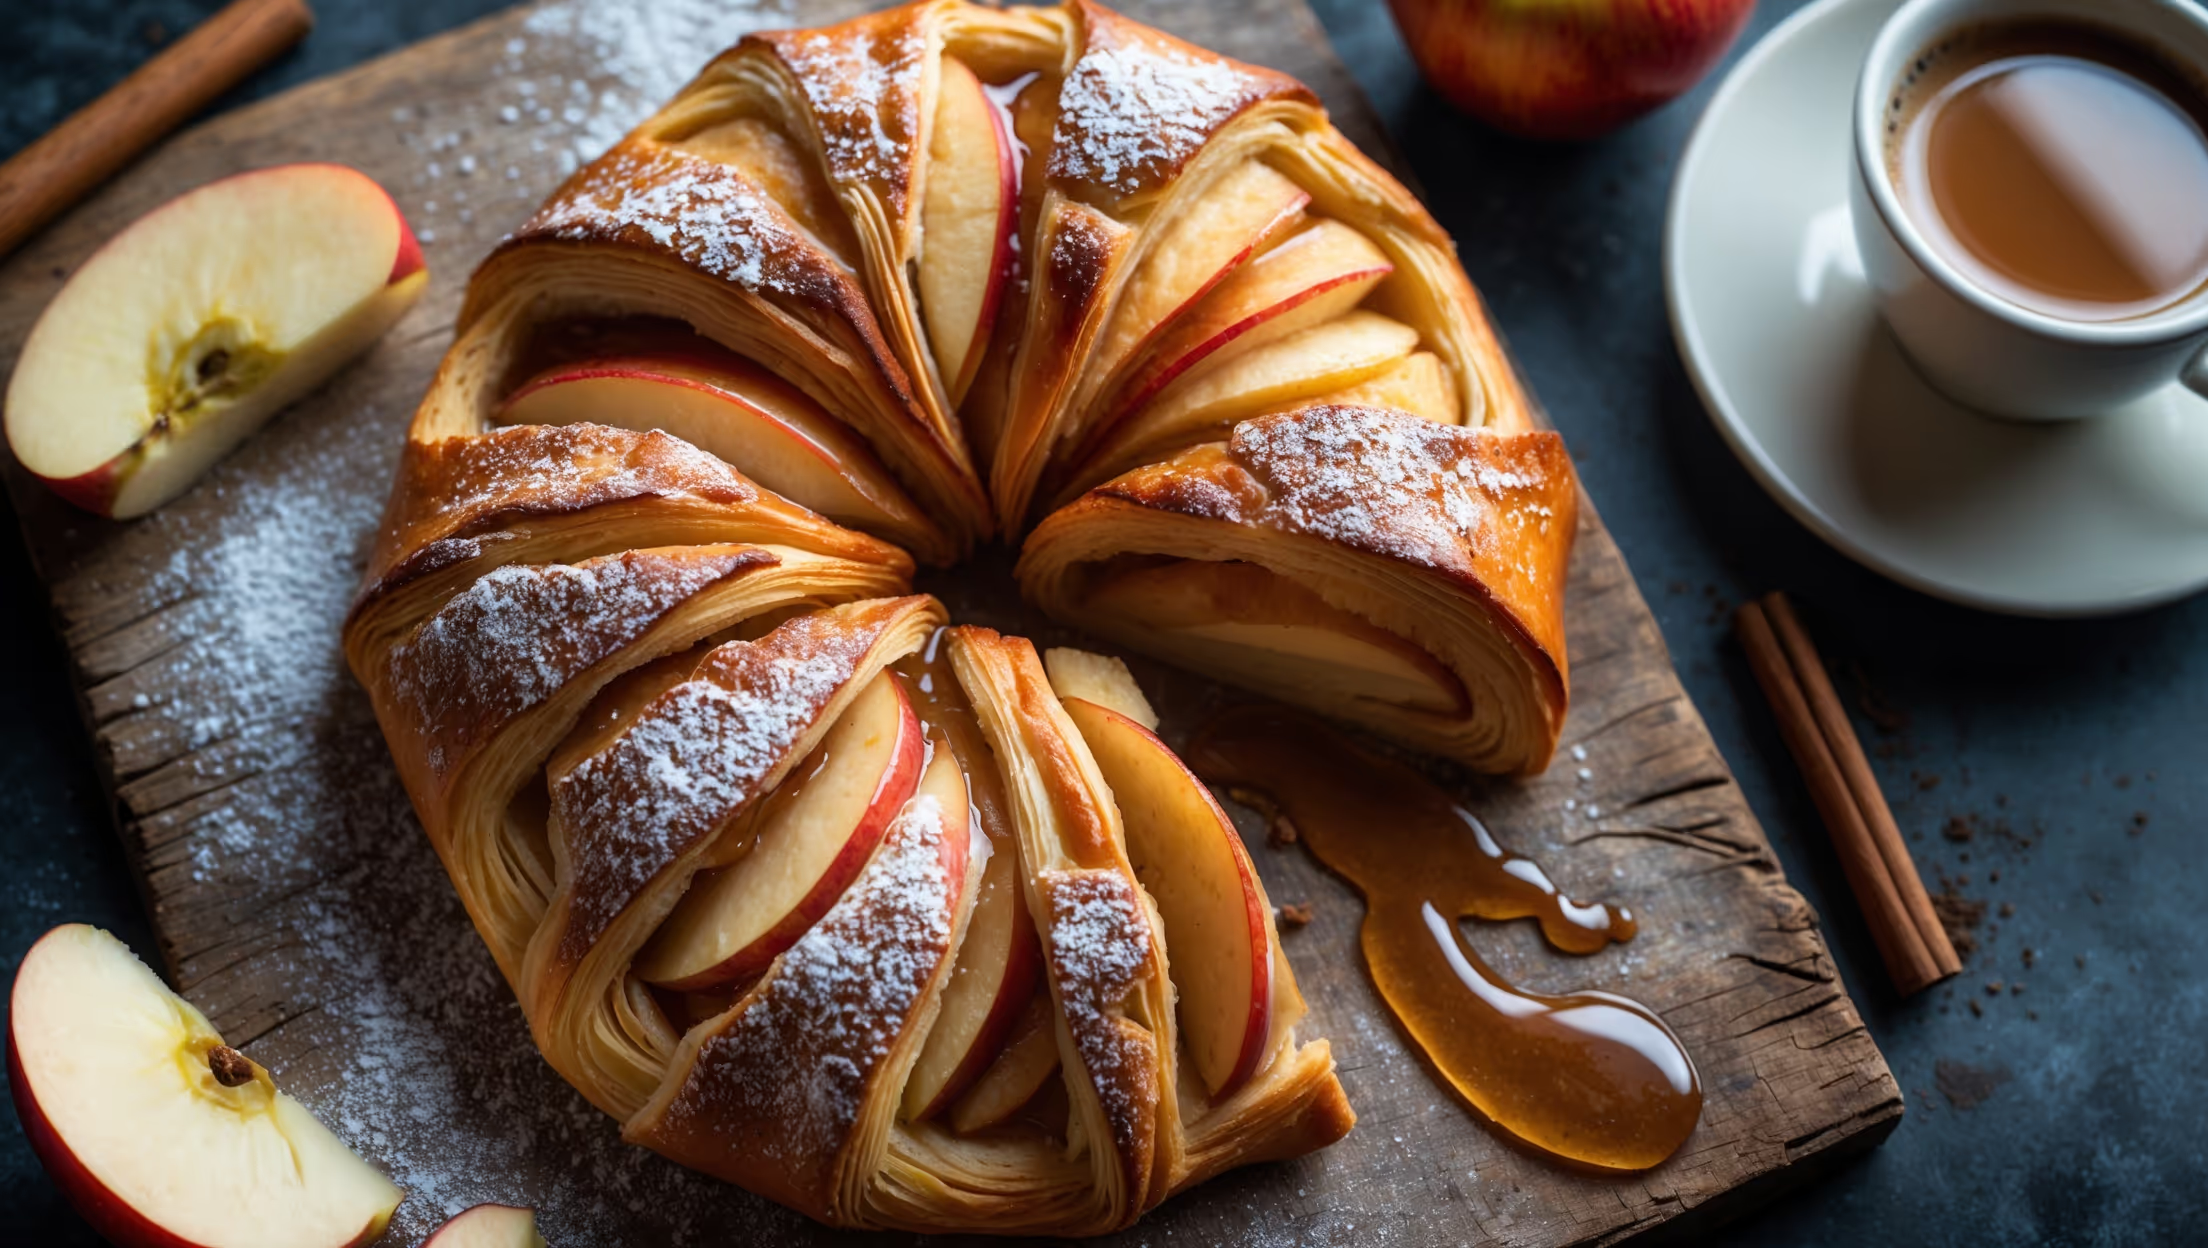
<ol class="no-list-style"><li class="MethodStepper"><h4 class="step-title">Step 1</h4>Begin by making the Danish dough. In the bowl of your stand mixer, combine the flour, sugar, salt, and yeast. In a separate bowl, whisk together the lukewarm milk, egg, and vanilla extract. With the mixer on low speed using the dough hook, slowly add the wet ingredients to the dry ingredients. Mix for 3-4 minutes until a soft, slightly sticky dough forms. The dough should pull away from the sides of the bowl but still stick slightly to the bottom – this moisture is crucial for a tender final product.</li><li class="MethodStepper"><h4 class="step-title">Step 2</h4>Transfer the dough to a lightly floured work surface and knead gently for 1 minute to form a smooth ball. Place in a lightly greased bowl, cover with plastic wrap, and refrigerate for 30 minutes. This initial chilling makes the dough easier to work with during lamination.</li><li class="MethodStepper"><h4 class="step-title">Step 3</h4>While the dough chills, prepare the butter block for lamination. Place the cold butter between two sheets of parchment paper and beat it with a rolling pin to soften slightly. Form it into a 15cm×15cm square. The butter should be cool but pliable – if it's too cold it will break through the dough, too warm and it will be absorbed. Return to the refrigerator until needed.</li><li class="MethodStepper"><h4 class="step-title">Step 4</h4>On a lightly floured surface, roll the chilled dough into a 30cm×30cm square. Place the butter block in the center of the dough at a 45-degree angle (like a diamond on a square). Fold the corners of the dough over the butter to enclose it completely, pinching the seams to seal.</li><li class="MethodStepper"><h4 class="step-title">Step 5</h4>Roll the dough into a rectangle approximately 45cm×20cm, keeping the edges straight. This precision ensures even layers throughout your pastry. Fold the dough in thirds like a letter (fold one-third over the middle, then the remaining third on top). This completes your first "turn." Wrap in plastic wrap and refrigerate for 30 minutes. The resting period allows the gluten to relax and the butter to firm up again.</li><li class="MethodStepper"><h4 class="step-title">Step 6</h4>Repeat this rolling and folding process two more times, chilling the dough for 30 minutes between each turn. After the final turn, wrap the dough tightly and refrigerate for at least 2 hours or overnight. This extended rest develops flavor and ensures the butter is properly chilled for baking.</li><li class="MethodStepper"><h4 class="step-title">Step 7</h4>While the dough is chilling, prepare the apple filling. In a medium saucepan, combine the sliced apples, sugar, lemon juice, cinnamon, and nutmeg. Cook over medium heat for 5-7 minutes until the apples begin to soften but still retain some firmness. Mix the cornstarch with 1 tablespoon of water to create a slurry, then stir into the apple mixture. Cook for an additional 1-2 minutes until thickened. Remove from heat and cool completely. The cornstarch stabilizes the filling, preventing it from making your pastry soggy.</li><li class="MethodStepper"><h4 class="step-title">Step 8</h4>For the cream cheese filling, beat the cream cheese, powdered sugar, vanilla extract, and egg yolk until smooth and creamy. The egg yolk adds richness and helps the filling set properly when baked. Transfer to a piping bag or ziplock bag with the corner snipped off for easy application.</li><li class="MethodStepper"><h4 class="step-title">Step 9</h4>When ready to shape the Danishes, line two baking sheets with parchment paper. Remove the dough from the refrigerator and cut it in half. Return one half to the refrigerator while working with the other. Roll the dough into a rectangle approximately 30cm×40cm and about 3-4mm thick. Cut into 12 squares (approximately 10cm each).</li><li class="MethodStepper"><h4 class="step-title">Step 10</h4>To shape each Danish, pipe about 1 tablespoon of cream cheese filling in the center of each square. Top with 1-2 tablespoons of the apple filling. Fold two opposite corners of each square toward the center, slightly overlapping them. Gently press to seal. Transfer the shaped Danishes to the prepared baking sheets, leaving about 5cm between each pastry to allow for expansion.</li><li class="MethodStepper"><h4 class="step-title">Step 11</h4>Cover the Danishes loosely with plastic wrap and let them proof at room temperature for 45-60 minutes, or until visibly puffy but not doubled in size. Overproofing can cause the layers to collapse during baking, so watch them carefully.</li><li class="MethodStepper"><h4 class="step-title">Step 12</h4>Preheat your oven to 190°C. Brush the Danishes gently with egg wash, being careful not to deflate them. The egg wash creates that signature golden, shiny finish. Bake for 18-22 minutes, rotating the pans halfway through, until deeply golden brown. The dark color isn't burning – it's caramelization that adds flavor!</li><li class="MethodStepper"><h4 class="step-title">Step 13</h4>While the Danishes cool slightly, prepare the glaze by whisking together the powdered sugar, milk, and vanilla until smooth. Adjust the consistency by adding more milk or sugar as needed – it should be thick enough to hold its shape briefly when drizzled but thin enough to settle into the pastry.</li><li class="MethodStepper"><h4 class="step-title">Step 14</h4>When the Danishes have cooled for about 10 minutes, drizzle with the prepared glaze. Serve warm or at room temperature. These are best enjoyed the day they're made, but can be stored in an airtight container for up to 2 days. For longer storage, freeze the unglazed Danishes and refresh in a 150°C oven for 5-7 minutes before glazing and serving.</li></ol>