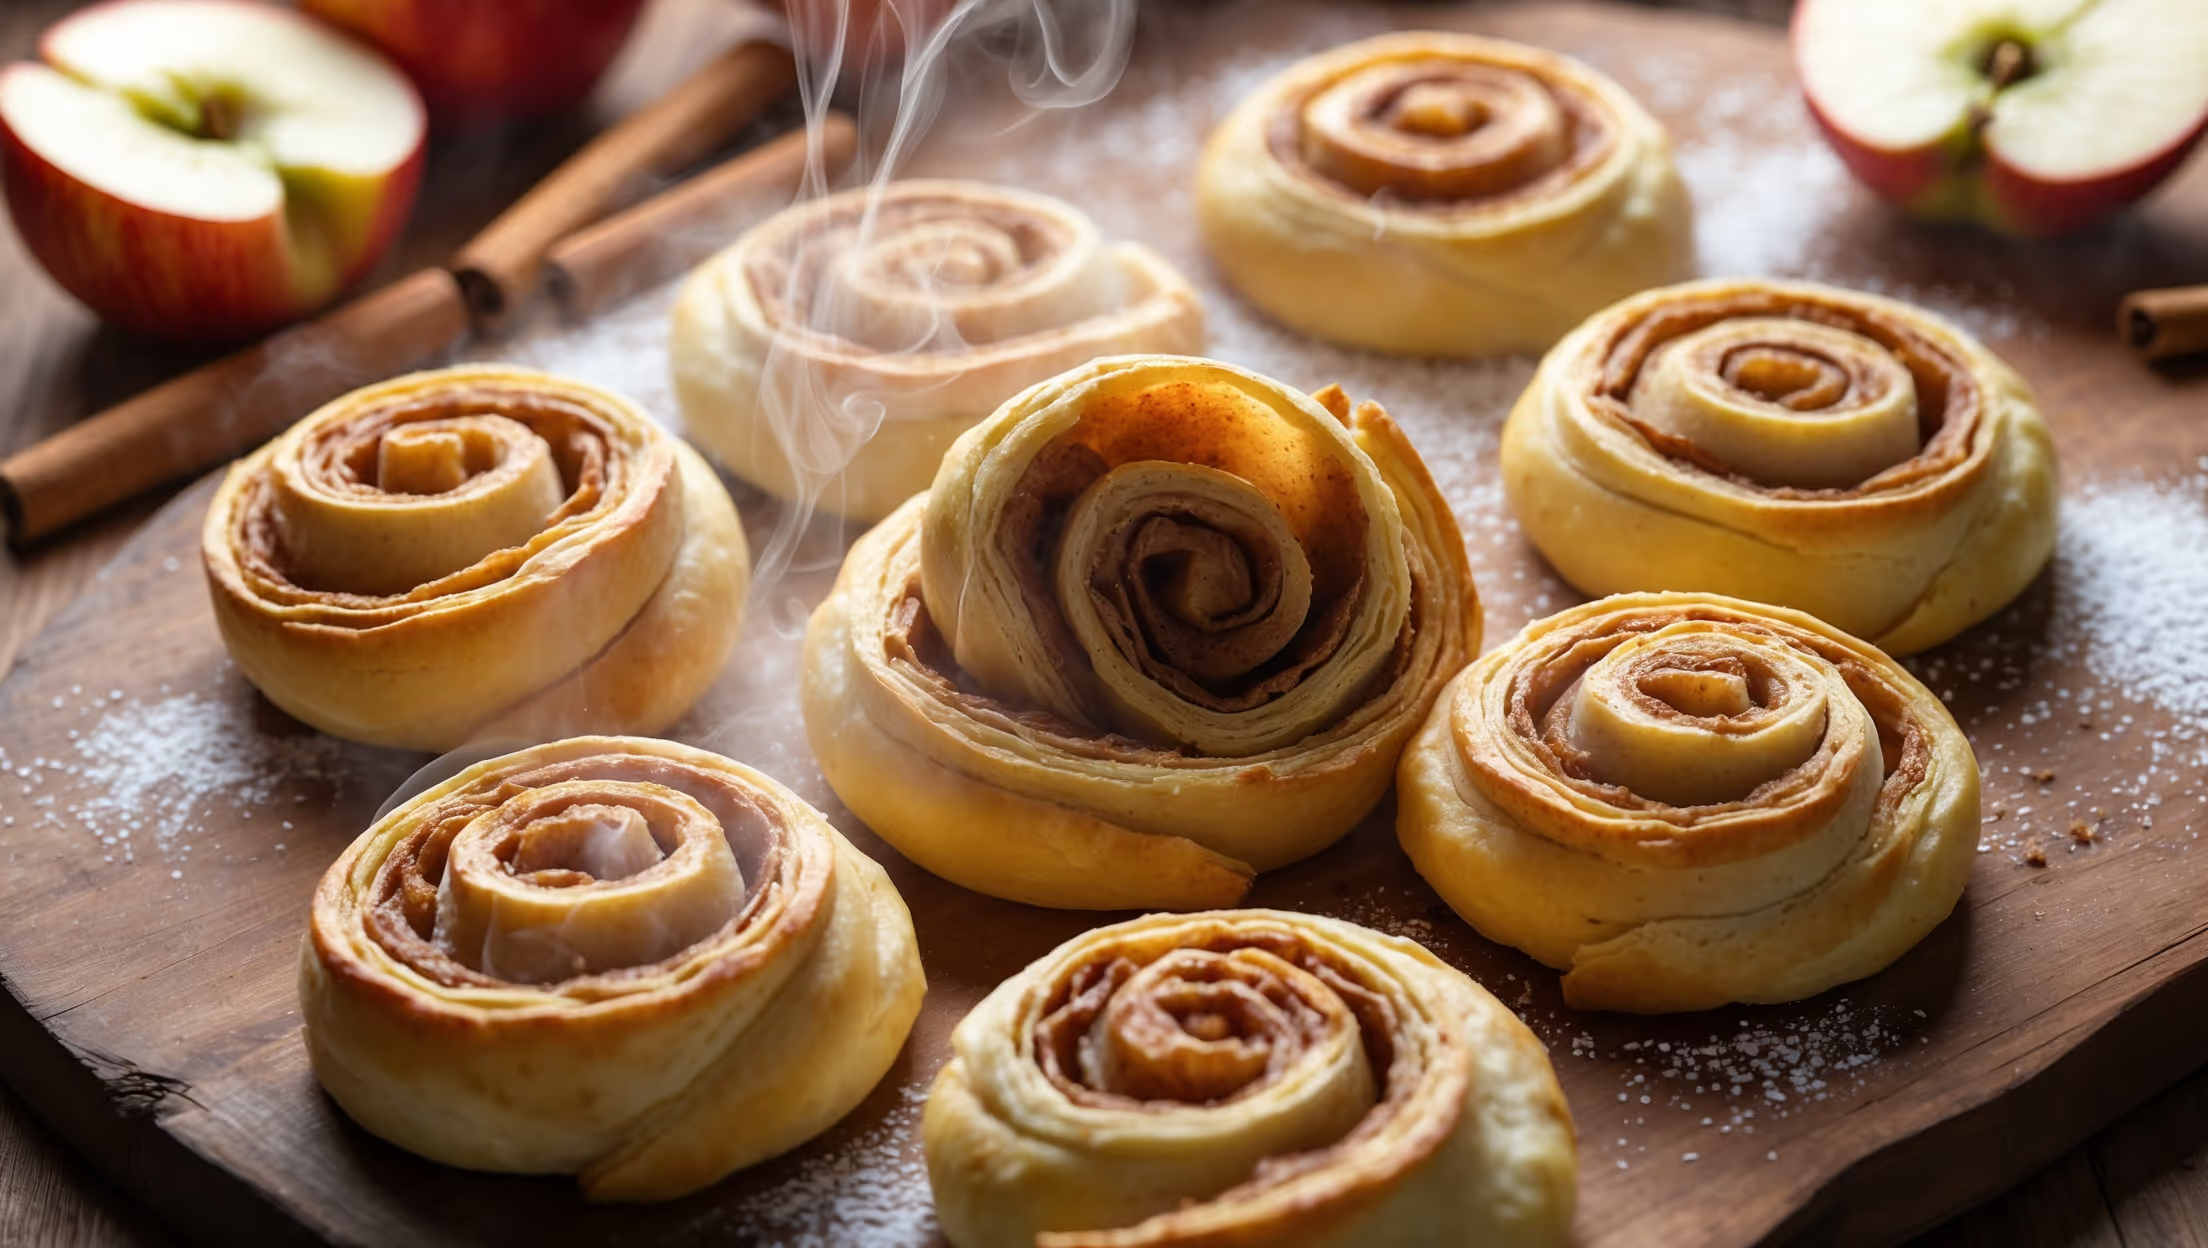
Directions
<ol class="no-list-style"><li class="MethodStepper"><h4 class="step-title">Step 1</h4>Peel, core, and dice the apples into small cubes (about 1cm). Immediately toss them with lemon juice to prevent browning. Small, uniform pieces are crucial for even cooking and easy rolling later.</li><li class="MethodStepper"><h4 class="step-title">Step 2</h4>In a medium saucepan over medium heat, melt the butter. Add the diced apples, brown sugar, cinnamon, nutmeg, and salt. Cook for about 5-7 minutes, stirring frequently, until the apples begin to soften but still hold their shape. The mixture should become fragrant and slightly syrupy.</li><li class="MethodStepper"><h4 class="step-title">Step 3</h4>Mix the cornstarch with 1 tablespoon of cold water to make a slurry. Pour into the apple mixture and cook for another 1-2 minutes, stirring constantly until the filling thickens. The cornstarch acts as a thickening agent, preventing a soggy pastry later. Remove from heat, stir in the vanilla extract, and transfer to a bowl. Let cool completely – this is critical as warm filling will melt the pastry butter and ruin the flaky layers.</li><li class="MethodStepper"><h4 class="step-title">Step 4</h4>Preheat your oven to 190°C and line a baking tray with parchment paper. On a lightly floured surface, roll out the puff pastry into a rectangle approximately 30cm x 40cm. The pastry should be about 3-4mm thick – thin enough to roll but sturdy enough to hold the filling.</li><li class="MethodStepper"><h4 class="step-title">Step 5</h4>Spread the cooled apple filling evenly over the pastry, leaving a 2cm border along one of the long edges. This clean edge will help seal the pastry when rolled. Be careful not to overfill or the pinwheels will leak during baking.</li><li class="MethodStepper"><h4 class="step-title">Step 6</h4>Starting from the long edge with filling all the way to the edge, tightly roll the pastry into a log, finishing at the clean border. Gently press the seam to seal it. For the best results, place the log seam-side down on a piece of parchment paper and chill in the refrigerator for 15 minutes. This firms up the butter in the pastry, making it easier to cut neat slices.</li><li class="MethodStepper"><h4 class="step-title">Step 7</h4>Using a sharp knife, cut the chilled log into 12 equal pieces, each about 3cm thick. Clean your knife between cuts for the neatest results. Place the pinwheels cut-side up on the prepared baking tray, leaving at least 5cm between each as they will expand during baking.</li><li class="MethodStepper"><h4 class="step-title">Step 8</h4>Lightly brush the tops and sides of each pinwheel with beaten egg. This gives them a beautiful golden color and adds a protective coating that helps keep the layers distinct during baking.</li><li class="MethodStepper"><h4 class="step-title">Step 9</h4>Bake in the preheated oven for 22-25 minutes, or until the pastry is puffed and golden brown. The filling should be bubbling slightly. If the pinwheels are browning too quickly, loosely cover with foil for the last 5-10 minutes of baking.</li><li class="MethodStepper"><h4 class="step-title">Step 10</h4>While the pinwheels are baking, prepare the glaze by whisking together the powdered sugar, vanilla extract, and enough milk to create a smooth, pourable consistency. The perfect glaze should coat the back of a spoon but still drizzle easily.</li><li class="MethodStepper"><h4 class="step-title">Step 11</h4>Allow the pinwheels to cool on the baking tray for 5 minutes, then transfer to a wire rack. While still warm (but not hot), drizzle the glaze over the pinwheels. The residual heat will help the glaze to set slightly while still maintaining its glossy appearance.</li><li class="MethodStepper"><h4 class="step-title">Step 12</h4>Serve warm or at room temperature. These pinwheels are best enjoyed the day they're made when the pastry is at its flakiest, but can be stored in an airtight container at room temperature for up to 2 days. To refresh, warm in a 150°C oven for 5 minutes.</li></ol>