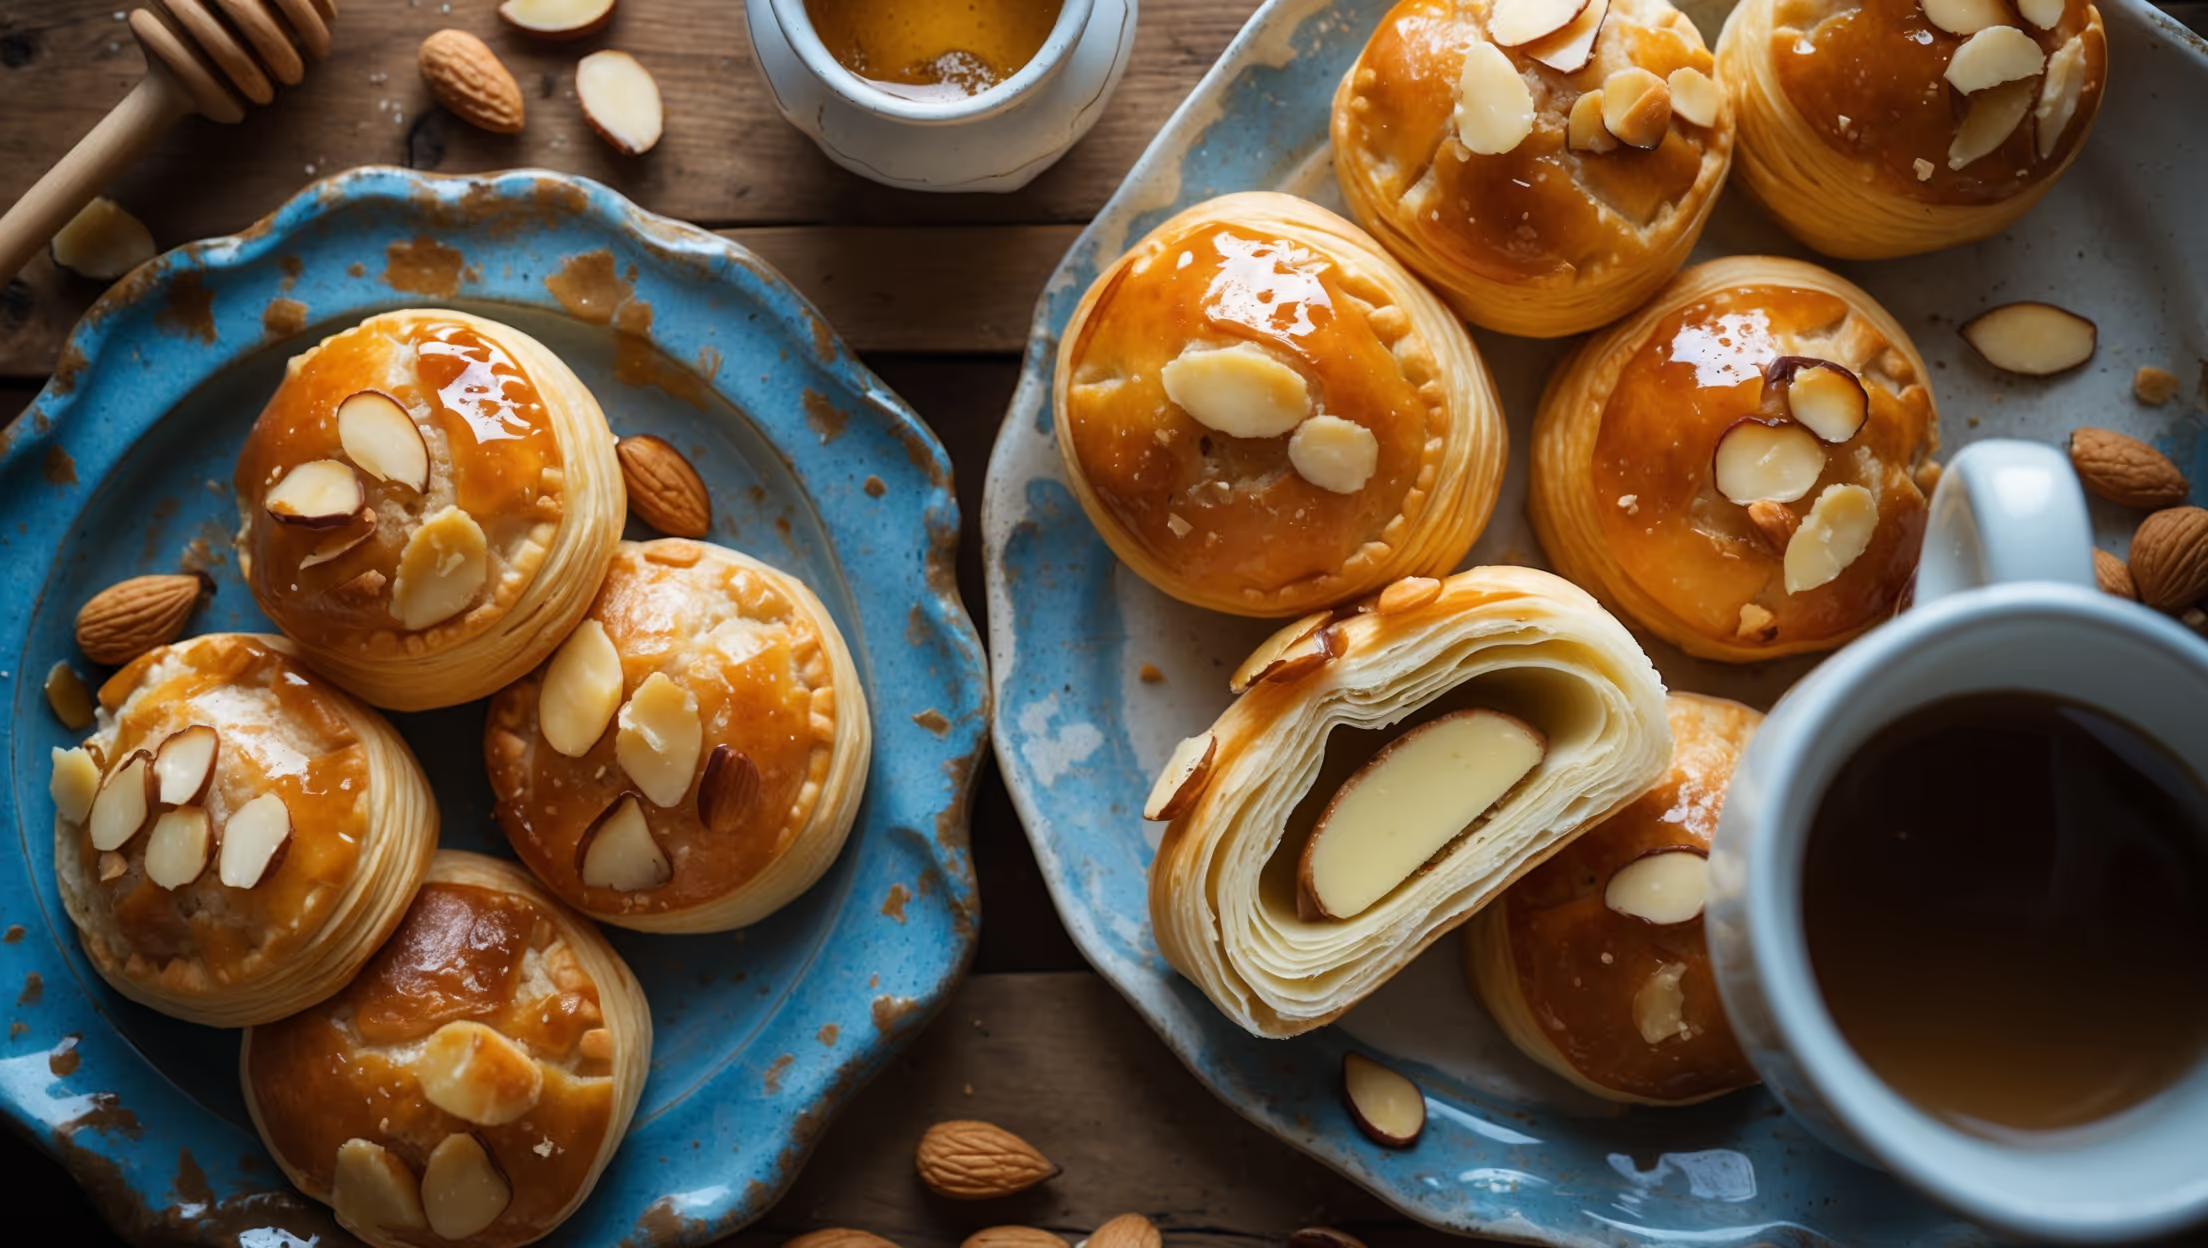
Directions
<ol class="no-list-style"> <li class="MethodStepper"> <h4 class="step-title">Step 1</h4> Make the dough: In a stand mixer bowl, combine the flour, yeast, sugar, and salt. In a separate bowl, whisk together the eggs, milk, water, and vanilla. With the mixer running on low speed with the dough hook attachment, gradually add the wet ingredients to the dry ingredients. Knead for 5-7 minutes until you have a smooth, slightly sticky dough that pulls away from the sides of the bowl. The proper development of gluten at this stage creates the structure needed for those beautiful flaky layers. </li> <li class="MethodStepper"> <h4 class="step-title">Step 2</h4> Shape the dough into a square about 20cm across, wrap in plastic wrap and refrigerate for at least 30 minutes. This resting period allows the gluten to relax and makes the dough easier to roll later. </li> <li class="MethodStepper"> <h4 class="step-title">Step 3</h4> Prepare the butter block: Place the cold butter between two sheets of parchment paper. Using a rolling pin, pound and roll it into a 15cm square. Keep the butter cold but malleable - if it's too hard it will break through the dough, too soft and it will be absorbed. Place the butter block in the refrigerator to stay firm but not completely hard. </li> <li class="MethodStepper"> <h4 class="step-title">Step 4</h4> Laminate the dough: Roll the chilled dough into a 25cm square. Place the butter block diagonally in the center so the corners of the butter point to the middle of the dough sides. Fold the corners of the dough over the butter to enclose it completely, pinching the seams to seal. You've now created your "butter package" which will create those gorgeous layers. </li> <li class="MethodStepper"> <h4 class="step-title">Step 5</h4> For the first turn: Roll the dough out to a 20x60cm rectangle, keeping the edges straight and even. Fold the dough like a letter: fold the bottom third up, then the top third down over it. Turn the dough 90 degrees so the open side is to your right (like a book). This completes the first turn. Wrap and refrigerate for 1 hour. The cold rest periods are crucial - they prevent the butter from melting and allow the gluten to relax. </li> <li class="MethodStepper"> <h4 class="step-title">Step 6</h4> Complete the second turn exactly like the first, then wrap and refrigerate for another hour. Then do a third turn, wrap, and chill for at least 1 more hour or overnight. Each turn creates more layers in your dough (we're creating dozens of alternating butter and dough layers that will puff up during baking). </li> <li class="MethodStepper"> <h4 class="step-title">Step 7</h4> While the dough chills, make the almond filling: In a mixer, cream together the almond paste, softened butter and sugar until smooth. Add the egg and almond extract, beating until well combined. Mix in the flour. Transfer to a piping bag or a plastic zip-top bag with a corner cut off for easy filling. </li> <li class="MethodStepper"> <h4 class="step-title">Step 8</h4> Shape the pastries: Roll the chilled dough out to a 40x40cm square and approximately 5mm thick. Cut into 12 equal squares. Place a dollop (about 1-2 tablespoons) of almond filling in the center of each square. </li> <li class="MethodStepper"> <h4 class="step-title">Step 9</h4> For a simple shape, fold two opposite corners of each square into the center over the filling. For a more traditional Danish shape, make cuts from each corner toward the center (not all the way), then fold every other point to the center, overlapping them. Press gently to seal. </li> <li class="MethodStepper"> <h4 class="step-title">Step 10</h4> Place the shaped danishes on parchment-lined baking sheets, leaving about 5cm between them as they will expand. Cover loosely with plastic wrap and let prove at room temperature for 45-60 minutes until puffy but not doubled. The dough should spring back slowly when poked gently. </li> <li class="MethodStepper"> <h4 class="step-title">Step 11</h4> Preheat your oven to 190°C (375°F) with racks in the upper and lower thirds. Just before baking, gently brush the danishes with egg wash, being careful not to deflate them. Sprinkle with sliced almonds. </li> <li class="MethodStepper"> <h4 class="step-title">Step 12</h4> Bake for 20-25 minutes, rotating the pans halfway through baking, until the danishes are a deep golden brown. Watch them carefully - the high butter content means they can go from perfect to burnt quickly. The internal temperature should reach about 88°C (190°F) when done. </li> <li class="MethodStepper"> <h4 class="step-title">Step 13</h4> While the danishes cool, make the glaze by whisking together the powdered sugar, milk, and almond extract until smooth. Adjust consistency by adding more milk or sugar as needed - you want it thick enough to stay on the danish but thin enough to drizzle. </li> <li class="MethodStepper"> <h4 class="step-title">Step 14</h4> When the danishes have cooled for about 10 minutes (they should still be slightly warm), drizzle the glaze over them in a zigzag pattern. The residual warmth will help the glaze to set beautifully. Allow to cool completely on a wire rack. These danishes are best enjoyed the same day but will keep in an airtight container for 2 days. </li> </ol>